Are you tired of getting paint splatters all over your ceilings and trim when you’re trying to freshen up a room with a new coat of paint? It can be frustrating to spend time carefully cutting in around edges, only to have drips and splatters ruin your hard work. But don’t worry, there are some simple steps you can take to control paint splatter and keep your surfaces looking clean.
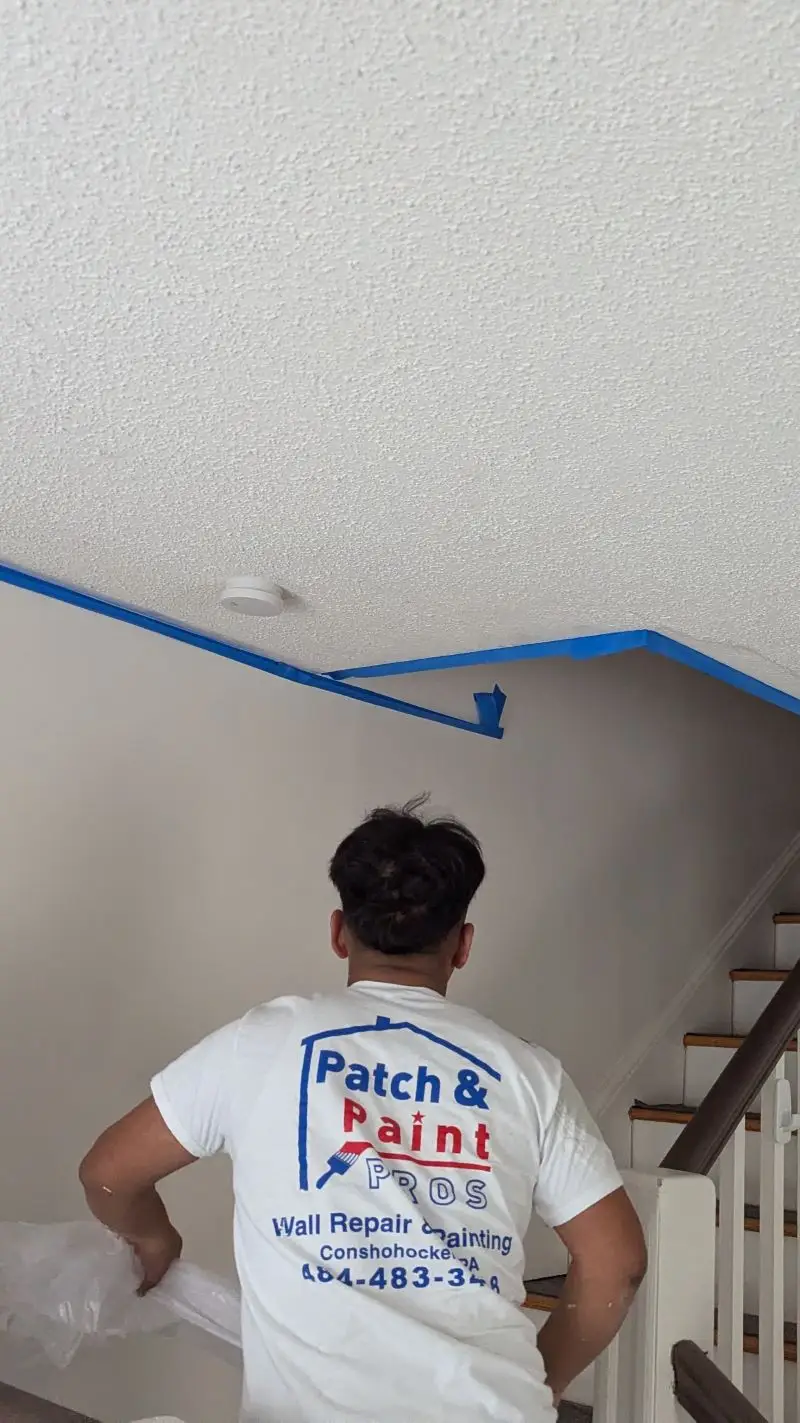
First things first, preparation is key. Before you even crack open that can of paint, make sure the room is cleared of furniture and any other items that could get in the way. Cover floors with drop cloths or old sheets, and use painter’s tape or masking tape to protect any areas you don’t want painted. Once everything is prepped, it’s time to choose the right tools for the job. By using high-quality brushes or rollers designed for the type of paint you’re using, you’ll be able to apply an even coat without making a mess. With these tips and tricks under your belt, controlling paint splatter on ceilings and trim will be a breeze!
Prepare the Room Before You Paint
Before you start painting, make sure to clear the room of any furniture or decor items that could get in the way and cover floors and surfaces with drop cloths to avoid messes. Consider where you will be placing your drop cloths – it’s best to lay them down before you begin and ensure they are secured in place so they don’t shift during painting. You should also take into account the ventilation considerations of the room when preparing for painting. If you’re working in a small or poorly ventilated area, it may be necessary to wear a mask or open windows to allow proper airflow.
In addition to drop cloth placement and ventilation considerations, it’s important to think about safety measures when preparing a room for painting. Make sure all electrical outlets are covered, as well as any light fixtures or switches. If there is any exposed wiring in the room, take extra care to protect it before starting your project. Finally, if you’ll be using ladders while painting near ceilings or trim work, make sure they are sturdy and secure before climbing up – this will help prevent accidents from occurring while working on high surfaces.
Use the Right Painting Tools
To get the job done right, you’ll need the proper tools. When it comes to painting ceilings and trim, using the correct painting equipment can make all the difference in preventing messy mistakes. One of the most important factors to consider is painting safety. It’s essential to use sturdy ladders or scaffolding that are properly secured and positioned on level ground. Additionally, wearing appropriate clothing such as old clothes or a paint suit and protective gear like goggles and gloves will help protect your skin from splatters.
Choosing materials is another crucial aspect of controlling paint splatter on ceilings and trim. For instance, using high-quality brushes or rollers with tightly packed bristles can help prevent drips and smears on walls or floors. Also, choosing drop cloths made of thick canvas material rather than flimsy plastic sheets can catch spills more effectively while protecting surfaces underneath from damage. Taking these precautions before you start painting will not only save time but also ensure a professional-looking finish without any messy surprises along the way.
Mind Your Technique
When painting, you want to make sure you avoid overloading your brush or roller with too much paint. This can cause drips and splatters that will ruin your finish. Use a steady hand when applying the paint to keep it even and smooth. Working in small sections also helps ensure a flawless finish without any mistakes or messes. Keep these key points in mind for a successful painting project.
Avoid Overloading the Brush or Roller
Using too much paint on your brush or roller can cause messy splatters, so don’t overload them! When you dip your brush or roller into the paint, make sure to wipe off any excess on the side of the container. This will help you control how much paint is applied to your surface and prevent unnecessary drips.
To avoid overloading your brush or roller even further, try these tips:
- Use a lighter touch when applying pressure to the tool
- Take breaks between coats to allow for proper drying time
- Use a smaller brush or roller for more precise application in tight spaces
By taking these precautions, you’ll be able to maintain better control over your paint job and achieve a smoother finish without any unwanted splatters on your ceilings and trim. Remember that technique is key, whether you’re using brushes or rollers, so take your time and focus on creating even strokes with just enough paint.
Use a Steady Hand
Maintaining a steady hand while painting can result in a smoother and more professional-looking finish. Hand steadiness is crucial when you’re working on ceilings or trim because these areas are highly visible, and any mistakes will be immediately noticeable. To ensure that your hand remains steady throughout the painting process, try to keep your arm at a comfortable angle and avoid moving it too much.
Another important factor to consider when trying to control paint splatter is the pressure you apply during paint application. Applying too much pressure can cause the paint to spread unevenly, leading to unsightly drips and smears. On the other hand, not applying enough pressure will result in an incomplete coverage of the surface. Therefore, it’s essential to find a balance between not pressing too hard or too lightly while painting. By maintaining a steady hand with optimal paint application pressure, you’ll achieve a beautiful finish that looks like it was done by a pro!
Work in Small Sections
To achieve a flawless finish that will make you proud, focus on working in small sections while you paint. Not only does this help prevent drips and splatters, but it also allows you to have better control over the brush or roller. Here are three reasons why working in small sections is essential for ceiling protection and splatter prevention:
- It helps you avoid overloading your brush or roller with too much paint at once.
- You can carefully blend each section into the next, ensuring a smooth transition between colors or coats.
- By working in small sections, you can easily catch any drips or splatters before they dry and ruin your hard work.
Remember, taking your time and working methodically will pay off in the end when you have a beautifully painted ceiling or trim without any unsightly splatters. So don’t rush through the job – take it one section at a time!
Clean Up Splatters Immediately
When you spot a paint splatter on your ceiling or trim, don’t hesitate – grab a damp cloth and clean it up right away. Waiting too long to clean up splatters can cause them to dry and become much more difficult to remove later on. Plus, leaving dried paint on your surfaces can ruin the smooth finish of your work.
It’s important to wear protective gear like gloves and goggles while painting, but it’s equally important to have proper lighting in the room so that you can easily spot any splatters before they dry. If you do happen to miss a splatter during painting, make sure you go back over the area with a fine-tipped brush or roller and touch up any spots before they dry completely. By being diligent about cleaning up splatters as soon as you see them, you’ll avoid having to spend extra time trying to fix mistakes later on.
Final Thoughts
So there you have it, some useful tips for controlling paint splatter on ceilings and trim! Remember to always prepare the room before you start painting by covering floors and furniture with drop cloths and removing any unnecessary objects. Additionally, using the right tools such as a high-quality brush or roller can make a big difference in reducing splatters. And of course, minding your technique by avoiding overloading your brush or roller and working in small sections can also help prevent unwanted drips.
But if you do happen to get some paint splatters on your ceiling or trim, don’t panic! Simply clean them up immediately with a damp cloth or sponge before they dry and become more difficult to remove. With these tips in mind, you’ll be able to tackle your painting projects with confidence and achieve beautiful results without any messy mishaps. Happy painting!


