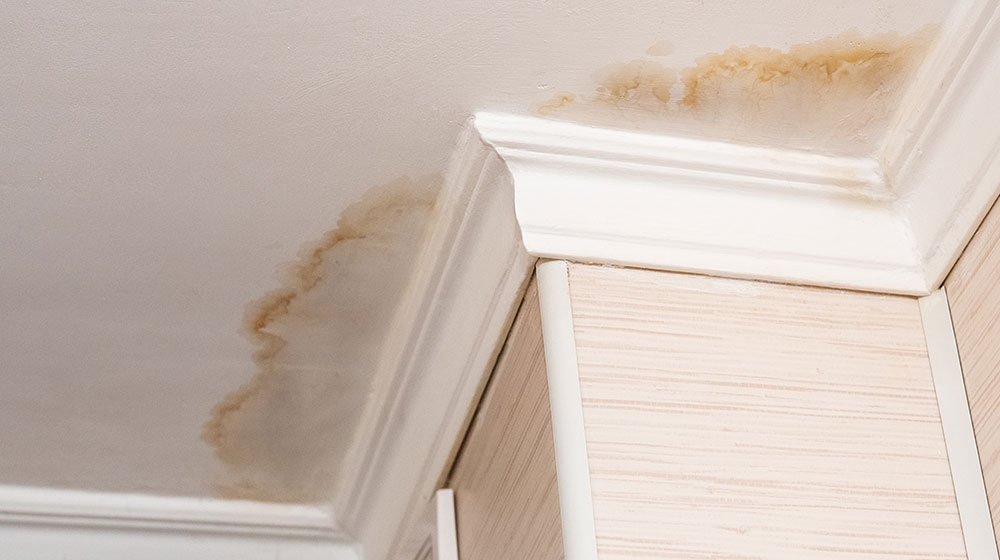
Drywall damage can be a homeowner’s nightmare, whether it’s a small crack, a piece of drywall that needs replacement, or the daunting task of rejuvenating an entire wall. The good news is that with the right knowledge and techniques, you can not only repair the imperfections but also turn the process into an opportunity for an impeccable paint job.
In this blog post, we’re diving into the world of advanced drywall repair and painting techniques that can transform your home. Whether you’re dealing with pesky drywall cracks or simply aiming for a fresh coat to revitalize your space, these tips will elevate your DIY skills to a professional level. So, let’s roll up our sleeves and explore these four advanced tips to achieve a flawless finish that leaves your walls looking as good as new.
Choosing the Right Tools for Drywall Repair and Painting
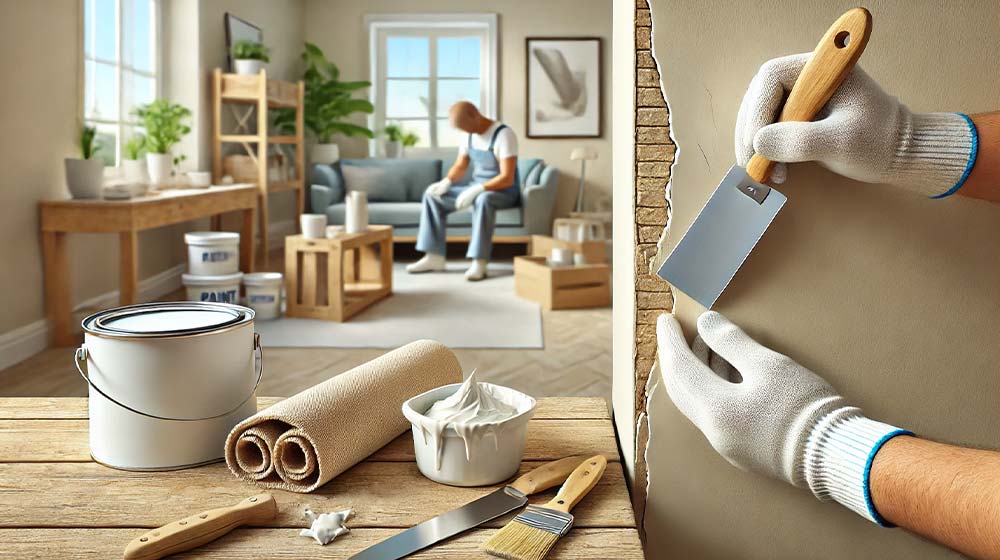
When choosing the right tools for drywall repair and painting, you’ll want to make sure you have a putty knife and sanding sponge. These two tools are essential for achieving a smooth and professional finish on your walls. The putty knife is perfect for applying spackle or joint compound to fill in any cracks or holes in the drywall. It allows you to spread the material evenly and smoothly, ensuring a seamless repair.
The sanding sponge, on the other hand, is used to smooth out any rough patches or excess compound after it has dried. It provides a gentle abrasion that helps blend the repaired area with the rest of the wall surface. By having these drywall repair tools in your arsenal, you can tackle any drywall repair or painting project with confidence and achieve excellent results.
Preparing the Surface for a Flawless Finish
To achieve a flawless finish, make sure you’ve properly prepared the surface. Here are some essential steps to follow for drywall repair and painting:
- Start by sanding the damaged area to create a smooth surface for the new paint.
- Apply a coat of spackle over any cracks or holes in the drywall, using a putty knife to spread it evenly.
- Allow the spackle to dry completely before sanding it down until it’s flush with the surrounding wall.
- Wipe away any dust or debris from the sanded areas before applying your chosen paint color.
Mastering the Art of Patching Holes and Cracks
Mastering the art of patching holes and cracks is essential for achieving a professional-looking finish. When it comes to drywall repair, knowing how to properly patch holes and cracks is crucial before painting. Start by cleaning the area around the hole or crack, removing any loose debris or old filler. Next, apply a layer of joint compound over the damaged area using a putty knife, making sure to feather the edges for a seamless blend.
Allow the compound to dry completely before sanding it smooth. For larger holes, consider using self-adhesive mesh tape to reinforce the repair. Remember to prime the patched area before painting for better adhesion and a flawless finish. By following these advanced tips, your drywall repairs will be virtually undetectable once painted.
Pro Tips for Achieving Smooth and Seamless Drywall
For a smooth and seamless finish, make sure you properly prepare the damaged area before applying joint compound. Here are some tips to help you achieve that flawless look:
- Clean the damaged area thoroughly by removing any loose debris or paint.
- Use a putty knife to apply the joint compound evenly over the hole or crack.
- For larger holes, consider using mesh tape to reinforce the repair.
- Sand down the patched area once it’s dry to create a smooth surface for painting.
Once your repairs are complete, don’t forget to apply a coat of paint to blend everything in seamlessly. With these drywall repair techniques and the right tools, you can achieve professional-looking results and enjoy a perfectly smooth finish in no time. Say goodbye to unsightly nail holes or cracks and hello to beautifully repaired walls!
Techniques for Professional-Level Painting on Drywall
After properly preparing the damaged area, you can achieve professional-level painting on drywall by using techniques such as applying primer before painting. Primer helps to create a smooth and even surface for the paint to adhere to, resulting in a more professional finish. Before starting the painting process, make sure to clean the drywall thoroughly and remove any dust or debris. Use high-quality paint and tools for better results.
If you’re not confident in your skills, consider hiring a professional drywall repair service or contractor who specializes in painting on drywall. They have the expertise and experience to ensure a flawless finish. A professional painting company can also provide advice on color selection and recommend the best type of paint for your specific needs.
Final Thoughts
So there you have it – 4 advanced tips for drywall repair and painting. By choosing the right tools, preparing the surface properly, mastering the art of patching holes and cracks, and using professional-level painting techniques, you can achieve a flawless finish on your drywall. Remember to take your time and follow these tips carefully for the best results. With a little practice, you’ll become a pro at drywall repair and painting in no time!

