Drywall damage is an all-too-common issue that can pop up in our homes, and it’s essential to consider drywall repair costs when addressing these issues. Whether it’s a small drywall hole, an unsightly crack along a drywall joint, or other imperfections marring your walls, these issues can be a real eyesore. But fear not! With the right knowledge and a few essential tools, you can easily transform these problems into a smooth surface that looks as good as new.
In this blog post, we’ll explore quick and easy drywall repair solutions that anyone can master. From understanding the different types of drywall damage to utilizing handy drywall patch kits, we’ll guide you through the process of turning those flaws into perfect patches. Whether you’re a seasoned DIY enthusiast or new to home improvement projects, these effortless fixes, while considering drywall repair costs, will have your walls looking flawless in no time. So, let’s dive in and learn how to tackle drywall repair with ease and precision.
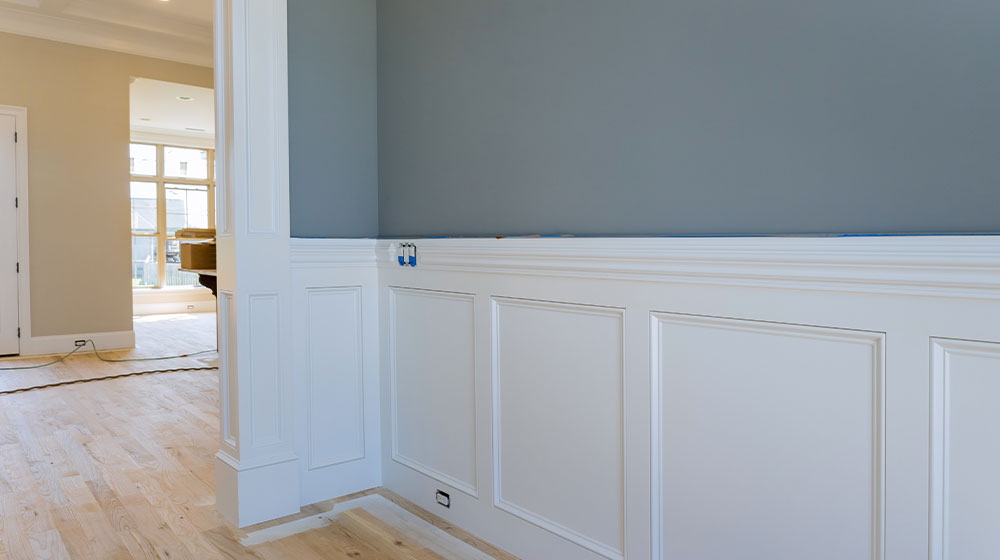
Necessary Tools for Drywall Repair
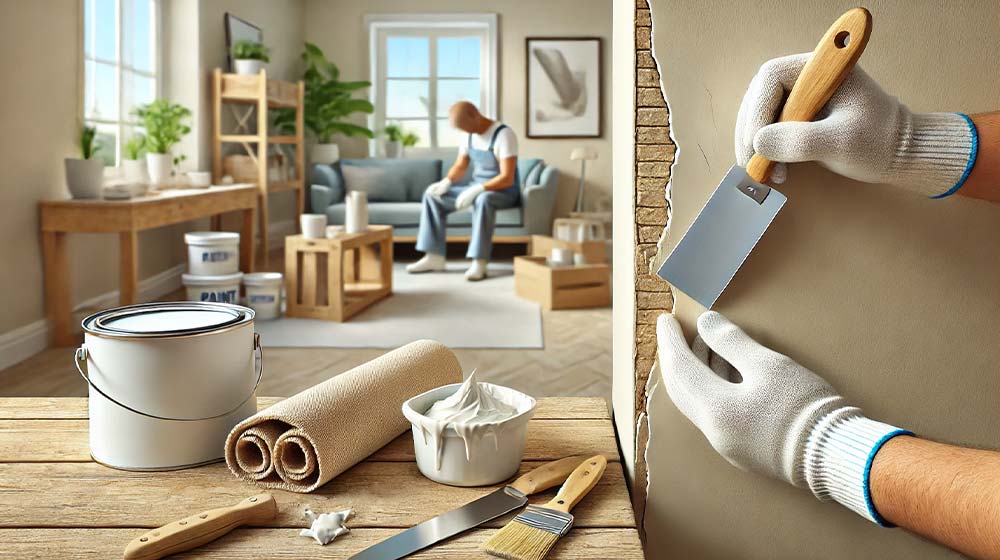
To tackle a drywall repair, you’ll need a few necessary tools and materials. First, grab a utility knife to cut away any damaged areas of the drywall, ensuring you create a clean surface for the repair job. Next, you’ll need a joint compound, a crucial element for filling in the gaps and creating a smooth finish on your walls. Make sure to get a patch kit as well, as it contains everything you need to cover up small holes or cracks in the drywall, making it an ideal solution for quick patch jobs.
In addition to these essentials, you may also require drywall screws and furring strips for more extensive repairs that involve reinforcing the damaged area with wall studs. Self-adhesive mesh patches or drywall scraps can be handy for larger holes and structural issues. These materials provide additional strength and support to the repair. Finally, a sanding sponge or sandpaper is essential for smoothing out the joint compound and achieving a seamless finish.
With these tools and materials at your disposal, you’ll be well-prepared to address various drywall repair needs, whether you’re dealing with minor blemishes or more substantial structural issues. Don’t let damaged drywall bring down the appearance of your home when fixing it can be made straightforward with the right supplies and techniques!
Patching Small Holes in Drywall
Using a putty knife, you can easily patch small holes in drywall with spackling compound. Patching small holes is a quick and easy way to repair your drywall. First, make sure the hole is clean and free of any loose debris. Then, apply a thin layer of spackling compound over the hole using the putty knife. Smooth it out and let it dry completely. Once dry, sand down any rough edges for a seamless finish. If needed, apply another layer of spackling compound and repeat the process until the hole is filled and smooth. Finally, paint over the patched area to match the rest of your wall. With these simple steps, you can easily fix small holes in your drywall in no time at all!
Repairing Larger Cracks in Drywall
You’ll need a putty knife and joint compound to repair larger cracks in your drywall. Here’s how you can fix those unsightly blemishes on your walls:
- Prepare the area: Clean the crack using a drywall knife to remove any loose debris or paint chips.
- Apply joint compound: Use the putty knife to spread a thin layer of joint compound over the crack, making sure it covers both sides evenly.
- Smooth it out: Gently feather the edges of the compound to blend it seamlessly with the surrounding wall surface.
- Sand and repeat: Once the compound is dry, sand it lightly with fine-grit sandpaper and apply another thin layer if necessary.
- Prime and paint: After sanding, prime the patched area before painting over it for a flawless finish.
With these simple steps, fixing larger holes in your drywall will be a breeze!
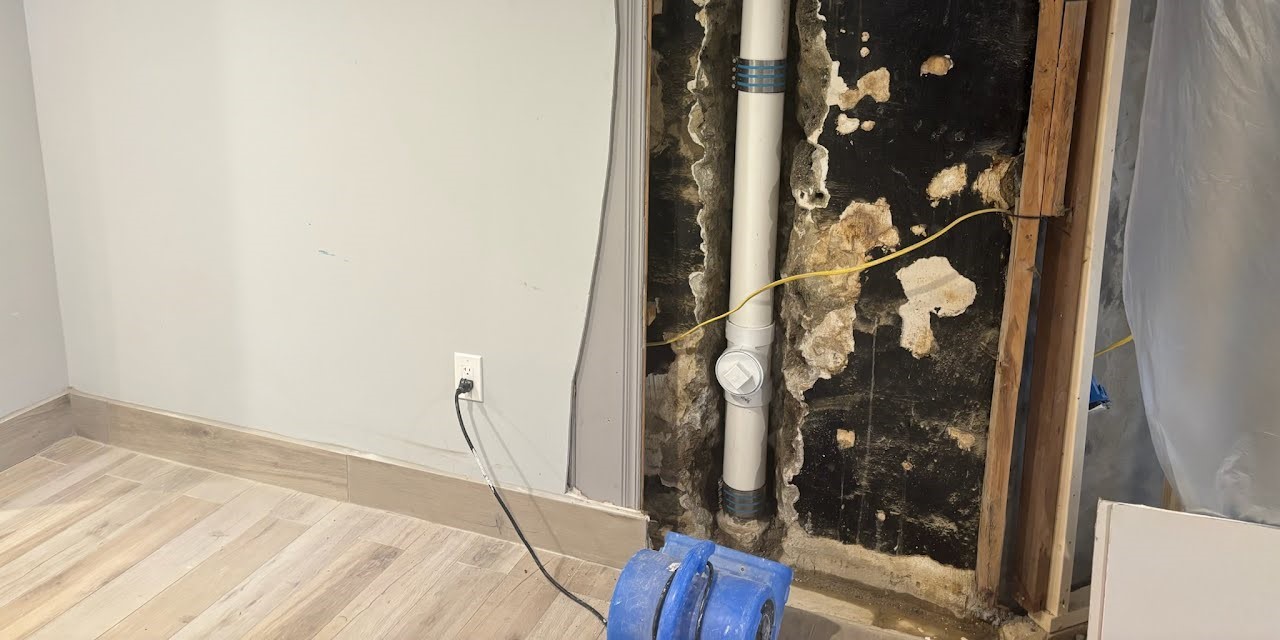
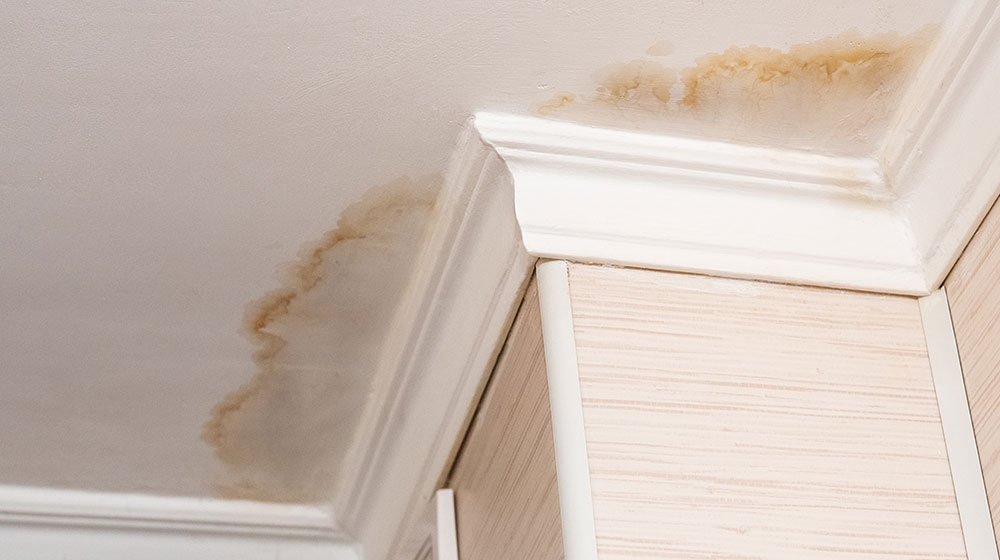
Fixing Water Damage on Drywall
Fixing water damage on drywall can be a challenging task, but with the right materials and techniques, you can restore your walls to their original condition. When it comes to repairing water damage on drywall, the first step is to make sure the area is completely dry. Use a fan or dehumidifier to remove any excess moisture. Once the wall is dry, you can begin the repair process.
Start by cutting out any damaged or warped sections of drywall using a utility knife. Then, patch the area with a new piece of drywall using joint compound. Apply multiple thin layers of compound, allowing each layer to dry before applying the next one. Sand down any rough edges and prime and paint over the repaired area for a seamless finish. With these simple steps, you can easily fix water damage on your drywall and have your walls looking as good as new!
Painting and Finishing Touches for a Seamless Repair
To achieve a seamless finish on your repaired drywall, sand down any rough edges before applying primer and paint. This will ensure that the surface is smooth and ready for painting. Here are some additional tips to help you with your painting and finishing touches:
- Use a high-quality primer: Applying a coat of primer before painting will help the paint adhere better to the surface and provide a more uniform finish.
- Apply multiple coats of paint: Depending on the color and condition of your drywall, it may require multiple coats of paint to achieve an even and seamless look. Allow each coat to dry thoroughly before applying the next one.
- Use a roller or brush: Decide whether you want to use a roller or brush for painting. A roller can cover larger areas quickly, while a brush allows for more precision in tight spaces.
Final Thoughts
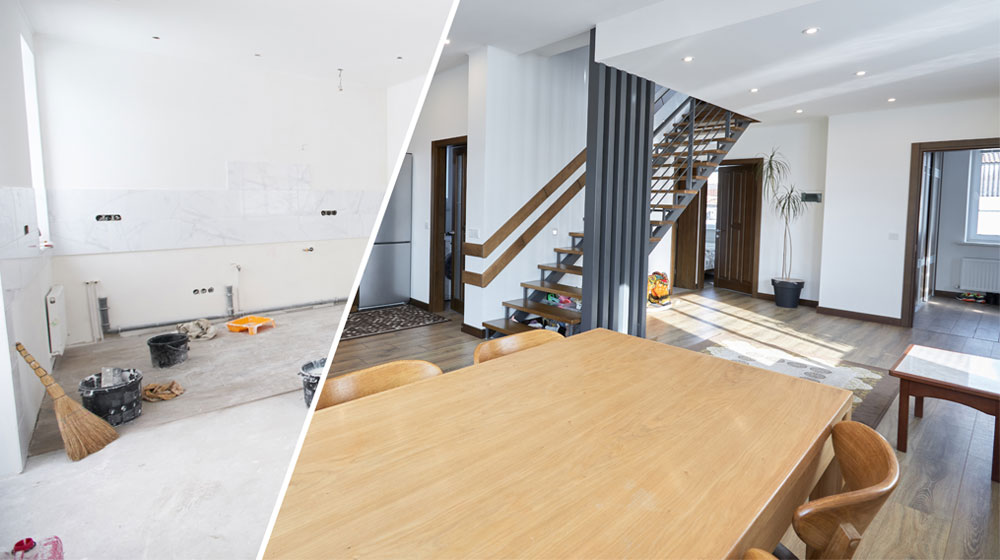
In conclusion, with the right tools and a little know-how, you can easily tackle any drywall repair job. Whether it’s patching small holes or fixing larger cracks, these effortless fixes will have your walls looking as good as new in no time. Don’t let water damage bring you down – with a few simple steps, you can restore your drywall to its former glory. And don’t forget the finishing touches – a fresh coat of paint will make your repair seamless and undetectable. So go ahead, give it a try – you’ll be amazed at how easy it is!