If you’ve got a small drywall repair that needs fixing, don’t worry – you can handle it! In this article, we’ll show you how to make quick fixes for minor damage and create a big impact while keeping drywall repair safety in mind. First, assess the damage. Then gather the necessary materials and prepare the surface. After that, apply the patching compound and finish by blending the repair seamlessly. With these easy steps, your drywall will look as good as new in no time!
Assessing the Damage
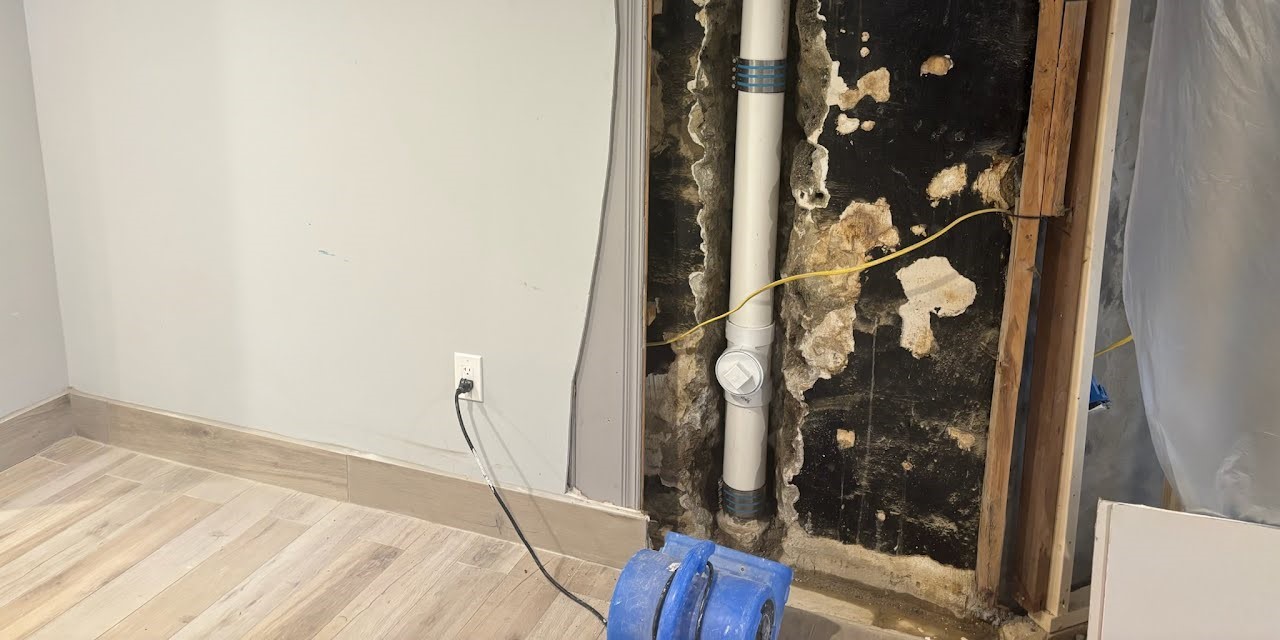
To assess the damage, you’ll want to carefully examine the area and determine the extent of the repairs needed, especially when dealing with larger holes or more extensive damage requiring a piece of drywall or a drywall patch. Start by looking for any noticeable signs of drywall damage, such as a hole in the wall, minor cracks, or dents in the surface. Inspect each area closely, checking for any underlying issues that may have caused the damage, including drywall joints or larger holes.
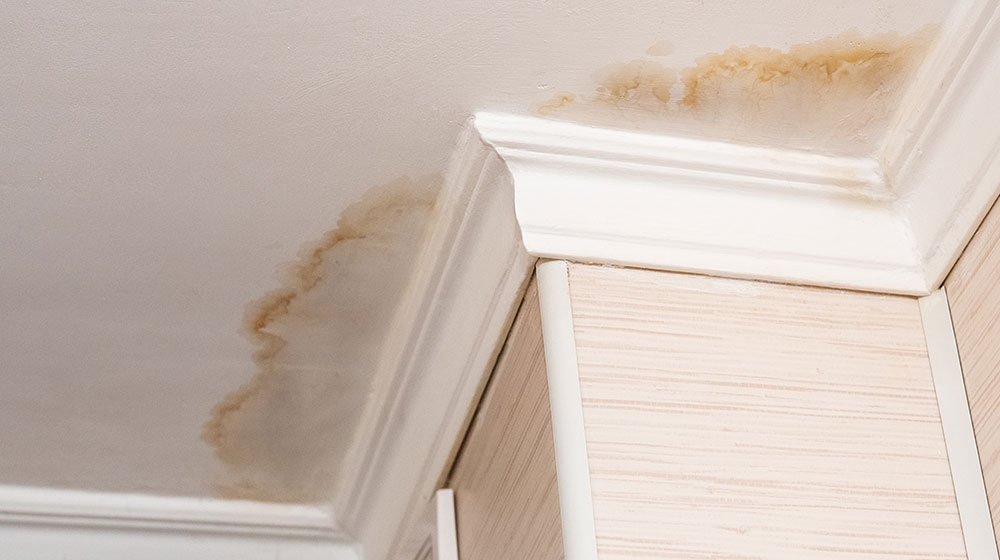
Is there any water leakage? Are there signs of mold? Once you have identified all the drywall issues, prioritize them based on severity, whether it’s a simple drywall patch or repairing an entire wall, and make a list of what needs to be fixed. This will help you plan your repairs efficiently and ensure that no problem goes unnoticed.
Remember, even small cracks or dents in drywall can lead to bigger problems if left untreated. So take your time and thoroughly evaluate every inch of your walls, and consider using drywall patch kits for quick and effective repairs, especially for minor damage.
Gathering the Necessary Materials
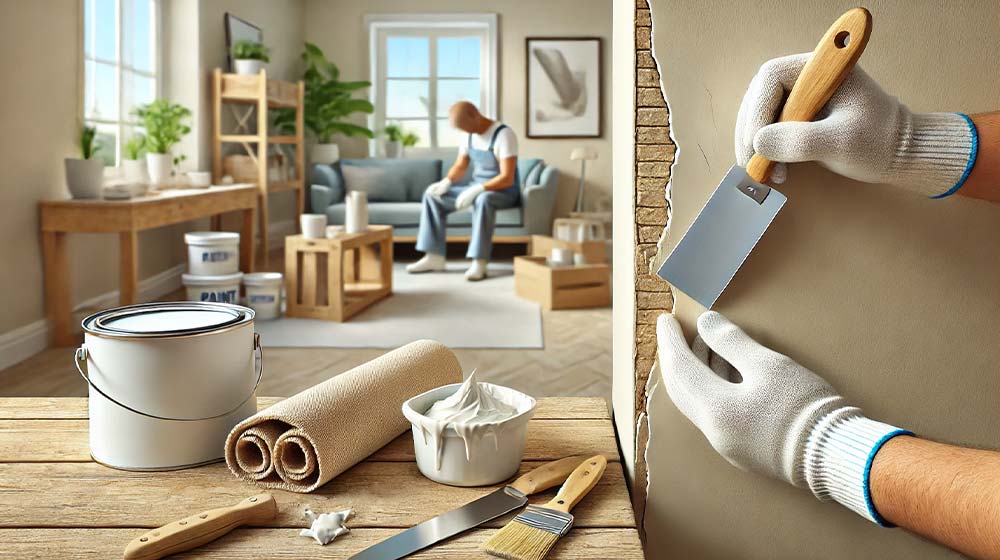
Before starting, make sure you have all the materials you need for the job. To successfully complete a small drywall repair, you’ll need a drywall repair kit, spackle, a putty knife, and sandpaper.
The first item on your list is a drywall repair kit. This handy kit contains everything you need to tackle any patch job efficiently. It typically includes self-adhesive mesh tape and joint compound. Next up is spackle, which will be used to fill in the damaged areas of your wall. Spackle comes in different sizes, so choose one that suits the size of your repair project. A putty knife is an essential tool when working with spackle. It’s used to apply and smooth out the compound evenly on the damaged area. Lastly, don’t forget sandpaper! You’ll need it to sand down any rough edges or excess spackle once it has dried. With these materials in hand, you’re well-prepared to fix any minor damage on your drywall quickly and easily.
Preparing the Surface
Once you have gathered all the necessary materials, it’s time to prepare the surface for the repair job. Start by assessing the damage on your drywall. If it’s a minor issue such as small holes or dents, you can easily fix it yourself. Begin by cleaning the surface with a damp cloth to remove any dirt or dust.
Next, use a putty knife to apply joint compound over the damaged area, making sure to spread it evenly and smoothly. Allow it to dry completely before sanding down any rough edges. Once sanded, wipe away any excess dust with a clean cloth. Now your surface is ready for painting or wallpapering, and your repair job will blend seamlessly into your wall.
Applying the Patching Compound
Start by assessing the extent of the issue on your wall surface, and if it’s manageable, you can easily apply the patching compound yourself. Using joint compound is a simple and effective way to repair minor damage on your drywall. Begin by cleaning the damaged area, removing any loose debris or flaking paint.
Next, apply a thin layer of joint compound over the damaged area using a putty knife. Smooth it out evenly, feathering the edges to blend with the surrounding wall. Allow it to dry completely before applying additional layers if needed. Once dry, sand the patched area lightly until smooth. Finally, prime and paint over the patch for a seamless finish that will make your wall look as good as new.
Finishing and Blending the Repair
To achieve a seamless finish, you’ll need to carefully sand the patched area until it’s smooth. Start by using fine-grit sandpaper and gently sand in circular motions. Focus on blending the edges of the patch with the surrounding wall, ensuring that there are no visible differences in texture. Take your time and be patient; this step is crucial for achieving professional-looking results.
After sanding, wipe away any dust or debris with a damp cloth. Allow the area to dry completely before proceeding to paint. Use a primer to ensure even coverage and better adhesion of the paint. When selecting paint, try to match it as closely as possible to the existing wall color. Apply thin coats of paint using a roller or brush, allowing each coat to dry before applying another. This will help blend the repair seamlessly into the surrounding area.
Final Thoughts
So there you have it – a small drywall repair can make a big impact on the overall appearance of your home. By following these simple steps, you can quickly fix any minor damage and achieve seamless results. Remember to assess the damage, gather the necessary materials, prepare the surface, apply the patching compound, and finish by blending the repair. With a little time and effort, your walls will look as good as new!


