Building a strong and durable basement structure is essential for any home. It will protect the foundation of your house from water damage, as well as provide extra space to store items or even build an additional room.
Framing your basement properly can be complicated, but with the right know-how, it doesn’t have to be intimidating! This article will provide readers with helpful tips on how to frame a basement that’s both sturdy and secure.
Gathering Necessary Materials
Building a strong and durable structure in your basement can be an intimidating task. However, by gathering the right materials and comparing their costs, you can make sure that your project is one that will last for years to come.
When it comes to framing out a basement, there are three main types of lumber: pine, spruce, and fir. Pine is often cheaper but more prone to warping; spruce is known as a great all-rounder when it comes to budgeting; and fir is typically the most expensive choice but also the strongest option available.
All three have different strengths and weaknesses—it’s important to weigh up these options before calculating costs so that you get the best bang for your buck. With this knowledge at hand, you should have no problem tackling the next step of measuring and marking the room with confidence.
Measuring And Marking The Room
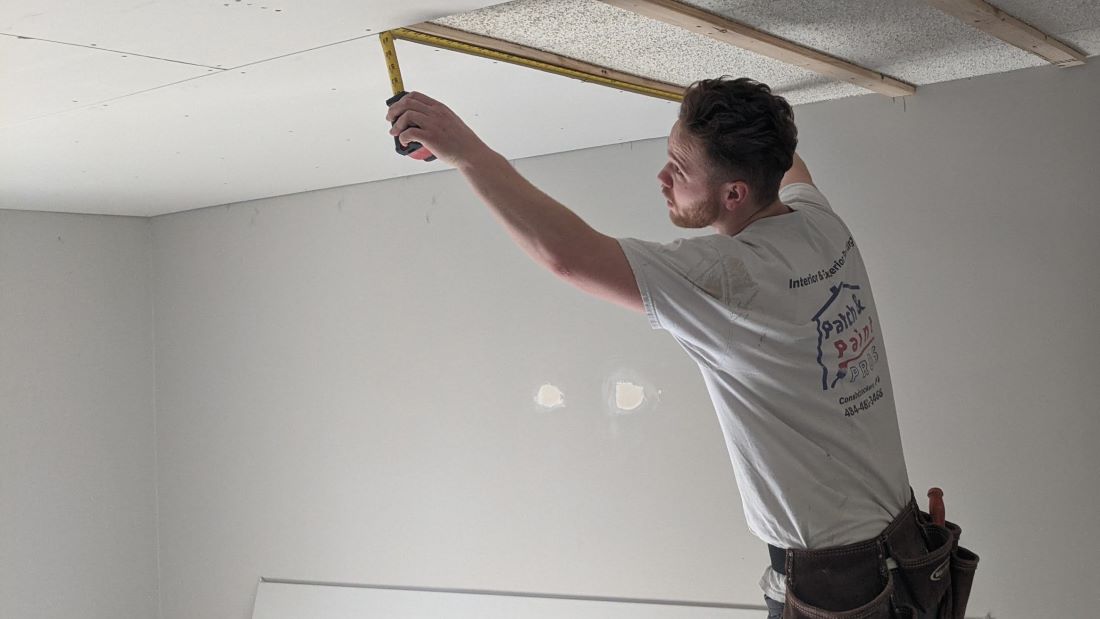
Before getting started with installing the wall studs, it’s important to measure and mark the room correctly. After reviewing plans and checking accuracy against existing measurements of the house, you’ll need to make sure that everything lines up perfectly.
Here are a few steps to take before beginning construction:
- Measure twice – once horizontally and then again vertically – in order to ensure accurate dimensions across the entire room.
- Carefully transfer these measurements onto the floor using a carpenter’s square or straight edge for accuracy.
- Mark each corner where two walls will meet with an ‘X’ so they can be easily located later on during installation.
Once all your measurements have been taken, double-checked, and marked, you’re ready to begin framing out your basement space!
Installing The Wall Studs
The installation of wall studs is a critical part of constructing a strong and durable basement structure. There are several framing techniques available for use, ranging from traditional wooden frames to more modern steel designs.
It’s important that the material used to construct the walls matches whatever other materials will be present in the basement space; this could mean using wood or metal depending on what else has been installed.
It’s essential to make sure that each wall stud is securely placed into position and fastened at both ends with appropriate connectors. This ensures that no movement occurs during normal usage, which can cause instability over time if not done correctly.
Additionally, it’s also important to check measurements when installing the studs so they all fit flush against one another and form an even surface along the entire length of the wall. With these steps complete, you’re ready to begin securing the joists and beams in place.
The secure foundation created by these components provides crucial strength and stability for your basement frame.
Securing The Joists And Beams
When constructing a basement that adheres to building codes, ensuring the structural integrity of the entire basement is crucial. This means correctly securing the joists, beams, and load-bearing walls, including concrete walls, partition walls, and floor joists.
To achieve a sturdy structure, start by selecting lumber with appropriate sizing that can handle both internal and external pressures. Carefully measure where each beam and joist should be placed before fastening joints together with nails or screws, ensuring that each joint has adequate support to prevent any shifting or settling.
It’s also important to ensure that all load-bearing walls are properly reinforced to support the weight of the entire basement structure. This includes any partition walls that may be present, as well as any floor joists that run perpendicular to the load-bearing walls.
Once all components are securely fastened and reinforced, you can move on to finishing the framing process, including insulation and drywall installation. With these steps taken, you can rest assured that your basement construction project meets building code requirements and provides a solid foundation for your home.
Finishing Up The Framing Process
With the joists and beams properly secured, the next step in finishing the framing process is to install insulation. This is important for exterior walls as well as basement walls, as it helps to create a barrier against heat loss or gain and reduces sound transmission between rooms.
When selecting insulation for your basement area, choose a type that is appropriate for the specific application, such as fiberglass rolls or blown-in cellulose. Install the insulation correctly by following the manufacturer’s instructions.
After insulation, the next consideration is choosing the appropriate drywall for your basement framing project. Drywall not only provides a finished look but also offers additional fire protection. When installing drywall on basement walls, ensure that the framing is constructed of wood or steel studs and that the drywall is anchored securely to the framing.
If your basement has a concrete slab instead of wood framing, you may want to consider finishing the basement slab with an epoxy coating or another durable flooring option. This can help protect the concrete slab from damage and provide a more polished look to your basement space.
You will need special tools and materials, such as screws and joint compound, so make sure you have everything on hand before beginning this part of the job.
When cutting drywall sheets to size, use a straight edge and utility knife with sharp blades for best results. After all, pieces are cut, secure them to wall studs using screws every 12 inches along each seam line.
Finally, apply joint compound over screw heads and seams then sand down after drying completely—this ensures smooth walls are ready for painting!
Final Thoughts
Without the right materials and a well-thought-out plan, basement framing can seem like an impossible task. But with the proper information and tools, it’s completely achievable!
With this guide, I hope you now feel more confident in your ability to build a strong and durable structure for your basement.
The process of building is much like life itself: We are all faced with obstacles that make us question our capabilities. The key is to look at them as opportunities for growth and development.
Now that you have the skills necessary to complete such a project, take on each challenge ahead of you with confidence knowing you’ll be able to come out stronger than before!


