DIY drywall patching can seem like a daunting task, but with the right tools and knowledge, it doesn’t have to be! It’s not as hard as you might think. With some patience and practice, anyone can learn how to patch holes in their drywall for flawless results.
Read on for tips and tricks that’ll help you get great results every time. Whether you’re repairing damage from a doorknob or moving furniture around the house, having torn-up walls is never a good look. Even if your hole isn’t too big, it’s still worth learning how to repair it yourself instead of hiring someone else to do the job.
Doing it yourself will save you money while giving you an extra sense of accomplishment when you see your finished product!
Gather The Necessary Supplies
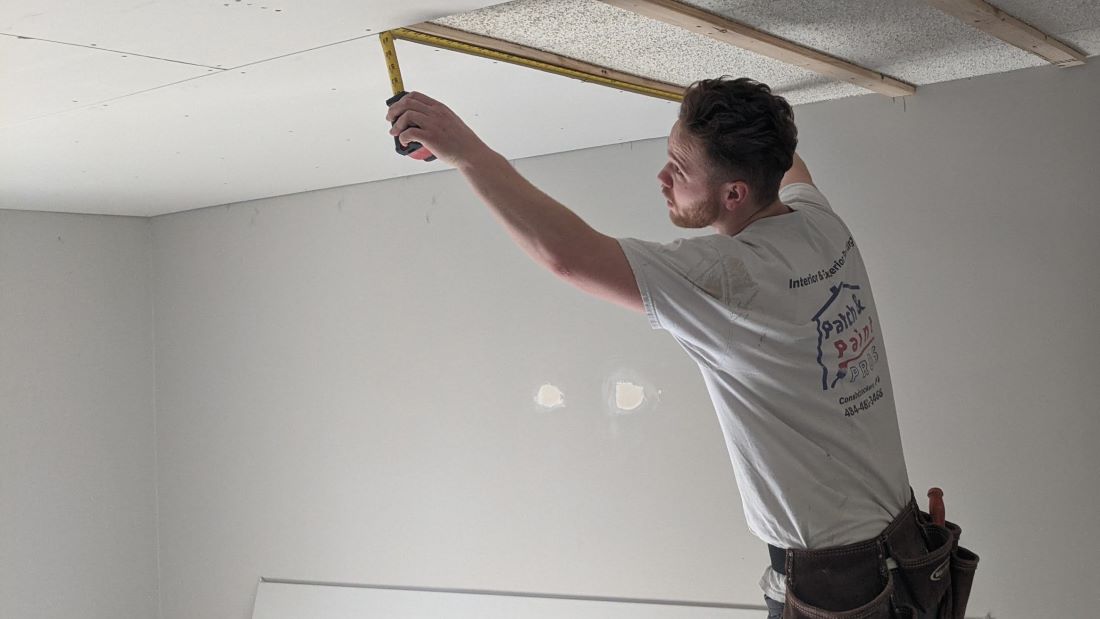
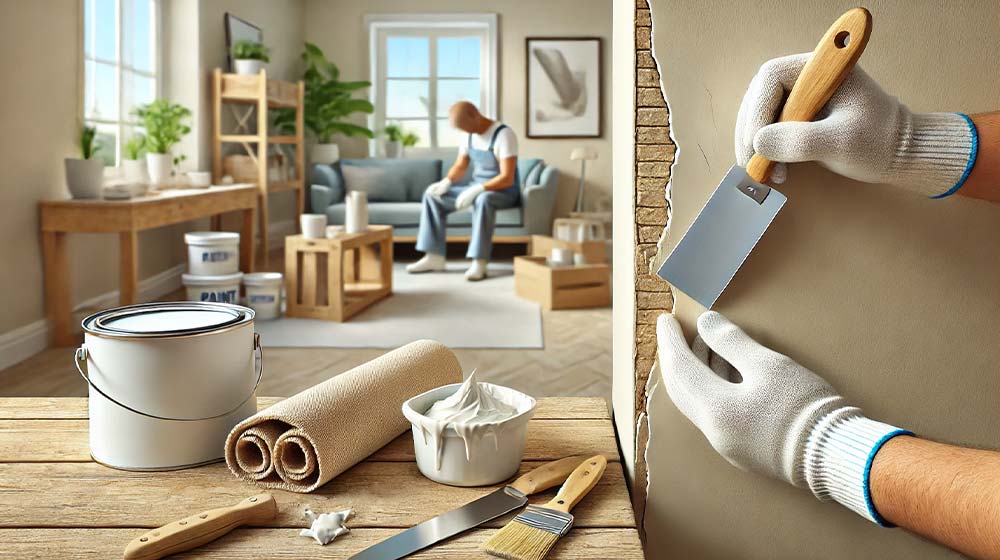
Repairing a hole in drywall may seem like a daunting task, but with the right tools and materials, you can easily achieve a seamless finish. To begin, gather the necessary supplies such as drywall tape, joint compound, sandpaper, a drywall knife, a putty knife, drywall screws, and a drywall patch kit.
Start by measuring the damaged area and selecting a patch of appropriate size. Be sure to cut larger holes if necessary, as it’s easier to make a hole larger than to make it smaller. Next, use the putty knife to clean the edges of the hole and remove any loose debris.
Before applying the patch, dampen the area around the hole with a damp cloth to help the joint compound adhere better. Follow the instructions on the drywall patch kit to apply the patch, using drywall screws to secure it in place. Then, apply a thin layer of joint compound over the patch with a drywall knife, making sure to blend the edges with the surrounding wall.
Allow the joint compound to dry completely before applying a second coat. Once the second coat is dry, use sandpaper to smooth out any bumps or uneven areas. Finally, apply drywall tape over the joints and apply a third layer of joint compound. Sand the area again once it’s dry, and your repair is complete! With these steps, you can easily patch any holes in your drywall and achieve a professional-looking finish.
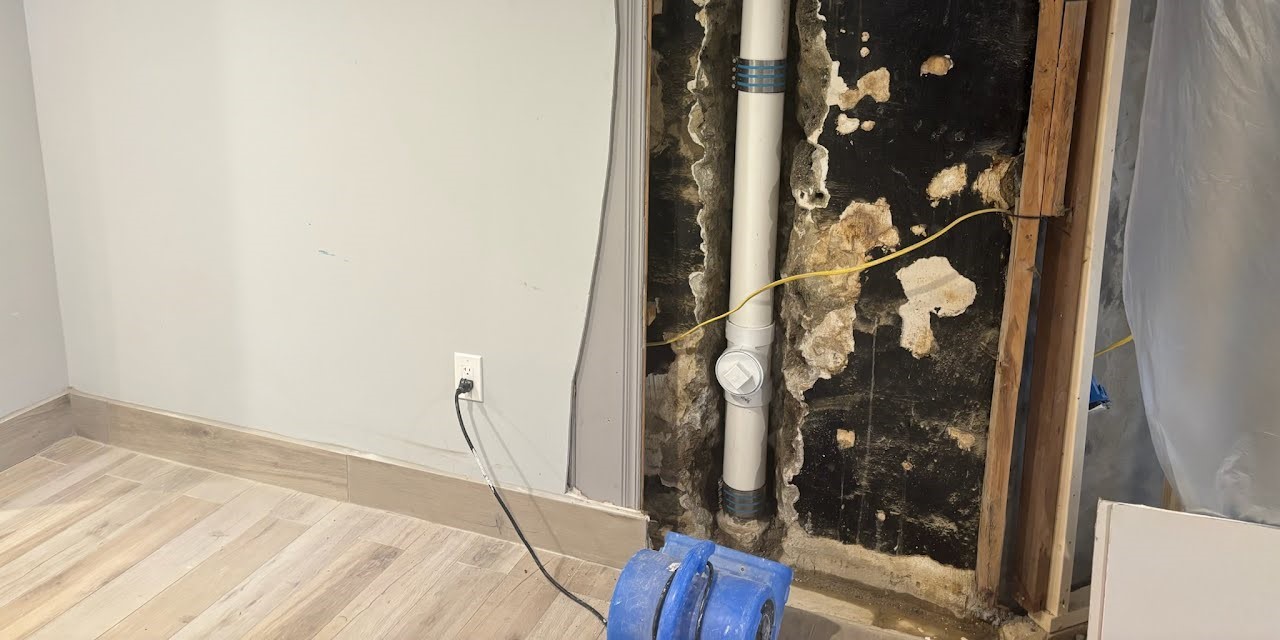
Prepare The Drywall For Patching
Before starting your drywall repair project, it’s crucial to ensure that the wall surface is ready for a smooth and seamless finish. The thickness of the drywall plays a crucial role in determining the approach you should take when repairing the damage. After determining the size of the affected area, use a utility knife or keyhole saw to carefully cut out a square of the appropriate size. If needed, use tape to guide your knife for a precise and even cut. With the right tools and techniques, you can achieve a professional-looking repair and restore your wall to its original condition.
Once you have a well-cut hole, you can begin applying the drywall compound. Depending on the depth of the hole, you may want to use mesh fiberglass wall repair fabric or self-adhesive joint tape for added reinforcement.
By taking the time to measure and cut carefully, you can ensure a precise fit for your patch and a smooth surface for your repair. With these tips in mind, you can confidently tackle any drywall damage and achieve a flawless finish.
Apply The Drywall Compound
Applying the drywall compound is a crucial step in ensuring that your patch will look flawless. Before you start, make sure to mix the joint compound according to the manufacturer’s instructions—getting the mixing ratios right will ensure a strong bond and smooth finish.
When applying the compound, it’s important to tape off any edges first; this will help contain excess material and create uniform edges when you apply subsequent layers of mud. Start by scooping out some joint compound into a clean tray or bucket, then use a corner trowel or 6-inch knife to spread an even layer over the patched area.
Make sure not to press too hard on the surface as this can cause it to crack or become uneven later on. Allow each layer of mud to dry before adding additional coats (it should take about 24 hours). Once all coats have been applied, it’ll be time for finishing and sanding your patch without leaving any mess behind.
Finishing And Sanding The Patch
Once the drywall compound has been applied, it’s time to finish and sand your patch. An important step in this process is taping the edges of your repair. This will help ensure a clean finished look for your patch.
Start by using mesh tape along all four sides of the hole or damage you are repairing, then use a taping knife to spread a thin layer of joint compound over the tape. You’ll want to feather out the edges as much as possible so that there aren’t any noticeable ridges when you’re done.
The next step is to lightly sand the area until it’s smooth and level with the rest of the wall. If necessary, apply another coat of drywall compound followed by light sanding again before moving on to painting the repaired area.
Make sure not to overspend – doing so can cause depressions in your patch and make it difficult to get an even finish once painted.
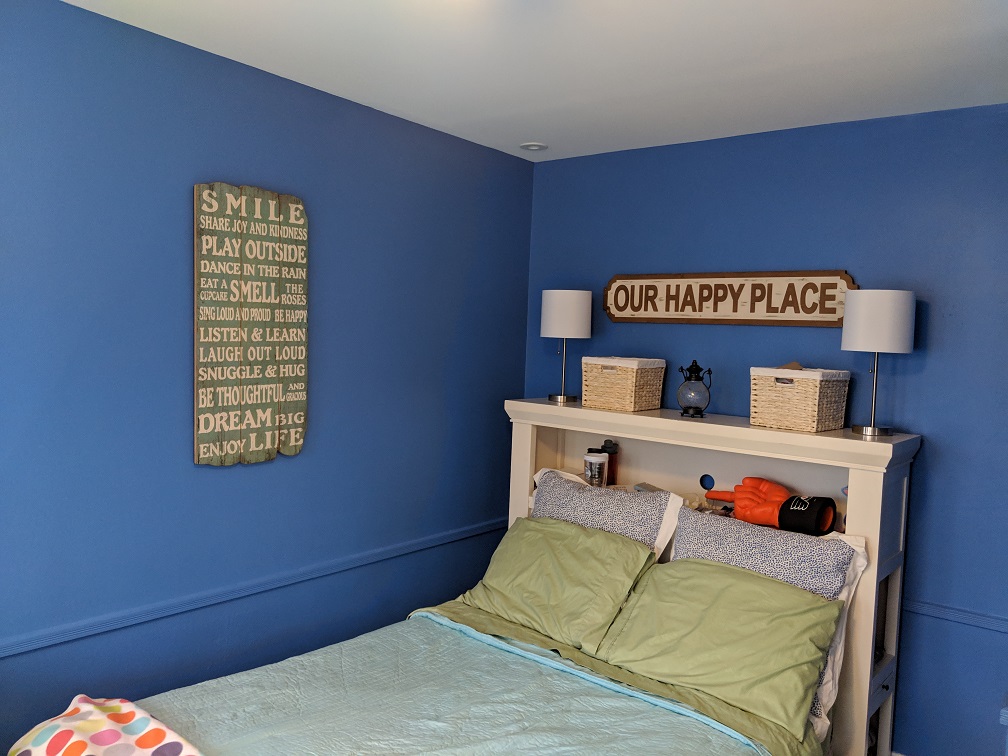
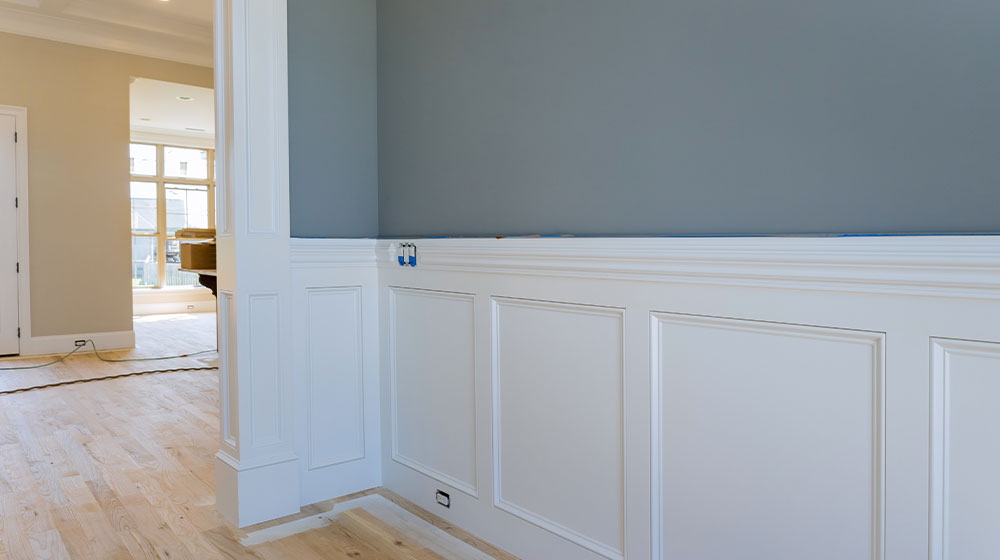
Painting The Repaired Area
Once the drywall patch is finished and you’re ready to paint, it’s important to mix your paints properly. Start by mixing a small amount of each color on a separate plate or bowl before combining them together in one container. This will help ensure that the colors are mixed evenly, giving you flawless results when applying the paint.
Before painting the repaired area, apply primer first. A good quality primer will help the paint adhere better to your patched surface and give you even coverage for all areas of the wall.
Use a brush or roller with an extension handle to easily reach higher spots on your wall so everything can be painted at once. When done correctly, this process should leave you with smooth results that look like new.
Final Thoughts
To get a flawless finish on your drywall patch, take the time to do it right. You’ll be glad you did when you stand back and admire the results! With a few simple supplies, some patience, and careful execution of each step in the process, anyone can achieve professional-looking results.
Still, feeling intimidated? Don’t worry – with practice comes perfection! Take it one section at a time and remember that mistakes are part of learning. Visualize yourself as an expert painter creating beautiful walls in your home and before you know it, you’ll have mastered this skill.