Are you tired of seeing paint chips and flakes on your walls? It can be frustrating to spend time and money on a painting project, only to have it ruined by chipping and flaking. But don’t worry, there are steps you can take to prevent this common issue.
In this article, interior painters will share their tips for handling paint chipping and flaking. You’ll learn about the causes of these problems, how to properly prepare surfaces before painting, the importance of choosing high-quality paint, correct application techniques, and maintenance strategies for keeping your painted walls looking flawless. With these expert tips, you’ll be able to achieve a beautiful finish that lasts for years to come.
Understand the Causes of Paint Chipping and Flaking
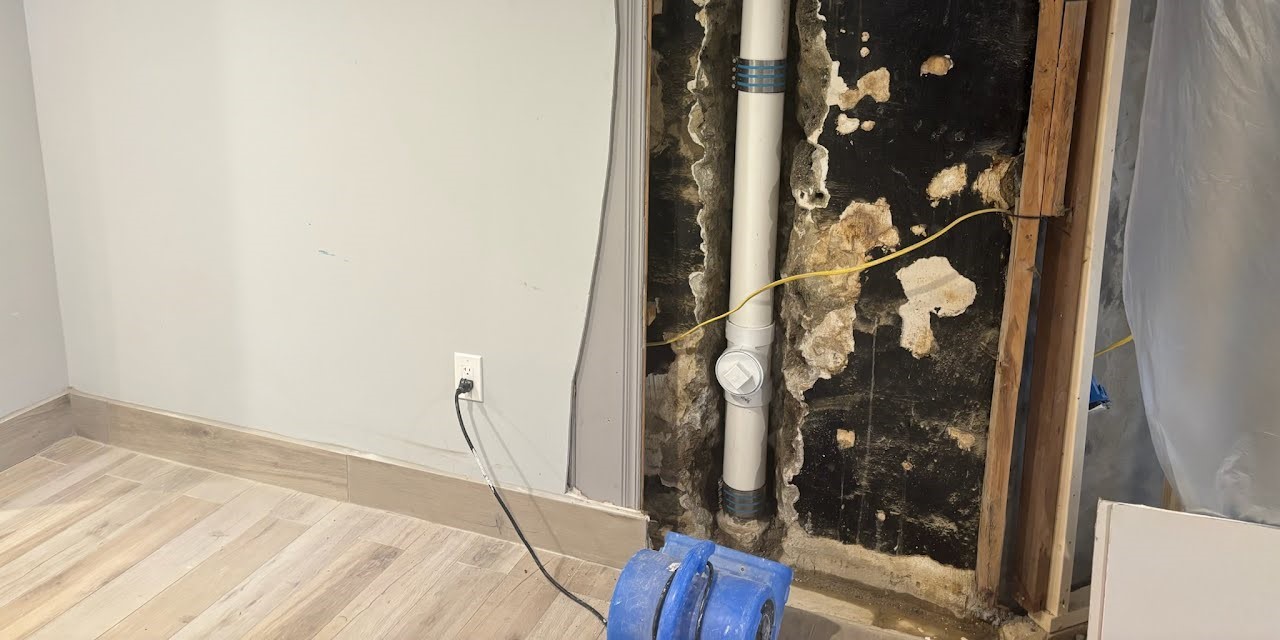
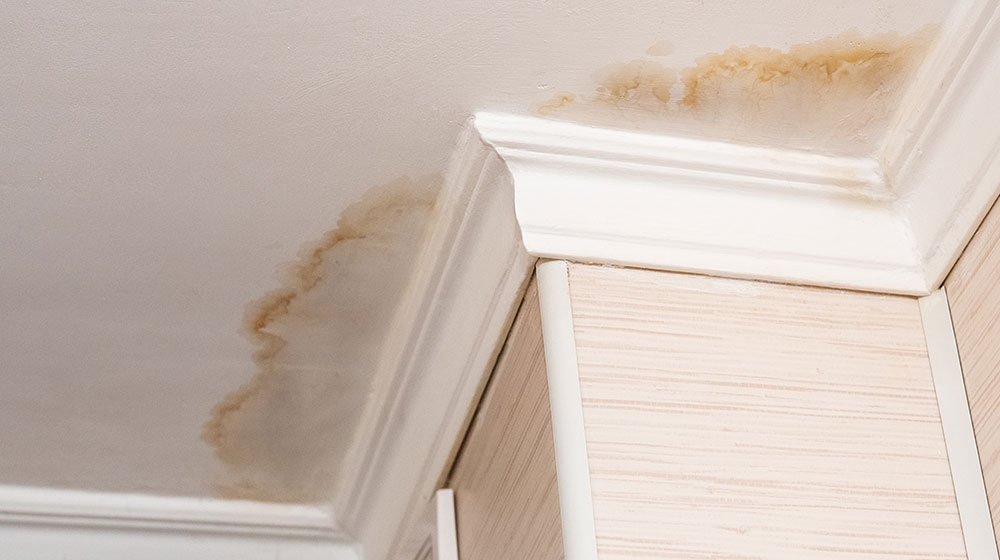
It’s important to comprehend the underlying reasons for paint chipping and flaking so as to implement effective solutions. The causes of this issue can range from poor surface preparation, low-quality paint, excessive moisture, and extreme temperature changes. All these factors can weaken the adhesion between the paint and the surface, causing it to peel off or chip easily.
To prevent paint chipping and flaking, it’s crucial to address these underlying issues before applying a fresh coat of paint. Ensure that the surface is thoroughly cleaned, dried and sanded before painting. Invest in high-quality paints that are specifically formulated for your type of surface. It’s also advisable to avoid painting in extremely humid or cold weather conditions as this can affect the curing process and result in poor adhesion between layers. By taking these precautions, you can ensure a long-lasting finish that looks flawless for years to come.
Proper Surface Preparation
Before starting to paint your walls, it’s crucial to prepare the surface properly. The first step is to clean the walls thoroughly, removing any dust, grease or cobwebs that could compromise the adhesion of the paint. Then, sanding the walls with fine-grit sandpaper will help even out imperfections and create a smooth surface for painting. Finally, applying a primer will ensure better coverage and durability of your final coat of paint.
Clean the Walls
To get your walls ready for a fresh coat of paint, you’ll need to roll up your sleeves and grab a sponge or cloth. Wall cleaning techniques are crucial to ensure that the new paint adheres well and doesn’t peel off easily. Start by removing all dirt, dust, and cobwebs from the walls with a vacuum cleaner or broom. Once you’ve done this, follow these steps to clean the walls thoroughly:
- Use warm water mixed with mild detergent or soap to wipe down the walls gently.
- Focus on areas with stubborn stains such as grease spots or marker stains.
- Rinse with clean water and let dry completely before painting.
It’s important not to use harsh chemicals or abrasives when cleaning the walls as they can damage the surface and affect the paint’s adhesion. When in doubt, test any cleaning solution on a small inconspicuous area first before using it on larger sections of the wall.
Sand the Walls
After cleaning the walls thoroughly, you’ll need to sand them to create a smooth surface for the new paint. This is an important step in ensuring the paint adheres well and lasts longer. To start, choose the right sandpaper grit. For walls that are in good condition but have minor imperfections, use 120-grit sandpaper. For walls with significant chipping or flaking, use 80-grit sandpaper.
Before you begin sanding, take safety precautions such as wearing a dust mask and eye protection. Make sure to also cover nearby furniture and floors with drop cloths to prevent any damage or mess from the sanding process. When it comes to techniques for smooth sanding, start by using long strokes and applying even pressure while holding the sandpaper at a slight angle against the wall. Work your way across the entire surface of the wall until it feels smooth to touch. Remember not to oversand as this can cause more damage than good. Once you’re satisfied with your results, wipe down the wall with a damp cloth or sponge before proceeding with priming and painting.
Use a Primer
Using a primer is essential for achieving a professional-looking paint job that will last for years to come. A primer serves as a foundation for the paint and helps it adhere better to the surface, preventing chipping and flaking. It also ensures that the paint color looks more vibrant and true to its shade.
When applying a primer, make sure to choose the right type of primer based on your surface material, such as wood or drywall. The application technique is also crucial in achieving a flawless finish. Apply it evenly with a brush or roller, making sure not to leave any drips or bubbles behind. Let it dry completely before applying your topcoat of paint for best results. With proper application techniques, using a primer can make all the difference in achieving an impeccable paint job with long-lasting results.
Choosing High-Quality Paint
Don’t settle for mediocre paint choices – invest in high-quality products that will give your walls a stunning finish. When it comes to choosing the right paint, there are some selection tips you should keep in mind. Firstly, make sure to choose a brand that is known for its quality and durability. This will ensure that your paint job lasts longer without chipping or flaking.
Secondly, consider the color options available within that brand. Look for shades that are vibrant and rich, as they will offer better coverage and greater depth of color. Another factor to keep in mind is the sheen of the paint – matte finishes tend to show less imperfections than glossy ones. By investing in high-quality paint, you can achieve a professional-looking finish that truly enhances your home’s interior design.
In addition to these practical considerations, choosing high-quality paint can also evoke an emotional response from you and your guests. A fresh coat of beautifully colored paint can bring joy and happiness into any room, while dull or faded colors may create negative feelings such as boredom or dissatisfaction. By selecting high-quality paints with rich colors, you’ll not only enhance the aesthetic appeal of your space but also boost your mood and energy levels!
Applying Paint Correctly
To achieve a professional-looking result, it’s essential to follow the correct techniques when applying your chosen high-quality paint. One of the most important paint application techniques is choosing between brush and roller. Both tools have their benefits, but it’s crucial to know which one is best for each surface.
Brushes are great for small areas and intricate details like trim, corners, and edges. They also allow you to apply thicker coats of paint with more control. However, brushes tend to leave visible brush marks on larger surfaces. On the other hand, rollers are ideal for covering large areas quickly and evenly without leaving brush marks behind. They’re perfect for smooth walls and ceilings but can be challenging to use on textured or uneven surfaces. When painting a room, it’s best to use both tools: start by cutting in with a brush before rolling the walls for an even finish.
Maintaining Your Painted Walls
Proper upkeep is key in keeping your walls looking fresh and vibrant for years to come. Here are some tips on how to maintain your painted walls:
- Regularly dust or vacuum your walls: Dust and dirt can accumulate on the surface of your painted walls, making them look dull and unappealing. Use a soft cloth or vacuum attachment to remove dust and dirt from your walls.
- Address stains immediately: Stains can ruin the look of an otherwise beautiful wall. If you spill something on your wall, clean it up immediately with a damp cloth or sponge.
- Learn touch-up techniques: Over time, paint can chip or peel off your walls, leaving an unsightly mark on the surface. Learn how to properly touch up these areas using the same color as the original paint job for a seamless finish.
By following these simple steps, you can keep your painted walls looking great for years to come while also ensuring that they match well with other pieces of furniture in your home through proper color coordination.
Final Thoughts
By understanding the causes of paint chipping and flaking, properly preparing your surface, choosing high-quality paint, applying it correctly, and maintaining your painted walls, you can achieve a flawless finish that lasts for years.
Remember to always take your time when painting and don’t rush the process. A little bit of patience goes a long way in achieving the perfect outcome. With these tips in mind, you’ll be able to confidently tackle any interior painting project with ease and enjoy beautiful results that you can be proud of.


