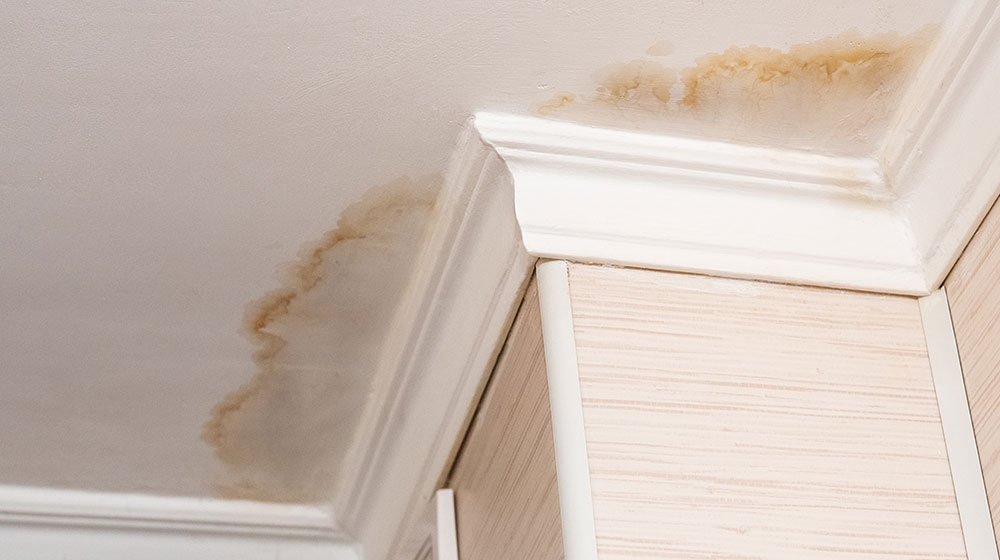
Are you tired of looking at an unevenly painted wall with different textures and sheens? Are you wondering how professional painters achieve a flawless finish every time? Look no further! In this article, we will share expert techniques for managing texture and sheen inconsistencies that even professional painters use.
First and foremost, selecting the right paint and primer is crucial for achieving a uniform texture and sheen. We’ll guide you through the selection process to ensure that your chosen products are compatible with each other and suited to your project’s requirements. Proper surface preparation is equally important in ensuring an even finish. We’ll show you how to prepare surfaces correctly, including sanding, filling cracks or holes, cleaning, and priming. With our advice on application techniques using brushes, rollers or sprayers, you can guarantee that your paint job will look great from every angle!
Selecting the Right Paint and Primer
Choosing the appropriate paint and primer is imperative for achieving a flawless finish, as selecting the wrong products can lead to texture and sheen inconsistencies. When choosing a paint finish, consider the level of glossiness you desire. The three most common finishes are flat/matte, satin/eggshell, and semi-gloss/high gloss. Flat/matte finishes are best for covering imperfections on walls or ceilings, but they can be difficult to clean. Satin/eggshell finishes provide a slight shine while still being easy to clean and hiding minor flaws. Semi-gloss/high gloss finishes are highly reflective and durable, making them ideal for high-traffic areas like kitchens or bathrooms.
When it comes to undercoat options, there are two main choices: oil-based or latex-based primers. Oil-based primers provide excellent adhesion to surfaces that have been previously painted with oil-based paint and also help block stains from bleeding through the topcoat. However, they emit strong fumes that require proper ventilation during application and cleanup. Latex-based primers are more commonly used because they dry quickly, have low odor levels, and adhere well to surfaces previously painted with latex or acrylic paints. They also offer better flexibility than oil-based primers when painting over wood or other porous materials that expand and contract with temperature changes. Ultimately, choosing the right paint and primer is crucial in achieving a smooth surface free from any texture or sheen inconsistencies.
Proper Surface Preparation
Before starting, it’s important to ensure that the surface has been properly prepared. This means cleaning it thoroughly to remove any dirt, grease or grime that may interfere with paint adhesion. Surface cleaning can be done using a variety of methods including pressure washing, sandblasting or simply wiping down the surface with a damp cloth and mild detergent.
Once the surface is clean, you’ll need to use proper sanding techniques to create a good base for the primer and paint. This involves using sandpaper of the appropriate grit to smooth out any rough spots or imperfections in the surface. Sanding should be done gently and evenly, taking care not to apply too much pressure which could cause damage to the underlying material. By following these steps for preparing your surface, you can ensure that your paint goes on smoothly and adheres well for a professional-looking finish.
Application Techniques
When addressing painting problems, it’s crucial to consider the appropriate application techniques. Brushing and rolling techniques are excellent for achieving a smooth finish on walls and ceilings. They allow for precise control and even coverage. On the other hand, spraying can be a time-efficient method, particularly for larger surfaces or areas with intricate details. It ensures consistent application and reduces the risk of visible brush or roller marks.
Brushing and Rolling
To achieve a flawless finish, you’ll need to make sure your brushing and rolling techniques are on point. When it comes to brushing, choosing the right brush size and bristle type is crucial. A smaller brush with softer bristles is better for detailed work, while larger brushes with firmer bristles are ideal for covering larger areas. Make sure to load the brush properly with paint and use long, smooth strokes in the same direction to avoid leaving brush marks.
Rolling requires a similar level of attention to detail. Use a high-quality roller cover that matches the type of paint you’re using – thicker covers work best with textured surfaces, while smoother surfaces require thinner covers. Keep your roller loaded with paint at all times, but don’t overload it as this can cause drips or splatters. Roll in a W shape across the surface and then go back over it in straight lines for an even finish. Remember to keep an eye out for any inconsistencies or missed spots as you go along – fixing them immediately will save time in the long run!
Spraying
Spraying is a great option for achieving a smooth and even finish on large surfaces, but don’t forget to properly prep the area by masking off any nearby objects or surfaces. This will prevent overspray and ensure that only the intended surface gets coated. There are two main types of spraying techniques: airless spraying and electrostatic spraying.
Here are some tips to help you achieve consistent texture and sheen when using these methods:
- Use the right nozzle size for your paint type and surface being painted.
- Keep the sprayer at an even distance from the surface to avoid uneven coverage.
- Move in long, continuous strokes, overlapping each pass slightly to avoid streaks or lines.
- Avoid spraying too heavily in one coat, as this can lead to drips or sags on vertical surfaces.
By following these tips and taking care in your preparation, you can achieve professional-looking results with both airless and electrostatic spraying techniques.
Feathering and Blending
Feathering and blending are essential techniques in achieving a seamless transition between painted areas. When painting, it’s important to avoid harsh lines that can create texture and sheen inconsistencies. By feathering the edges of your paint strokes, you create a smooth gradient effect that makes your work look more professional.
One way to achieve this is through color layering, where you gradually build up layers of paint to create depth and dimensionality. By using a dry brush or blending tool to gently blend the edges of each layer into the next, you can achieve a smooth transition without creating any obvious seams. With practice, you’ll be able to seamlessly blend colors together, creating beautiful gradients that give your work a more polished look. So don’t be afraid to experiment with different techniques until you find what works best for you!
Managing Texture Inconsistencies
Addressing texture inconsistencies requires a keen eye for detail and careful consideration of the paint application process. To start with, you need to ensure that the surface is repaired properly before applying paint. Any bumps, cracks, or holes on the wall must be fixed using spackle or putty before painting. This will help create a smooth surface that won’t interfere with the even distribution of paint.
Next, you need to pay attention to color matching. If you’re painting over an existing wall, it’s important to match the color precisely so that there are no visible differences between the old and new paint layers. You can do this by taking a sample of the existing color to your local hardware store and asking them to match it for you. Finally, when applying paint, make sure that you use consistent strokes while keeping an eye on the thickness of each layer. This will help prevent any inconsistencies in texture from appearing on your painted surface.
Managing Sheen Inconsistencies
Ensuring a smooth and consistent finish on your painted surface can be achieved by paying attention to the type of roller or brush used during application. However, sometimes even with the right tools, sheen inconsistencies can still occur. One way to address this issue is by matching finishes. If your paint has a glossy finish, it is best to use a glossy topcoat as well. Similarly, if you have a matte finish on your paint, choose a matte topcoat for a consistent look.
Another technique for managing sheen inconsistencies is correcting surface imperfections before painting. Uneven surfaces will reflect light differently and result in varying levels of sheen on different parts of the wall. Start by sanding down any bumps or rough spots on the surface before applying primer and paint. This will create an even base for your paint to adhere to and help prevent sheen inconsistencies from occurring. Taking these extra steps may require more time and effort in the short term but will ultimately result in a professional-looking finish that you can be proud of.
Final Thoughts
By making thoughtful choices in paint and primer selection, preparing the surface meticulously, and employing professional application techniques, you can consistently achieve impeccable results.
Maintaining uniform texture requires employing suitable tools and techniques that align with your desired outcome. Likewise, managing sheen inconsistencies necessitates careful consideration of paint finishes tailored to different project areas. By striking the right balance between these factors, you can ensure a cohesive and visually pleasing outcome.
In more complex projects or when seeking a flawless finish, it may be beneficial to engage the services of a commercial painting company. Professional painting services offer expertise in managing texture and sheen inconsistencies, ensuring optimal results. Their knowledge and experience can alleviate the burden and deliver exceptional outcomes for your projects. With these insights and expert guidance at your disposal, you can approach any painting endeavor with confidence and skill. Embrace the transformative power of a fresh coat of paint and enjoy the satisfaction of a job well done. Happy painting!

