Properly repairing textured ceilings is crucial to prevent the growth of mold and mildew. If the ceiling is not fixed correctly, it may fail to keep water out, leading to moisture buildup that fosters unsightly mold and mildew growths.
This article offers a comprehensive guide on how to repair a textured ceiling correctly, so you can avoid any mold or mildew issues in the future. We’ll discuss the necessary materials for the job, how to prep the surface before starting, and the essential steps to take, such as sealing seams and applying waterproofing sealant once the ceiling is patched up.
With these expert tips, you can tackle the task yourself or hire professional ceiling repair services to ensure that your repairs are durable and prevent water damage.
What Materials Are Needed For The Job?
Repairing a textured ceiling is crucial for maintaining a mold and mildew-free home, but it requires specific steps to be followed to ensure success.
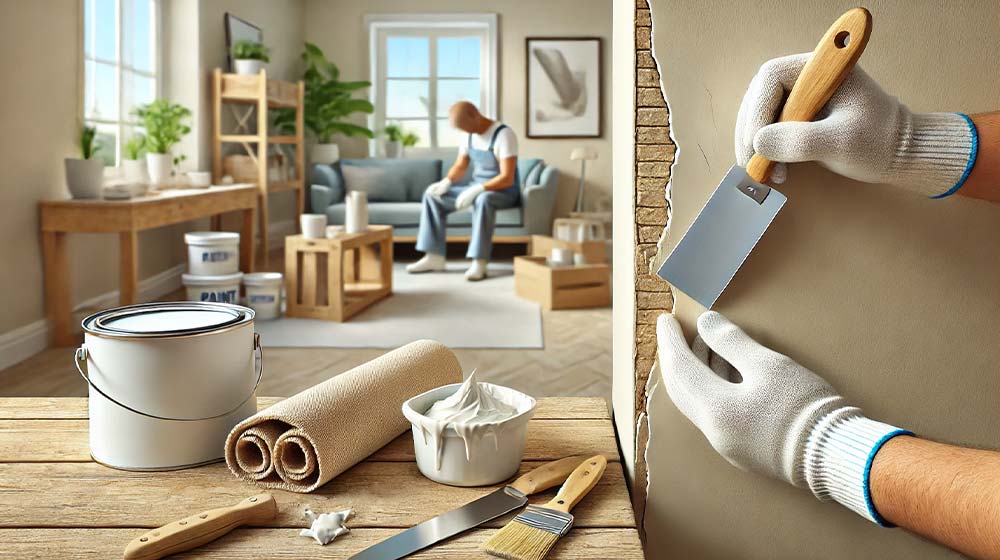
Before starting the repair process, it’s essential to gather all the necessary materials, including joint compound for filling holes and cracks, sandpaper or sanding sponges, patch material, taping knife, texture paint sprayer (optional), drop cloths, painter’s tape, warm water, cleaning solution, and protective gear.
Depending on the extent of the damage, additional supplies such as mesh drywall tape and primer/sealer may also be required. Once all the necessary components are assembled, it’s time to prepare the surface for repair.
This involves cleaning the damaged area with warm water and a cleaning solution, wearing protective gear to avoid any health hazards, and laying drop cloths to protect the surrounding area from debris.
With the surface clean and prepped, you can move on to the repair process, using the gathered materials to fill any holes or cracks and add texture to the surface.
By following these steps and taking the necessary precautions, you can successfully repair your textured ceiling and prevent further damage to your home.
Preparing The Surface For Repair
Before beginning any repair work, it’s essential to prepare the surface for patching. This is done by cleaning and removing debris, then lightly sand the area to be patched.
Here are a few steps you should take:
- Cleaning: First, use a vacuum cleaner or brush to remove dirt, dust, and other particles from the ceiling. Also, check for mold or mildew that may need special treatment before repairing.
- Sanding: Next, use 120-grit sandpaper to lightly abrade the surface of the hole in order to provide an even base for the patch material. Make sure not to over-sand as this can cause more damage than good!
It’s important to take extra care when preparing the area as this will ensure a successful repair job. Taking your time with these preparatory steps will also make applying patching compound much easier and less messy. With everything prepped and ready, let’s move on to how we apply the patching compound.
Applying Patching Compound
To illustrate the proper repair of a textured bathroom ceiling, consider a family who purchased a home with visible signs of mold and mildew on the bedroom ceilings. Upon investigation, they discovered that water had been seeping in through cracks and seams in the roofing material above.
To address the issue, they decided to repair the bathroom ceiling by applying patching compound over visible cracks and texturing it to match the surrounding textured surface.
They sanded down the existing surface until it was smooth, applied mesh tape over each crack or seam to add extra strength and spread a layer of premixed mud across all areas that needed coverage. Using trowels, they flattened out any bumps and allowed the surface to dry overnight.
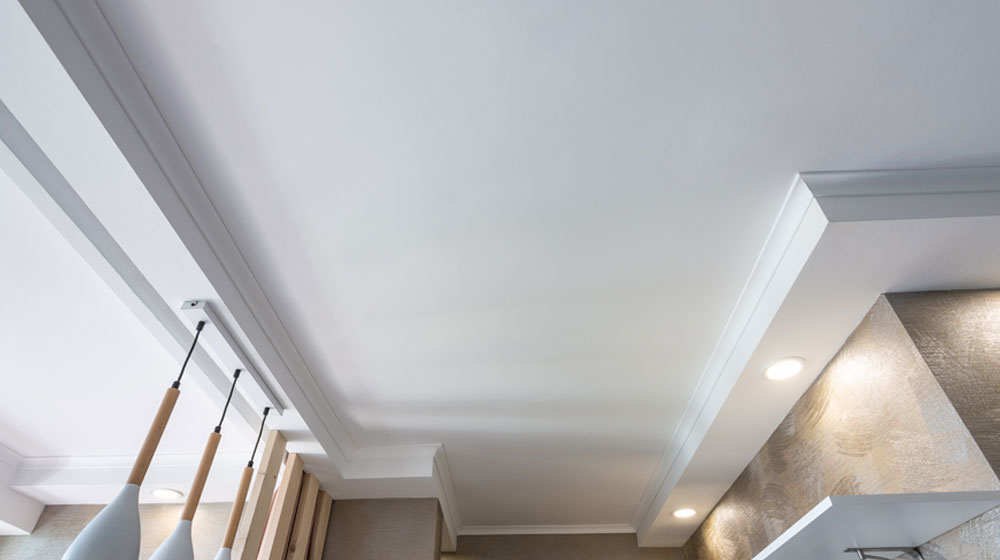
By following this simple yet effective process, the ceiling was ready for painting, bringing them one step closer to a healthier living environment free from potential moisture-related problems such as mold colonies and mold spores.
In the future, it will be important to seal off these seams to ensure that no further damage is done to the bathroom ceiling due to the humidity level.
Sealing Off Seams
It’s important to note that when applying the waterproofing sealant, you should follow the manufacturer’s instructions carefully to ensure proper application and drying time.
Before applying the sealant, make sure the surface is clean and free of any dust, debris, or loose particles. You can use a damp cloth or sponge to clean the surface and let it dry completely before starting.
When applying the sealant, use a brush, roller, or sprayer depending on the type of sealant and the surface you are working on. Be sure to apply an even coat and work the sealant into any cracks or crevices.
Allow the sealant to dry completely before adding any finishing touches or painting the ceiling. This may take several hours or even a full day depending on the product and conditions in your home.
By taking these steps to properly seal and waterproof your acoustic ceiling, you can help prevent water damage, mold growth, and other issues that can affect the health and safety of your home.
Adding Waterproofing Sealant
Repairing a textured ceiling can be an important step in preventing mold and mildew, but it is also essential to add waterproofing sealant. To ensure the best protection against moisture, homeowners should take these three steps:
- Clean the surface of dust, dirt, grease, and grime.
- Apply a primer to create an even base for the sealant to adhere to.
- Paint on the waterproofing sealant with a brush or roller specifically designed for use with such products.
Once the waterproofing sealant has been applied, it will help protect against water damage and keep surfaces dry; in turn, helping to inhibit mold growth and mildew accumulation.
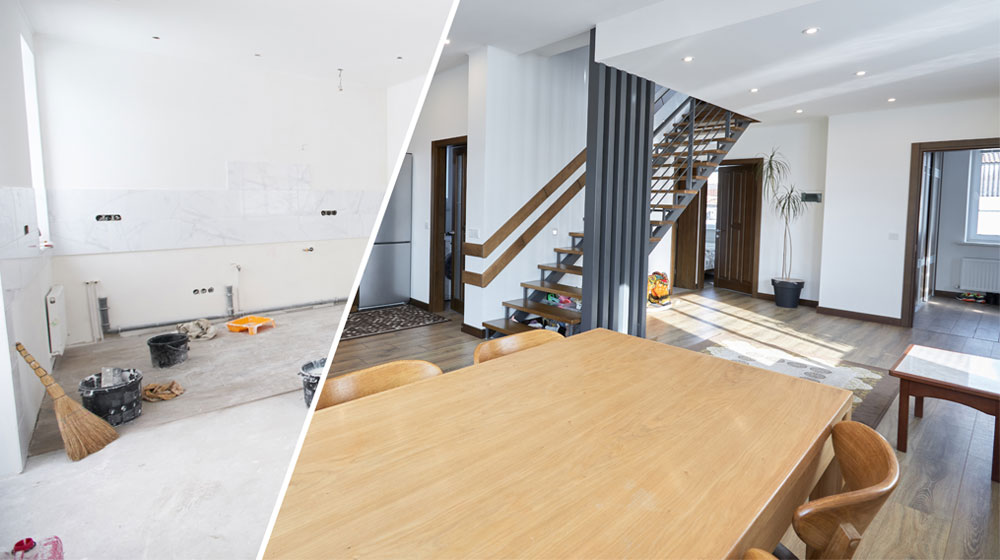
This process may take some time, but it is well worth investing in this preventative maintenance measure so that your ceilings remain healthy over time.
Poor ventilation and high levels of humidity can create the perfect environment for mold and mildew growth in your home. If left unchecked, this can lead to health issues and costly repairs. However, by properly repairing your textured ceilings, you can prevent these problems from developing in the first place.
To get started, you’ll need a few supplies, including a patching compound, a waterproof sealant, and the ability to seal off seams and cracks to prevent water leaks. It’s important to take the time to properly prepare the surface before starting any repairs to ensure a long-lasting fix.
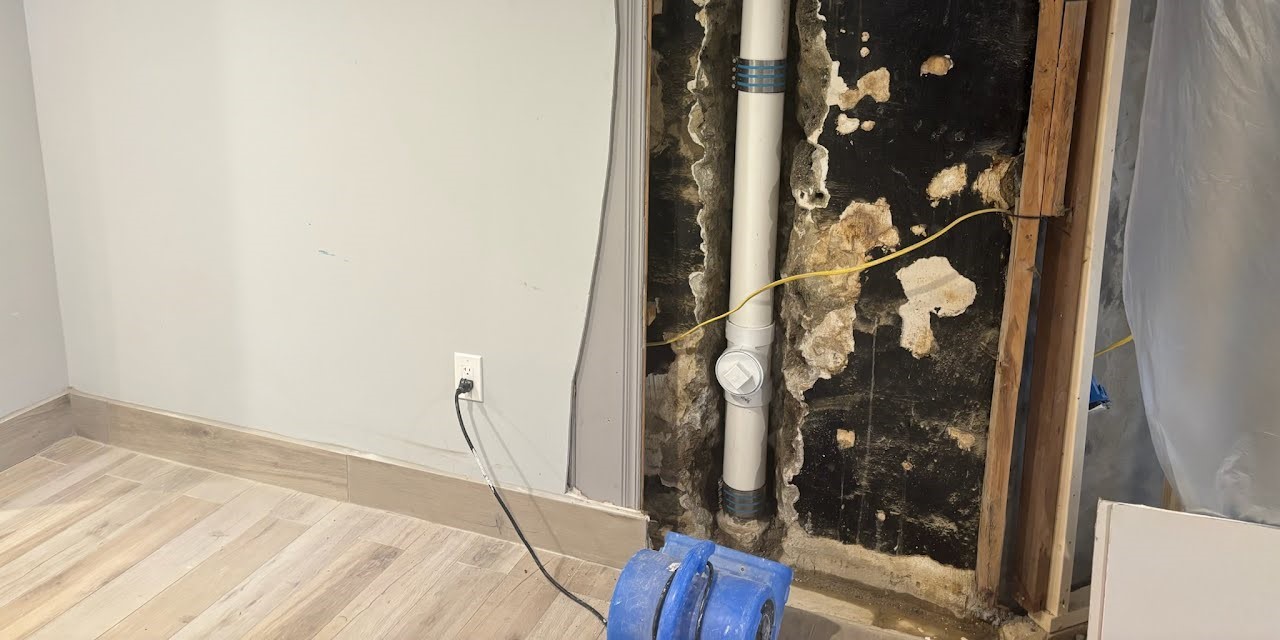
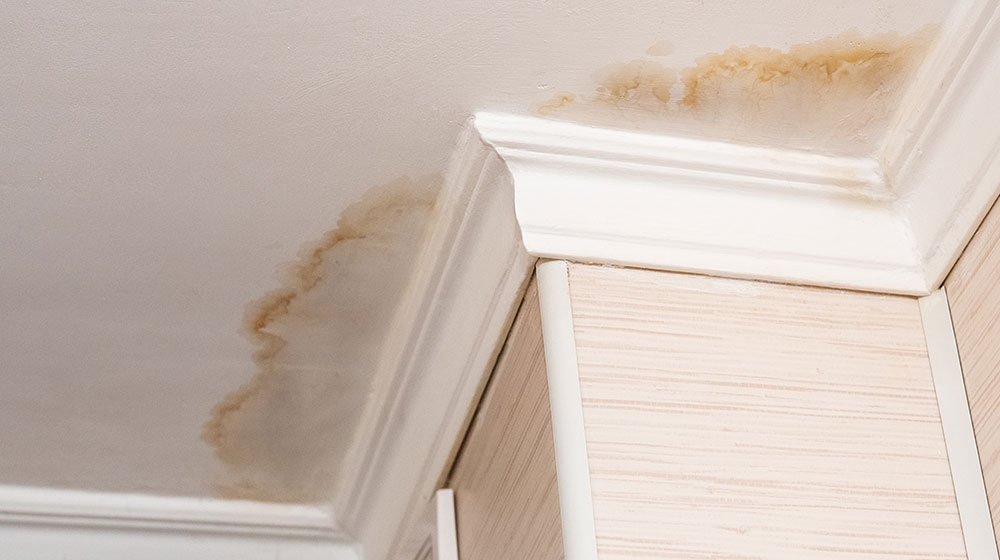
Dark spots on your ceiling can be a sign of water damage, which can lead to mold and mildew growth. By addressing these issues promptly and thoroughly, you can prevent further damage and avoid costly repairs in the future.
According to estimates, up to 84% of American homeowners have experienced issues with mold or mildew in their homes. By taking steps to properly repair your textured ceilings, you can protect your health, your home, and your wallet from the negative effects of these pesky problems.