Installing drywall tape can be an intimidating task for any homeowner, but it doesn’t have to be! With a few simple tips and tricks, anyone can learn how to install drywall tape like a pro. Whether you’re doing minor repairs or completing a major renovation project, mastering the art of taping will ensure your walls look neat and professional. In this article, we’ll provide all the information you need to become an expert at installing drywall tape.
From selecting the right materials to properly applying the tape, following these steps will guarantee success every time. We’ll also include some advice on troubleshooting common issues that may arise during installation. So grab your supplies and get ready—it’s time to become a master of drywall taping!
Selecting The Right Materials
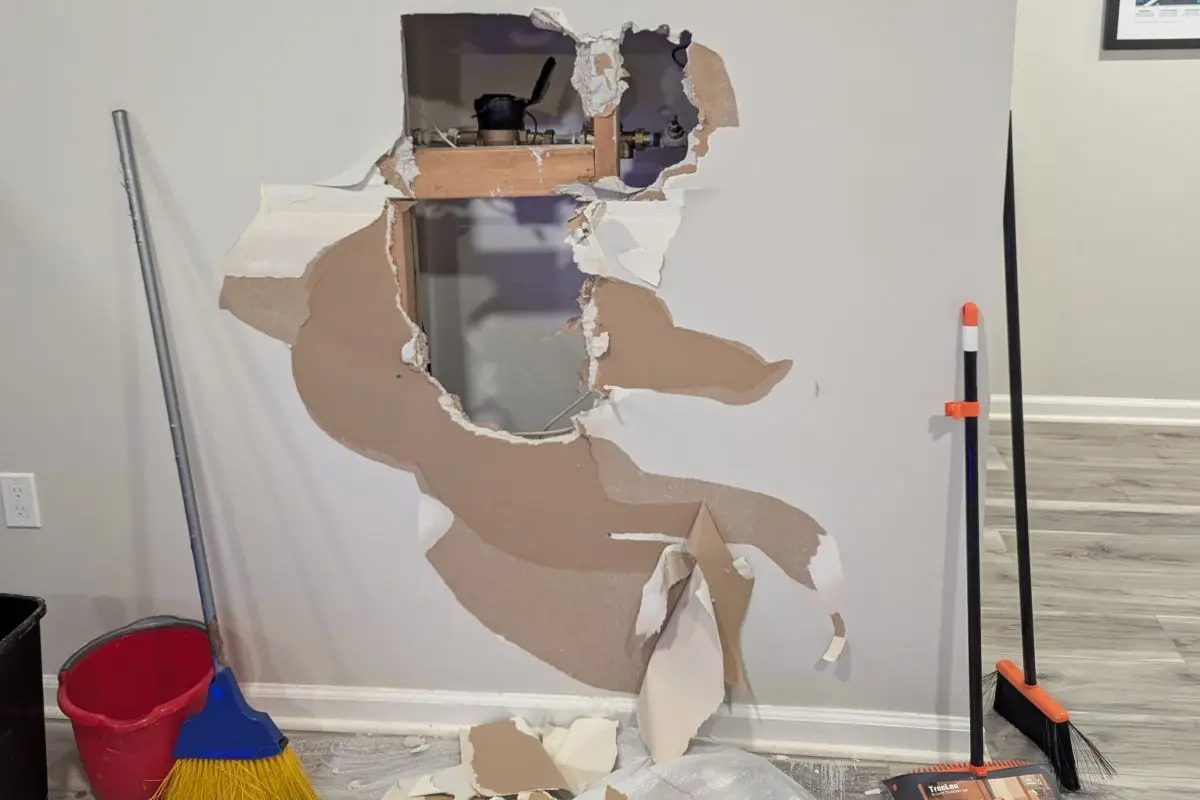
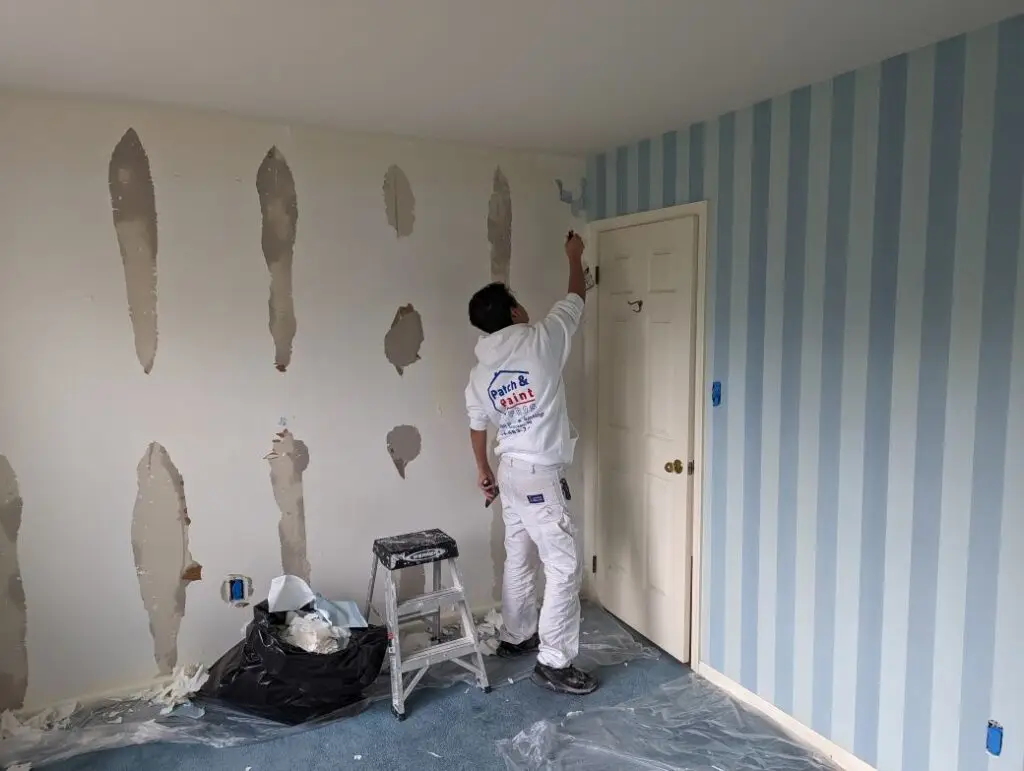
Prepping the surface for drywall tape is an essential step in creating a smooth and even finish. It can be easy to overlook this step, but taking the time to properly patch any holes and sand down edges will create a solid foundation for your tape to adhere to.
Patching any small imperfections in the wall requires patience and attention to detail if you want the best results. Start by filling any holes or cracks with spackling or drywall mud. Use a putty knife to smooth out the surface, and let the mud dry completely before moving on to the next step.
Sanding down any protrusions or rough spots is also a crucial part of prepping the surface. Use a sanding block or sandpaper to smooth out any rough edges, making sure to work in long, even strokes. Be careful not to sand too aggressively, as this can damage the drywall panel and create even more imperfections.
After patching and sanding, it’s time to apply the tape. There are two types of tape commonly used for drywall installation: paper tape and mesh tape. Paper tape is typically used for inside corners, while mesh tape is better for flat seams and outside corners.
To apply the tape, first, spread a thin coat of drywall mud over the joint where the tape will go. Then, press the tape into the mud, making sure it adheres firmly and smoothly. Use a drywall knife to smooth out any excess mud and ensure that the tape is firmly in place.
Once the tape is in place, it’s time to add additional coats of mud to create a smooth finish. Start by applying a thin coat of mud over the tape, using long, even strokes to smooth it out. Let this coat dry completely before moving on to the next.
Depending on the size of the joint and the desired finish, you may need to apply multiple coats of mud. Each coat should be progressively wider than the last, with the final coat extending several inches beyond the joint on either side.
After the final coat has dried, it’s time to sand down any rough spots and apply the finish coat. The finish coat is a thin layer of mud that is applied over the joint to create a smooth, even surface. Use a drywall knife to apply the finish coat, making sure to feather the edges out smoothly to blend it into the surrounding wall.
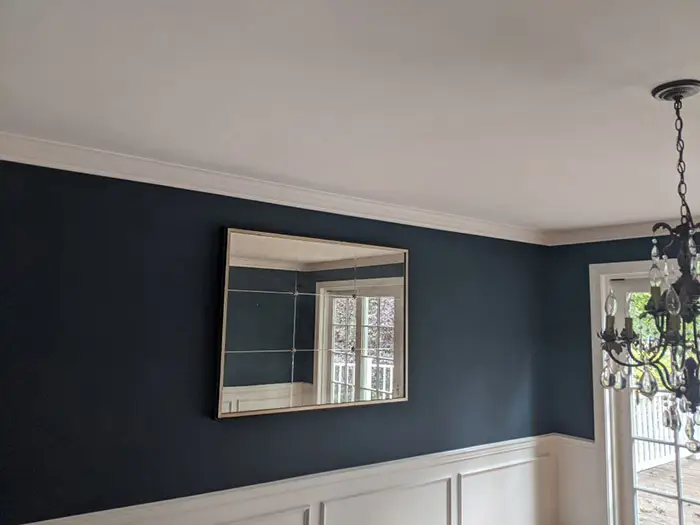
When it comes to DIY drywall installation, prepping the surface properly is key to achieving a polished and seamless finish. This involves patching any imperfections, smoothing out rough spots, and applying drywall patches accurately to create a strong base for additional layers of joint compound. By taking the time to do this correctly, you can ensure a professional-looking result that will make you proud of your handiwork.
Prepping The Surface
Before applying the tape, it’s important to first cover the drywall seams with a thin coat of drywall mud. Then, use drywall nails or screws to secure the drywall panel in place. Once the panel is securely in place, apply a second coat of mud over the seams and let it dry completely.
After the first two coats of mud have dried, it’s time to add the finish coats. Start with a thin layer of mud and spread it evenly over the seams using a drywall knife. Repeat this process for each subsequent coat of mud, making sure to let each layer dry completely before applying the next one.
As you apply each coat of drywall mud, be sure to remove any excess compound that may have accumulated. This will help ensure a smooth and even finish once the taping is complete. With careful attention to detail and a bit of patience, your drywall tape will look professional and flawless.
Applying The Tape
When it comes to installing drywall tape, the task can seem intimidating for first-time DIYers. But with a few tips and tricks, you’ll soon be taping like a pro! Here are five tools that will help make your drywall installation process easier:
- A utility knife – essential for cutting through thick pieces of drywall or gauging length around corners.
- An electric screwdriver – perfect for driving screws into hard surfaces quickly and efficiently.
- Joint compound (also known as mud) – used to fill in cracks and seams between two pieces of drywall.
- Sandpaper – helps blend joint compound until smooth and even.
- Drywall tape – necessary for covering up any gaps between the sheets of drywall before painting.
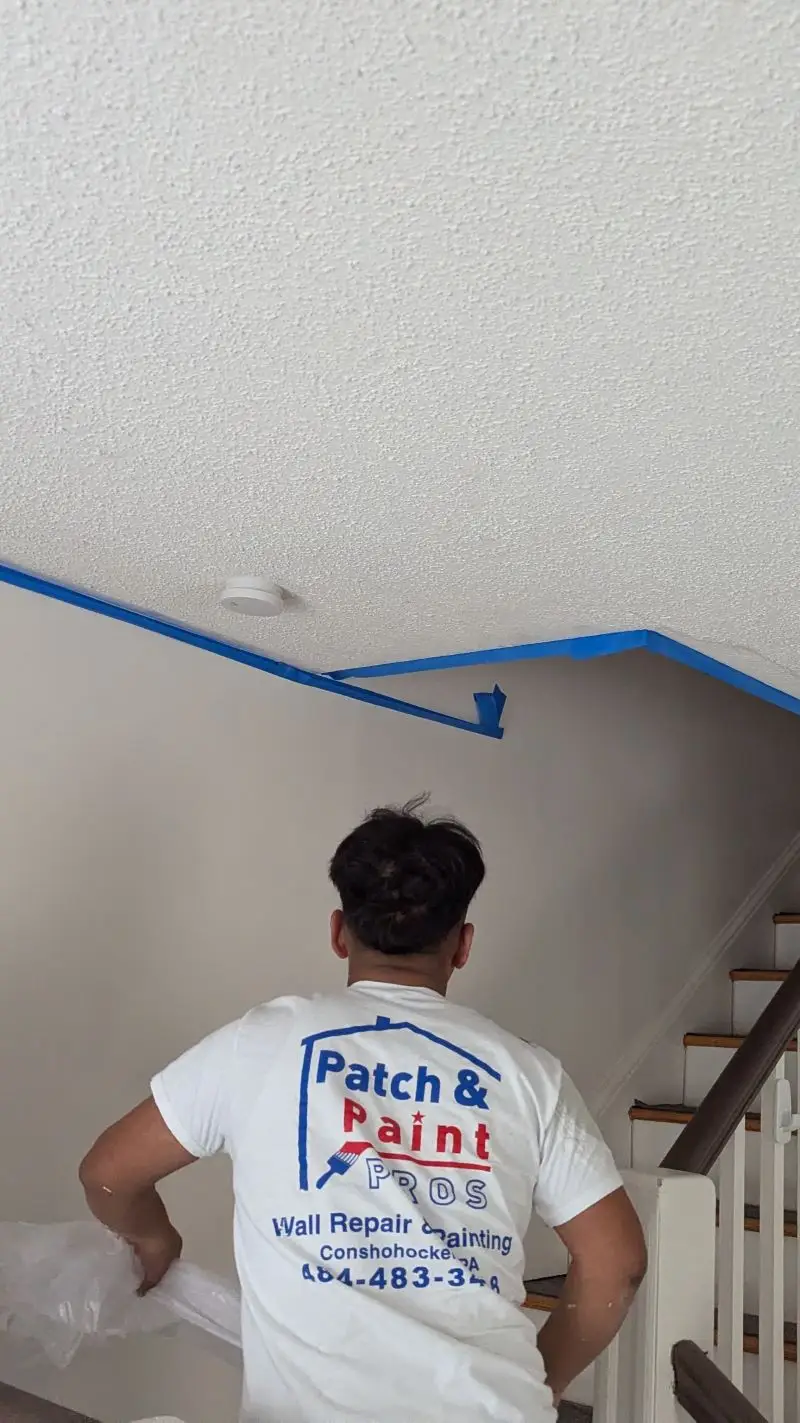
Once all these supplies have been gathered together, it’s time to begin applying the tape. For best results, start by measuring out the exact length needed then cut accordingly using a sharp utility blade or scissors. Be sure to press firmly on each side of the joint while unrolling the adhesive tape along its entire length. This should ensure that there aren’t any bubbles or wrinkles when finished. Finally, use some more joint compound over the taped area to cover up any imperfections and
Finishing Touches
According to recent surveys, drywall taping is often considered one of the most challenging aspects of DIY projects, with nearly 80% of home remodelers struggling with it.
However, there are some simple tips to help you achieve a professional finish, such as applying a thin layer of mud or joint compound over the drywall sheet before adding the tape. This ensures a smoother surface for the tape to adhere to, resulting in a more seamless finish.
When it comes to drywall corners, applying a layer of mud before installing the tape will create a stronger bond and prevent the tape from lifting or cracking over time. After the tape is installed, add a second coat of mud over the top to ensure a smooth finish.
Once the mud has dried, sanding is necessary to level out any excess compound and achieve a smooth finish. Be sure to remove any excess compound, dust, or debris before proceeding to the next step.
By following these techniques and taking your time, your drywall taping project can look just as professional as any experienced handyman.
Troubleshooting Common Issues
To achieve a flawless finish on your drywall project, it’s important to pay attention to some key details. One common issue is achieving neat and clean wall corners. To ensure your corners look sharp, use a corner bead or fold the paper tape in half and use it to cover the wall corner. Apply a thin layer of drywall mud and use a drywall knife to feather it out to a smooth finish.
Another important consideration is the type of drywall mud you’re using. Some are designed for specific applications, such as filling large gaps or creating a smooth finish. Be sure to select the appropriate type for your project.
When applying the mud, use a thin layer at first, then add additional layers as needed. Be sure to allow each layer to dry completely before applying the next, and use a drywall knife to smooth out any excess compound.
By paying attention to these details, you can achieve a professional-looking finish on your drywall project.
Final Thoughts
Properly installing drywall tape can make the difference between a beautiful wall finish and an ugly, bumpy mess. With some practice and patience, you’ll be taping like a pro in no time! The average person takes about 20 minutes to install 15 feet of drywall tape – that’s less than two minutes per foot! So don’t let the task of taping intimidate me; I can do this with ease!
After all, if I take my time, use the right materials, and follow these tips correctly, I’m sure to create professional-looking walls every time.

