Are you tired of seeing those unsightly paint drips and brush strokes on your walls? Have you tried to fix them yourself, only to make the problem worse? Don’t worry, you’re not alone. Many homeowners struggle with achieving a smooth and flawless paint job.
Fortunately, there are techniques that professional interior painters use to fix these imperfections. From sanding and repainting to using paint additives, these experts have a few tricks up their sleeves. In this article, we’ll explore some of the most effective ways to get rid of paint drips and brush strokes so you can achieve a beautiful finish in your home. So sit back, relax, and let’s dive into the world of professional painting techniques.
Sanding and Smoothing Out Imperfections
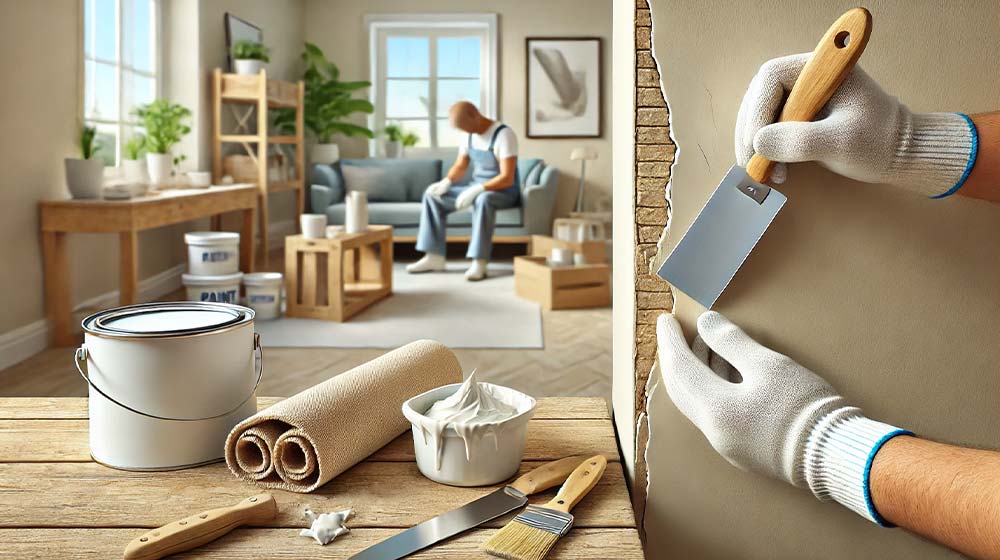
If you want a flawless finish, sanding and smoothing out imperfections is key! Start by using fine grit sandpaper to gently remove any drips or brush strokes from the surface. It’s important to use a light touch, as too much pressure can create even more imperfections.
For larger imperfections or gaps in the surface, consider using wood filler. Apply it with a putty knife and allow it to dry completely before sanding it down with fine grit sandpaper. If you’re dealing with water-based paint, wet sanding can also be an effective technique for achieving a smooth finish. Use a damp sponge or cloth to keep the surface moist while you sand away any imperfections. With these techniques in your tool kit, you’ll be able to achieve a professional-looking paint job that will have everyone thinking you hired an expert!
Repainting the Affected Areas
Now that you’ve sanded and smoothed out the imperfections on your walls, it’s time to repaint the affected areas. Before applying a new coat of paint, make sure to prepare the surface by cleaning it thoroughly and allowing it to dry completely. Use the right tools and paint for your project, and apply thin layers of paint to ensure optimal coverage without creating additional imperfections.
Prepare the Surface for Repainting
To properly prepare the surface for repainting, you’ll need to use a sanding block or paper to smooth out any rough areas and remove old paint chips. This step is crucial in achieving a smooth and even finish on your walls. Once you’ve sanded down the affected areas, it’s important to clean up any dust or debris left behind.
Here are three things to keep in mind when preparing the surface for repainting: 1. Choose the right primer: When selecting a primer, make sure it’s compatible with both the type of paint you’re using and the material of your walls. 2. Fill in cracks and holes: Before painting, fill in any cracks or holes using spackle or putty. This will help create an even surface for painting. 3. Sand lightly between coats: After applying primer and paint, lightly sand between coats to remove any bumps or imperfections that may have formed during application.
Use the Right Paint and Tools
Using the correct paint and tools is essential in achieving a flawless finish on your walls. When it comes to choosing the right tools, you must consider the size of the area you want to paint and the type of surface you are working with. For instance, if you’re painting a large area, a roller would be more efficient than using a brush. If you’re working with uneven surfaces or intricate details, brushes may be necessary.
Another crucial factor in achieving an excellent result is using high-quality paint. Cheaper paints tend to have lower pigment levels, which can result in uneven coverage and require more coats. Good quality paint will provide better adhesion, durability, and color retention. It’s also important to note that some paints are formulated for specific surfaces like wood or metal.
Choosing the right tools and using high-quality paint can make all the difference when it comes to achieving a professional-looking finish on your walls. Take the time to research your options before starting your project so that you can select what works best for your specific needs.
Apply the Paint in Thin Layers
Start by applying the paint in thin layers, so that you can build up the coverage gradually and avoid any unsightly clumps or streaks. This technique allows you to have more control over the painting process and ensures a smooth finish. Here are some tips for proper technique:
- Use a high-quality brush or roller to apply the paint evenly.
- Avoid heavy application of paint as it can lead to drips and brush strokes.
- Wait for each layer to dry completely before applying another coat.
- Apply multiple coats if necessary, rather than trying to achieve full coverage with one thick layer.
By using these techniques, you can achieve a professional-looking result without having to hire an expert painter. Remember that patience is key when it comes to painting; taking your time and applying thin layers will ensure a flawless finish that will last for years to come!
Feathering Out the Edges
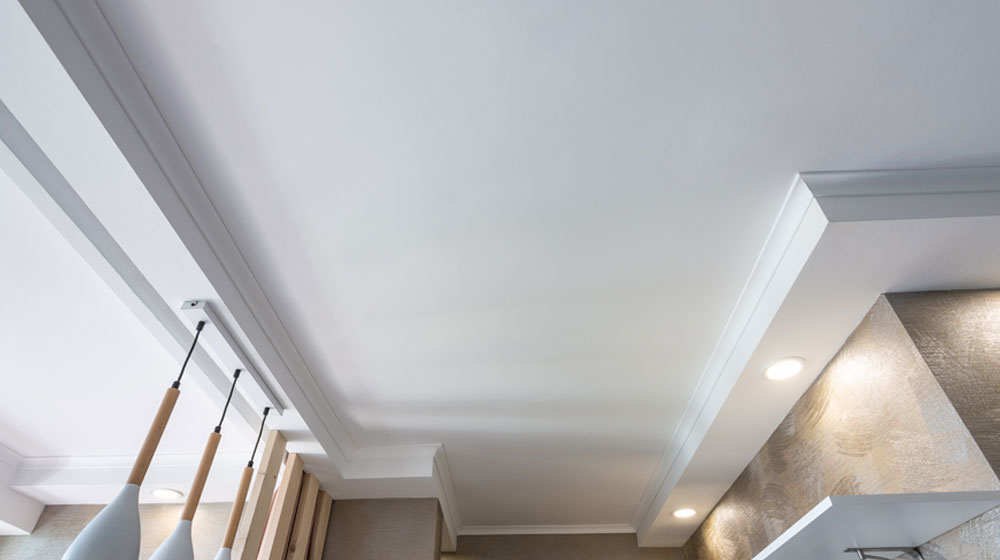
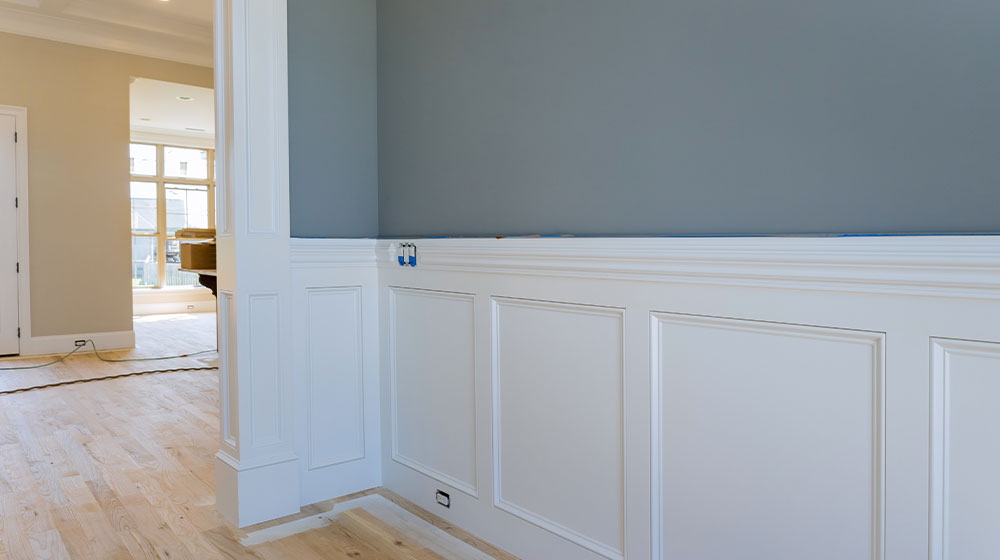
When painting walls, interior painters employ a blending technique known as feathering out the edges to seamlessly integrate brush strokes and drips with the surrounding area. This technique requires a delicate touch, using only the tip of a brush or roller. By starting at the painted edge and gently working inward, a gradual fade is created, effectively blending any imperfections into the overall paint job.
Achieving a perfect color match is crucial when feathering out edges. The new coat of paint must harmonize flawlessly with the existing paint. Even subtle variations will become apparent once the feathering technique is applied. Therefore, before commencing your paint project, ensure you have an ample supply of paint for touch-ups, and verify that all materials are sourced from the same batch to guarantee a seamless match. Armed with this approach, any paint drips or brush strokes can be easily rectified, resulting in a flawless finish courtesy of a reputable painting company.
Using a Paint Additive
Discover the remarkable impact a paint additive can have on your house painting project. A paint additive is a substance blended into the paint, elevating its performance while addressing concerns like brush strokes, drips, and splatters. These additives are primarily used with latex paints, although certain ones are compatible with oil-based paints as well.
In today’s market, you can find a variety of paint additives, each offering specific advantages. One example is flow control additives, which enhance paint fluidity and spreadability. They prove particularly valuable when dealing with darker colors or when painting expansive surfaces, minimizing resistance and ensuring a smoother application. Another popular type is extender additives, which lengthen drying time, granting you more flexibility to work on your project and reducing undesirable marks or brush strokes. Additionally, you can explore other additives such as anti-foaming agents, anti-settling agents, and mildewcides, among others. It’s crucial to assess the problem you wish to address and the benefits provided by each product before selecting an additive that best aligns with your requirements.
With the aid of a paint additive, your house painter can achieve outstanding results, transforming your walls with multiple coats of paint. When considering house painting services, don’t underestimate the value of incorporating these additives, as they can significantly enhance the overall outcome of your project.
Hiring a Professional Painter
If you’re thinking about giving your home a fresh coat of paint, but don’t want to do it yourself, hiring a professional painter is the way to go. But how do you choose the right one? Consider factors such as experience, reputation, and cost. Once you’ve hired someone, know what to expect during the painting process so that everything goes smoothly.
When to Consider Hiring a Pro
Don’t let the frustration of fixing paint mistakes ruin your DIY project – consider hiring a pro to ensure a flawless finish. While painting can be a fun and rewarding activity, it can also be time-consuming and difficult. Professional painters have the necessary experience and skill to tackle any job, big or small, without making common mistakes such as drips or brush strokes.
When deciding whether to hire a professional painter, consider both the pros and cons. While hiring someone may cost more than doing it yourself, you’ll save time and effort in the long run by avoiding potential mistakes. Additionally, professional-grade paint products usually last longer than those available at hardware stores, so you won’t have to repaint as often. Ultimately, if you want your home’s interior to look its best without sacrificing your own time and sanity, it’s worth considering hiring a pro for your next painting project.
How to Choose the Right Painter
Looking for the perfect painter to bring your vision to life? Choosing the right painter can make all the difference in achieving a professional-looking paint job. One of the best ways to evaluate their skills is by checking out their portfolio. Look for examples of similar projects and see if they match your style and expectations. A good portfolio will showcase a variety of techniques, color combinations, and finishes that demonstrate the painter’s versatility.
Another important factor when choosing a painter is their level of experience. While many painters may claim to be professionals, it’s essential to verify their credentials through references or reviews from past clients. Ask for recommendations from friends or family members who have had successful experiences with painters in your area or check online reviews from reputable sources. By doing so, you can ensure that you’re working with someone who has the necessary expertise and skillset to deliver high-quality results. Don’t rush into making a decision; instead, take the time to find someone who understands your needs and can provide you with an exceptional painting experience.
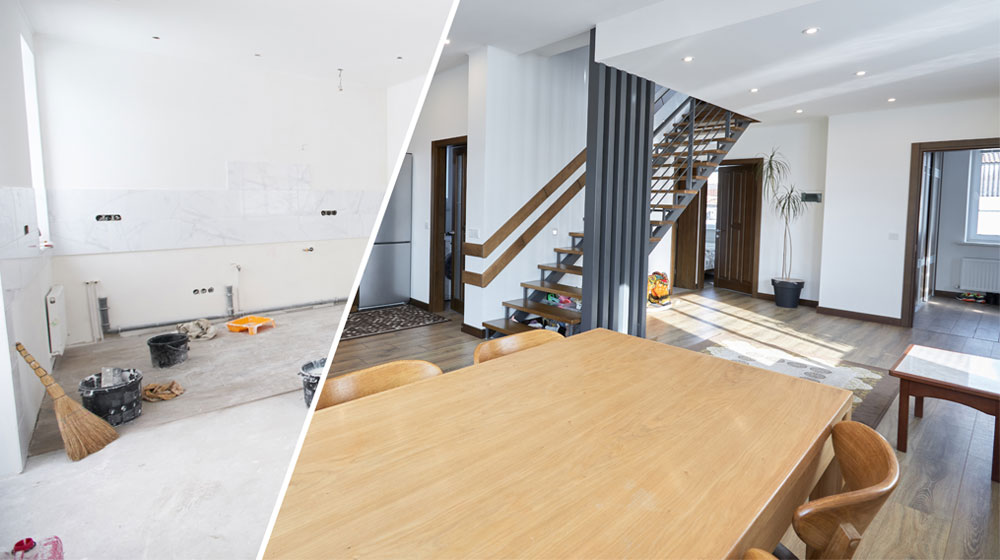
What to Expect During the Painting Process
During the painting process, you can expect the room to be prepped by covering furniture and floors with drop cloths. This is done to protect your belongings from any paint splatters or spills that may occur during the painting process. Additionally, professional painters will take care to tape off areas such as baseboards, trim, and windows to ensure clean lines and a polished finish.
Expectation management is an important aspect of the painting process. Professional painters understand that communication is key in ensuring that their clients are satisfied with the end result. They will keep you informed throughout the entire process, letting you know what they plan on doing each day and addressing any concerns or questions you may have along the way. By employing effective communication strategies, professional painters can ensure that their clients are happy with both the process and outcome of their work.
Final Thoughts
So, there you have it! You now know some techniques that professional interior painters use to fix paint drips and brush strokes. Whether you choose to sand and smooth out imperfections, repaint the affected areas, feather out the edges, or use a paint additive, these tips will help ensure your walls look perfect.
If all else fails or if you simply want to save time and effort, consider hiring a professional painter. They have the experience and tools needed to get the job done efficiently and effectively. With their help, your walls will look flawless in no time!