
Are you looking to add a unique and personalized touch to your home’s interior? One way to achieve this is by incorporating patterns and stencils into your design. By adding these decorative elements, you can create a visually appealing space that reflects your personal style.
Before diving in, it’s important to choose the right patterns and stencils for your space. Consider the overall aesthetic of your home and select designs that complement or contrast with it. Once you have chosen the right patterns and stencils, it’s time to prepare your walls and surfaces for application. With a little bit of effort, you can elevate the look of any room in your home with this creative approach to decor.
Choose the Right Patterns and Stencils
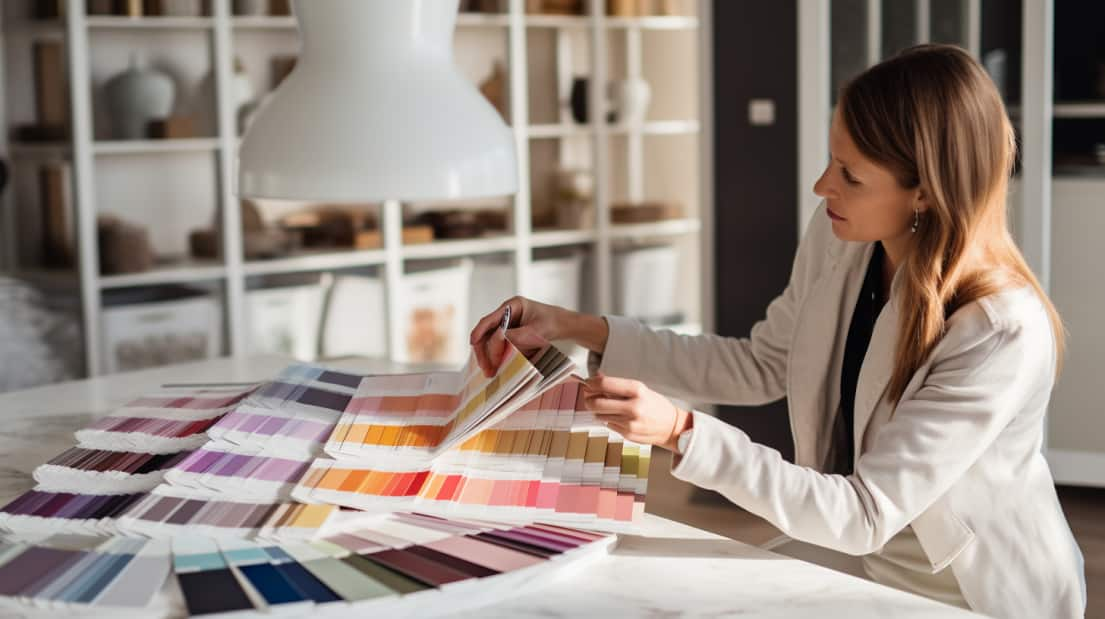
You’ll want to choose the patterns and stencils that speak to you personally, ensuring that your home reflects your unique style and taste. When it comes to pattern selection, consider the size of the space you are working with. For smaller areas, such as a bathroom or entryway, opt for smaller scaled patterns or even geometric designs that create an illusion of more space. For larger rooms, feel free to go bold with larger scale florals or abstract prints.
Stencil placement is also important when adding a personalized touch to your home interior. Stencils can be placed on walls, floors, furniture or even textiles like curtains and pillows. Consider using stencils in unexpected places for added interest and visual appeal. Just remember to keep it balanced – too many stenciled areas can make a room feel cluttered and overwhelming.
Prepare Your Walls and Surfaces
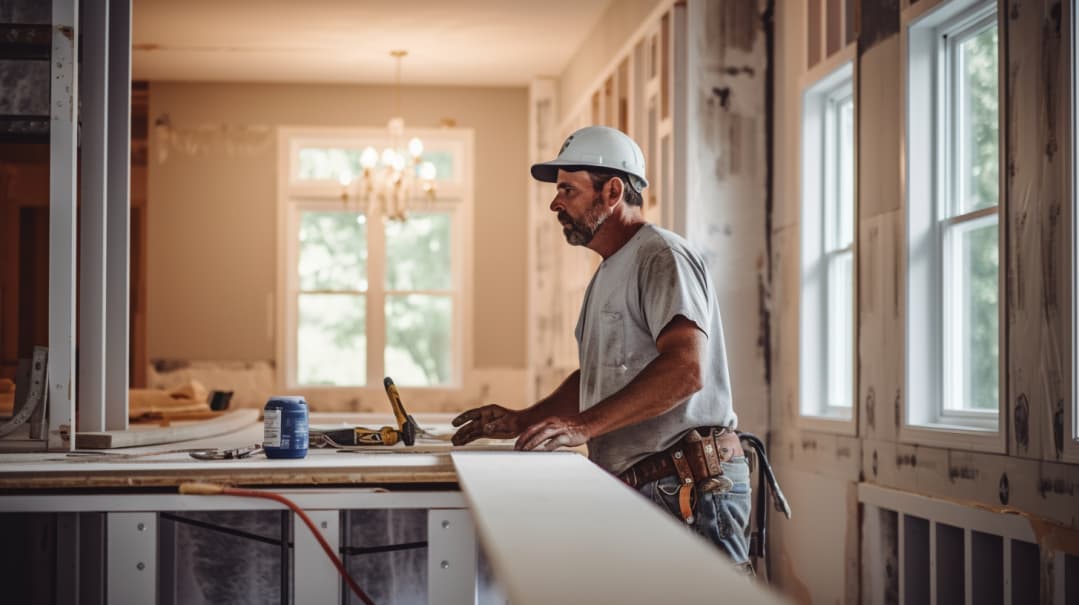
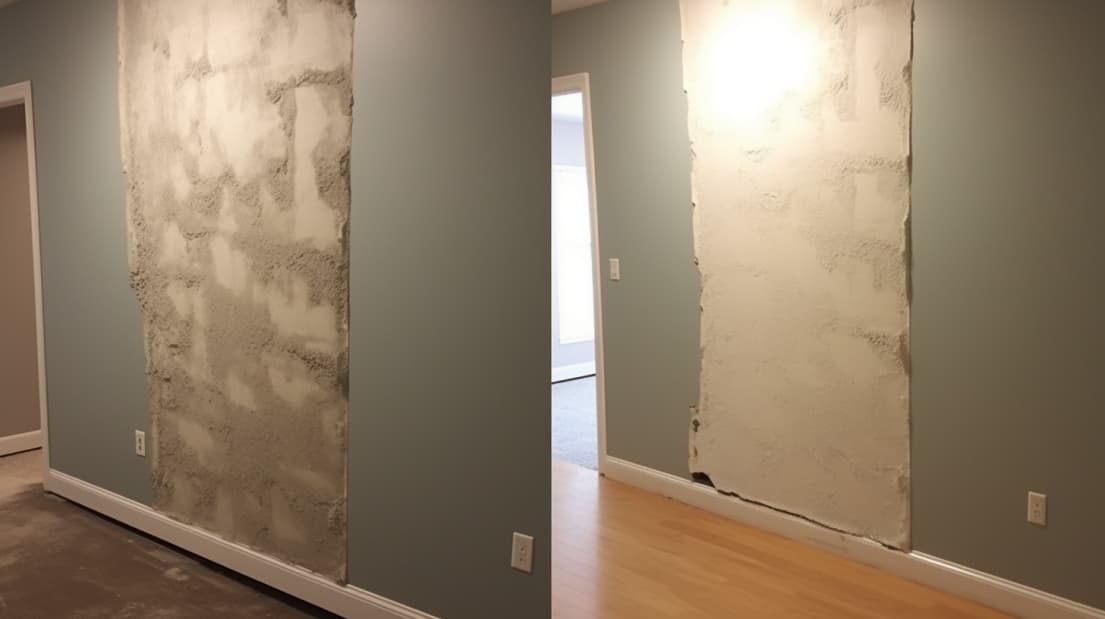
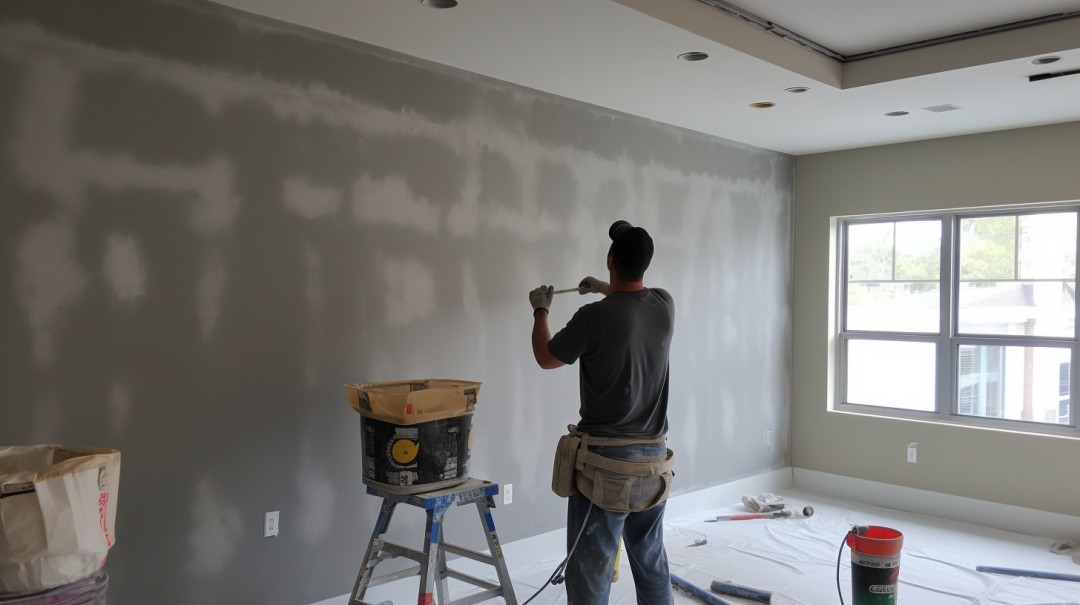
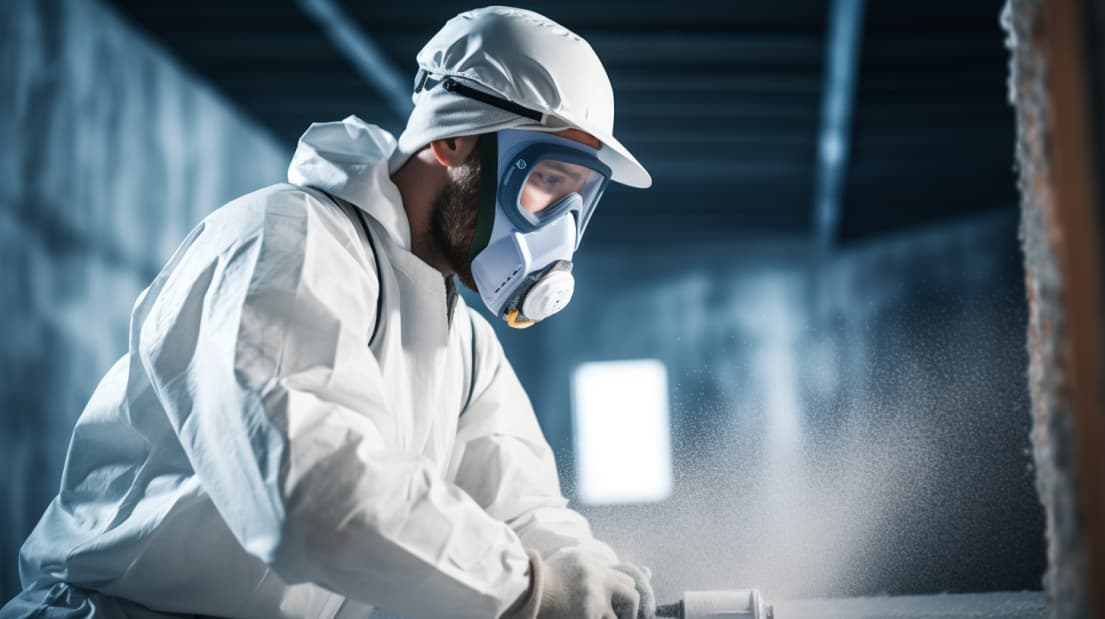
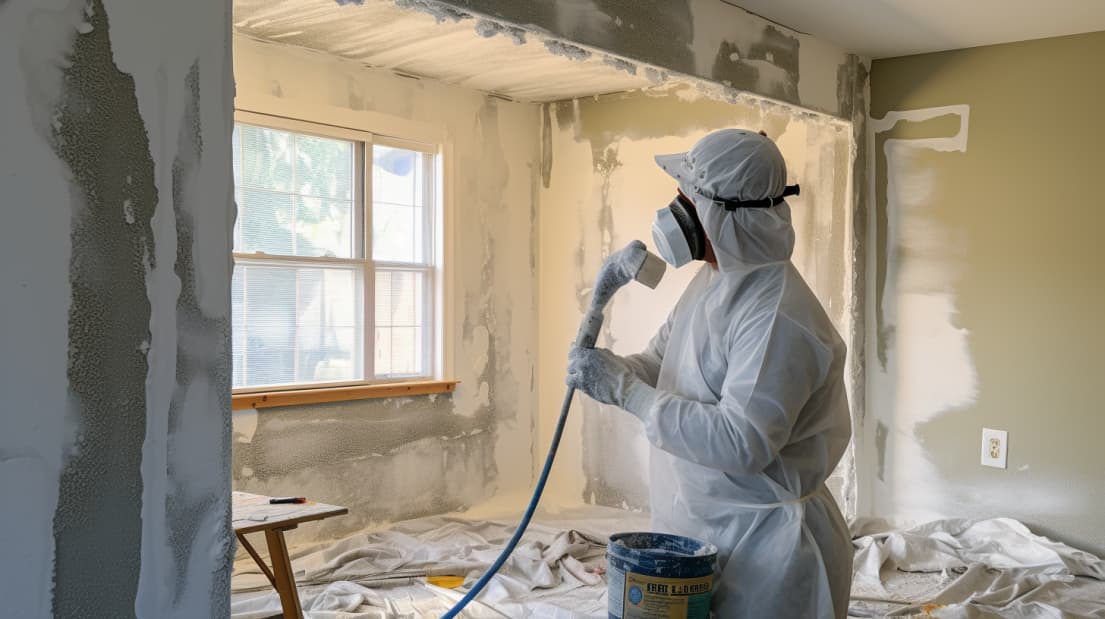
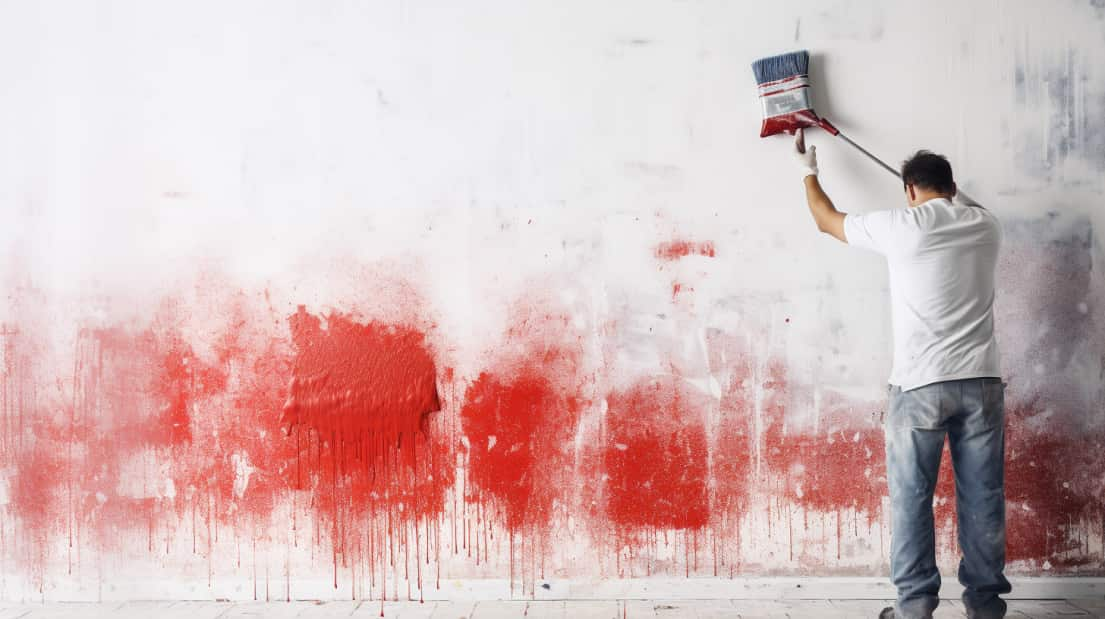
Before getting started, make sure your walls and surfaces are properly cleaned and prepped to ensure a smooth application of your chosen design elements. Surface preparation is crucial in achieving a flawless finish for your patterns or stencils. Begin by wiping down the walls with a damp cloth to remove any dirt, dust, or grime that may have accumulated over time. It’s essential to let the walls dry completely before moving on to the next step.
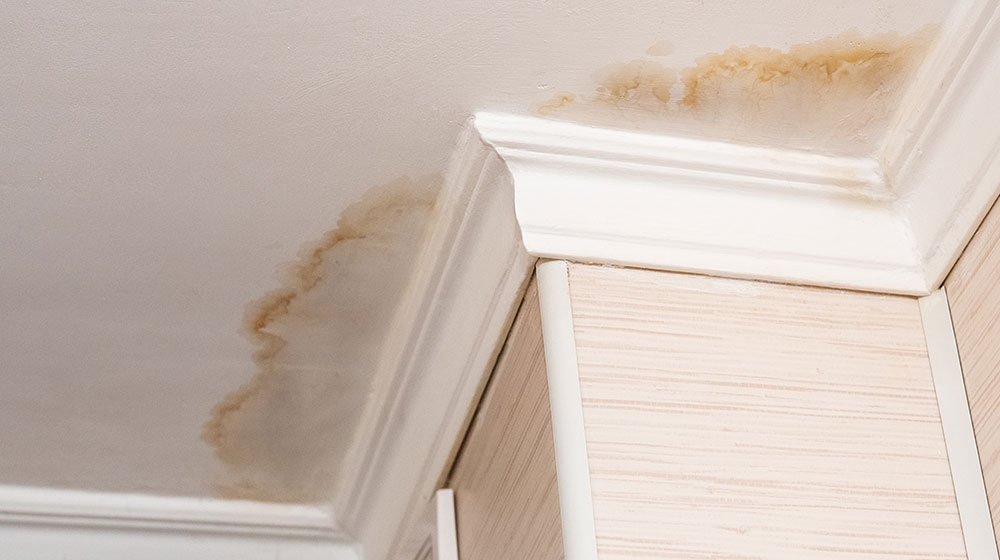
Once you’ve cleaned the surface, it’s time to inspect for any damages such as cracks, holes, or rough areas that may need patching up. Use spackling paste or joint compound to fill in any imperfections and allow it to dry according to its manufacturer’s instructions. Once everything is dried up, lightly sand the surface using fine-grit sandpaper until it’s smooth. Remember that having clean and well-prepared surfaces will help achieve a professional-looking result when applying patterns and stencils. Don’t forget to gather all necessary tools such as brushes, adhesive tapes, paint trays, and rollers before starting your project.
Apply the Patterns and Stencils
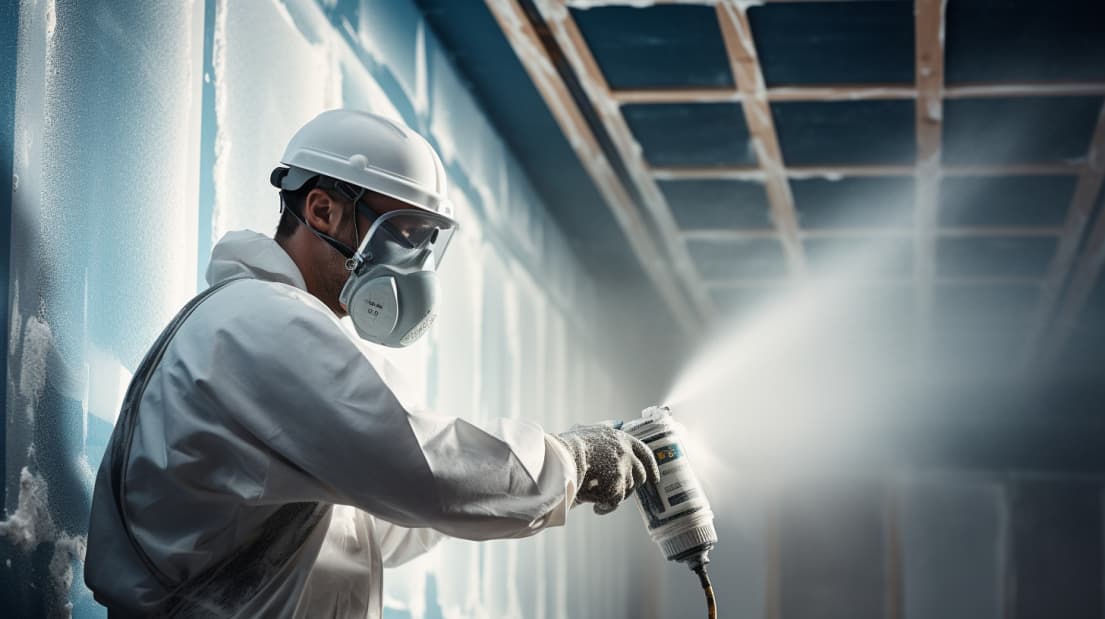
Once walls and surfaces are properly prepped, it’s time to start applying your chosen design elements using the necessary tools. This is where you can really let your creative inspirations run wild! Whether you’re looking to add a classic damask pattern or something more unique like a Moroccan tile stencil, there are plenty of DIY techniques that can help you achieve the look you’re after.
To get started, make sure you have all the supplies on hand for your chosen project. This might include stencils, paint brushes or rollers, tape, and a level to ensure that your patterns or designs are straight and even. Once you’ve gathered everything together, it’s time to start applying the stencils to your wall or surface. Here are three tips to keep in mind as you work:
- Start with a small area: It’s always best to begin with a small section so that you can get comfortable with the process before moving onto larger areas.
- Use light pressure: When applying paint through a stencil, be sure to use light pressure so that you don’t accidentally smudge or smear the design.
- Remove tape carefully: If you’ve used tape around the edges of your stencil, make sure to remove it carefully once the paint color has dried completely. This will help prevent any damage or peeling of the surrounding surface.
With these tips in mind and some patience and practice, adding patterns and stencils to enhance your house interior can be a fun and rewarding DIY project!
Add Finishing Touches
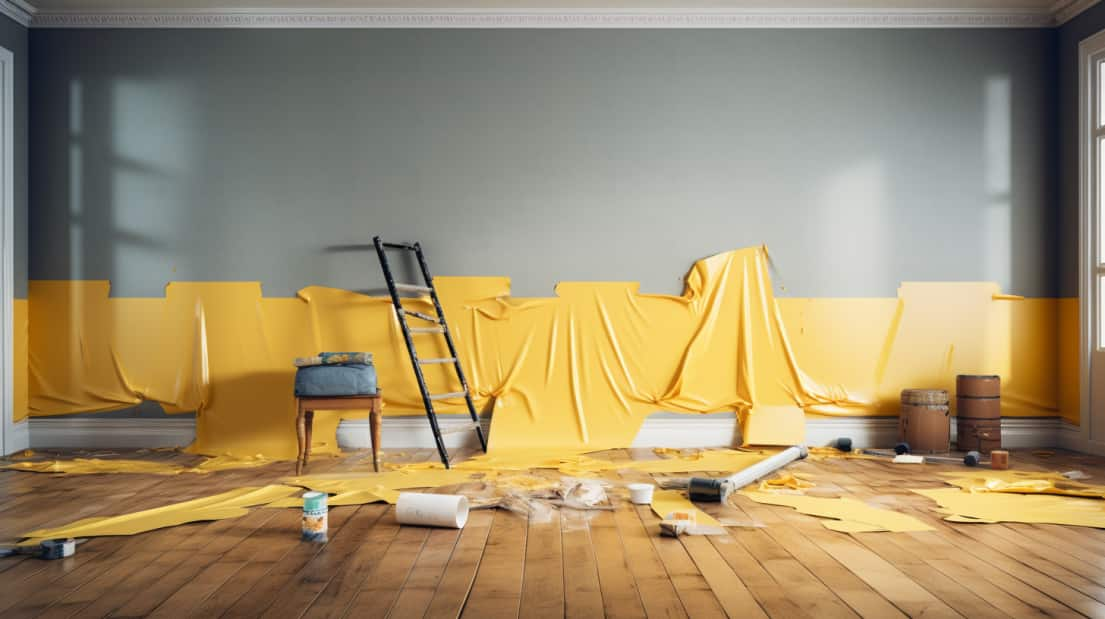
As the incredible design styles come together, it’s time to infuse the room with those final details that will truly make it shine. One crucial aspect to consider during this stage is your color scheme. Harmonizing accent pieces and decor with the colors in your patterns and stencils is key, ensuring they enhance the space without overwhelming it. Introduce pops of color through carefully selected throw pillows, curtains, or even a captivating statement piece of furniture.
In addition to color, furniture placement plays a vital role in perfecting the design concept. Your furniture should not only align with the overall aesthetic but also offer functionality. Allow ample space for comfortable movement, ensuring each piece serves a purpose within the room. Consider adding decorative items like vases or lamps on side tables or shelves to create a cohesive and harmonious ambiance. By paying attention to these small yet significant details, you can elevate your house design from good to extraordinary!
Moreover, staying updated on current design trends can provide inspiration for your finishing touches. Explore the latest design concepts and trends that resonate with your style and incorporate elements that complement your overall vision. Whether it’s incorporating sustainable materials, embracing minimalist aesthetics, or infusing your space with eclectic charm, staying abreast of design trends allows you to infuse fresh and exciting elements into your interior design.
Ultimately, it is through these meticulous finishing touches that the true essence of your design concept emerges, leaving a lasting impression on anyone who enters the room. So, take the time to carefully curate and place each piece, ensuring they seamlessly blend with your overall design vision. With attention to detail and a keen eye for balance, your interior design will transcend from great to truly exceptional.
Maintain and Care for Your Design
To keep your personalized interior design looking its best, you’ll want to make sure you regularly clean and dust all surfaces. This will help prevent any buildup of dirt or grime that can dull the appearance of your pattern or stencil. If you notice any fading or worn areas, be sure to touch them up as soon as possible to maintain a consistent look throughout your space. And finally, consider reapplying the pattern or stencil every few years to keep it looking fresh and vibrant.
Regular Cleaning and Dusting
Keeping your house interior clean and dust-free is essential for maintaining the personalized touch of added patterns and stencils. The beauty of these designs can easily be hidden by a layer of dirt, so it’s important to regularly clean and dust them. Here are some tips to keep in mind:
- Dust before you clean – this will prevent any dirt from smudging or staining the surface.
- Use a microfiber cloth – they are gentle on surfaces and trap more dust than regular cloths.
- Avoid harsh chemicals – stick to mild soap and water or natural cleaning solutions.
- Be gentle when cleaning around edges and corners where the stencil or pattern may be more delicate.
By taking care of your personalized designs, you’ll ensure that they continue to add charm and character to your home for years to come. While hiring professionals may have its benefits, DIY cleaning tips like these can save you money while also giving you the satisfaction of doing it yourself!
Touch Up Any Fading or Worn Areas
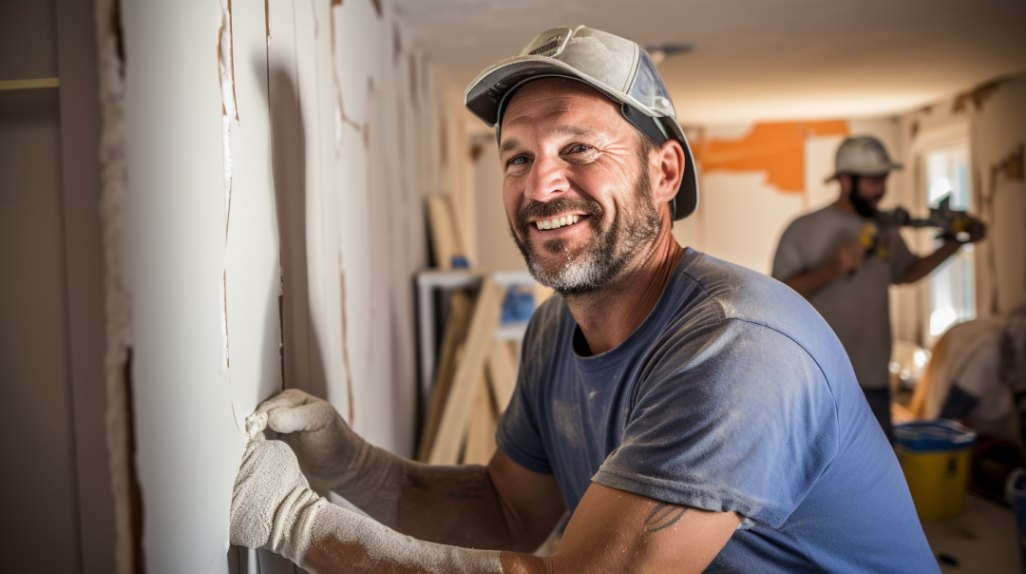
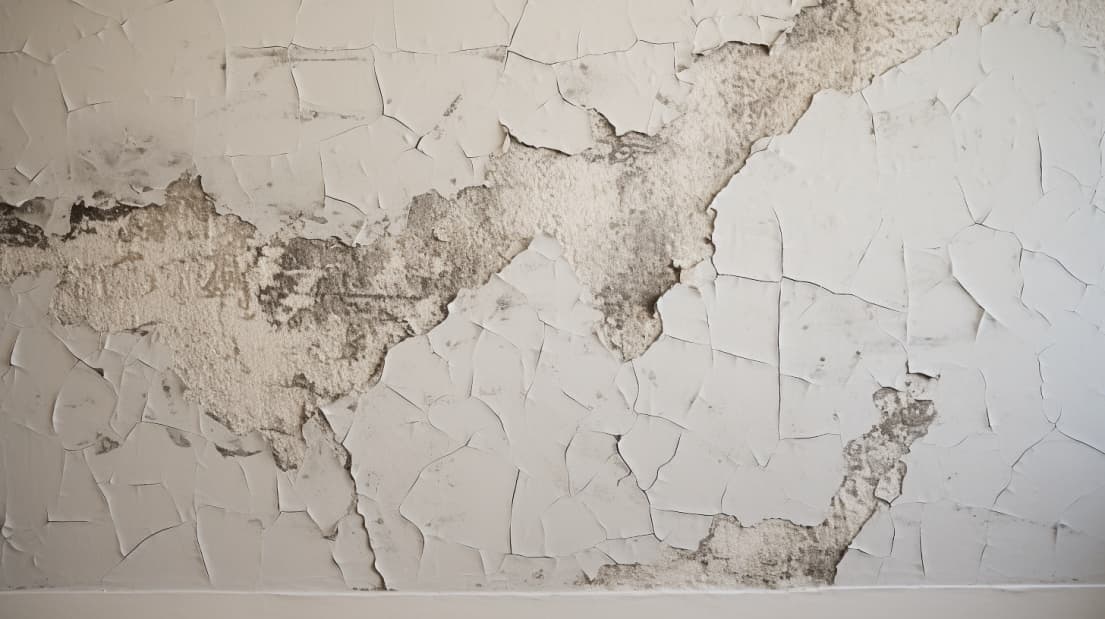
Make sure you touch up any areas that have faded or worn over time to preserve the integrity of your home’s unique aesthetic. There are various touch-up techniques that you can use, depending on the type of surface and the extent of damage. For instance, if you have a painted wall with scuffs or scratches, you can try using a small brush or sponge to apply a matching color over the affected area. You may need to experiment with different shades until you find one that blends seamlessly with the existing paint.
On the other hand, if you have wooden furniture or flooring that has lost its luster, you can consider sanding it down and applying a fresh coat of stain or varnish. This will not only restore its original beauty but also protect it from further wear and tear. Make sure to choose a product that matches the color and finish of the original material as closely as possible. By paying attention to these details, you can ensure that your house maintains its personalized touch for years to come.
Consider Reapplying the Pattern or Stencil Every Few Years
If you’re looking to maintain the unique design of your home’s walls, consider reapplying the pattern or stencil every few years. This will ensure that the design stays fresh and vibrant, and that any fading or wear and tear is addressed promptly. Additionally, reapplying the pattern or stencil can help increase long term durability by preventing any potential damage from becoming more severe over time.
When considering reapplying a pattern or stencil, it may also be worth exploring creative variations on the original design. For example, you could experiment with different colors or textures to create a new look while still maintaining the overall aesthetic of your home’s interior. Ultimately, taking these steps can help ensure that your personalized touch remains a standout feature of your home for years to come.
Final Thoughts
Congratulations on completing your personalized touch project! By adding patterns and stencils to your walls and surfaces, you have truly enhanced the interior of your house. The right patterns and stencils can bring a unique style and personality to any room in your home.
Remember, preparation is key when it comes to applying patterns and stencils. Taking the time to properly prepare your walls and surfaces will ensure a smooth application process. And don’t forget those finishing touches! Adding small details like paint touch-ups or decorative accents can really make a big difference in the overall look of your design.
Now that you’ve completed your project, it’s important to maintain and care for your new design. Regular cleaning with gentle products will help keep it looking fresh and vibrant for years to come. And who knows, you may even feel inspired to tackle another personalized touch project in the future!