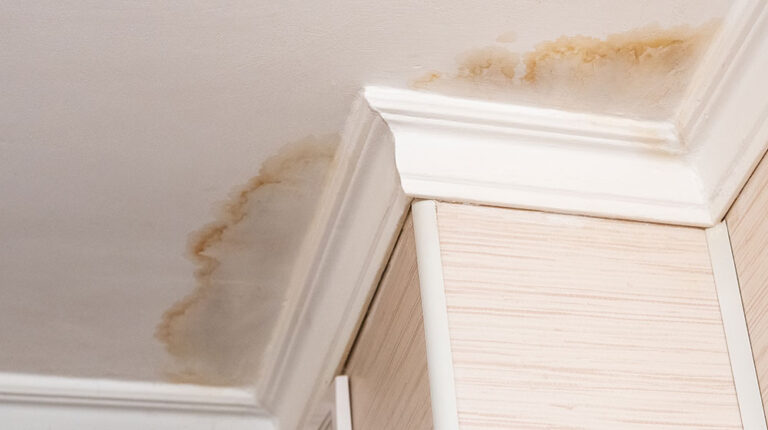
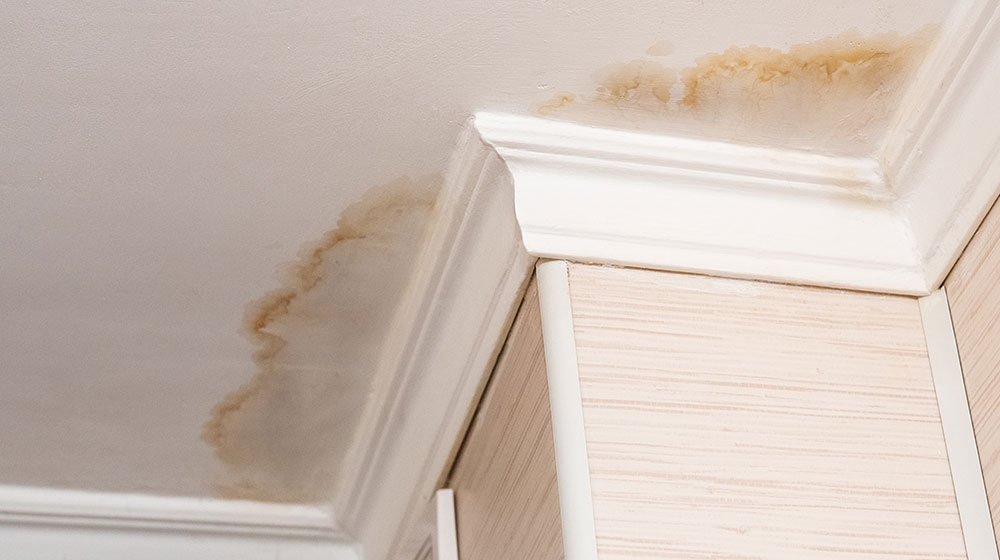
Water is one of the most damaging agents in your home and none more so than a water-damaged ceiling. At Patch and Paint Pros, we help tons of homeowners with water damage repair in nearby Chester, Delaware and Montgomery counties. Whether from leaking pipes or a backed-up toilet, water damage to your ceiling can create an eyesore and, potentially, a health hazard.
Need Ceiling Drywall Repaired Fast?
Patch and Paint Pros offers expert ceiling drywall repair in Conshohocken and the surrounding Montgomery, Delaware and Chester County areas. Whether it’s from water damage or impact, we’ll make it look like it never happened.
📞 Call Now or 📩 Request a Free Estimate
Without proper treatment, the ceiling can become a breeding ground for mold and bacteria, leading to a range of health issues. Knowing how to repair water-damaged ceilings is an important step in maintaining the safety and security of your home. This guide will walk you through the process of fixing a water-damaged ceiling step-by-step, so you can restore safety to your home quickly and effectively.
1. Identifying the Cause of the Water Damage
The first step to successfully repairing your water-damaged ceiling is to identify the source of the water. If it was a plumbing issue, the cause might be easy to discern, but if it is from the roof or heavy rain, it may be more difficult. Check for any cracks in the roof – either inside or outside the house – and inspect the pipes for any loose connections. If you can’t pinpoint the exact source, try and track the water to the nearest exit point to identify where it’s coming from.
2. Stop the Water from Entering the Room
Once the source of water coming into a room is identified, the next step is to stop it from entering. If it’s a plumbing issue, the main water supply valve can be closed and a plumber should be called to repair the damaged pipe. If the intrusion is coming from heavy rain or roof damage, other measures will need to be taken. Windows and sealant-free gaps should be blocked off with tarps or another material, while gutters can be installed to divert water away from windows and walls. If walls have been damaged by moisture already, damaged drywall can usually be removed with a putty knife. In any case, stopping water flow quickly is essential for limiting damage and restoring rooms to their original condition.
3. Remove the Ceiling Material
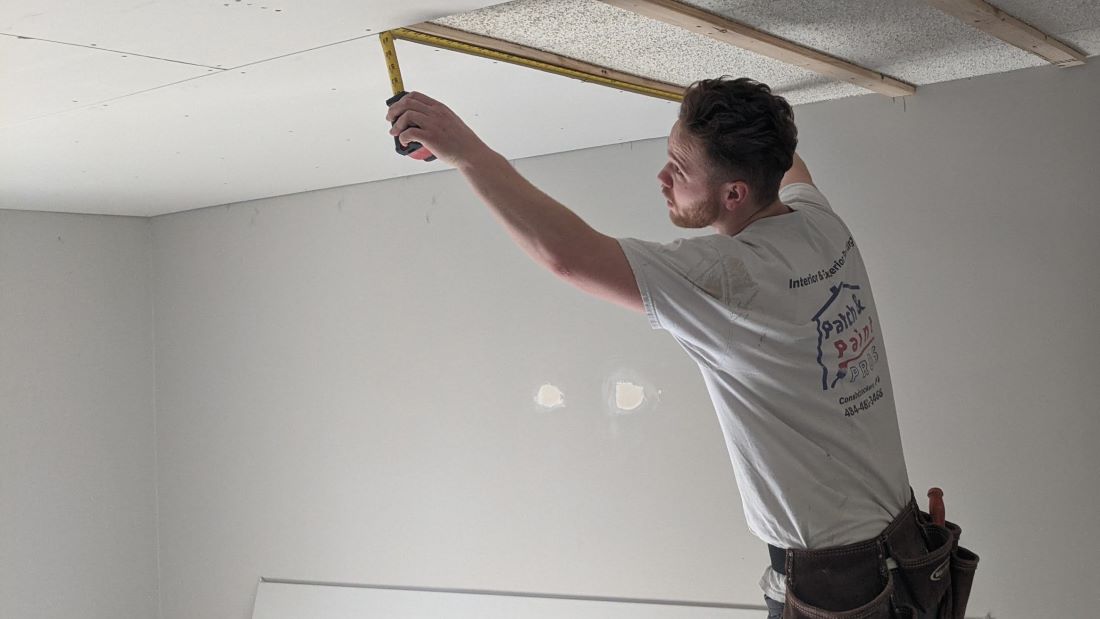
You will likely need to take down and replace the affected portion of the ceiling once you have stopped the water from entering the room. To do this, use a roll of duct tape to create a grid on the ceiling and use a utility knife to remove the relevant squares of material. Depending on the type of ceiling material (for example, plasterboard or acoustic), you may need to use a crowbar to remove it. Ensure that you place the damaged material in a sealed bag and dispose of it properly, taking the necessary safety precautions.
4. Clean Up the Water and Mould
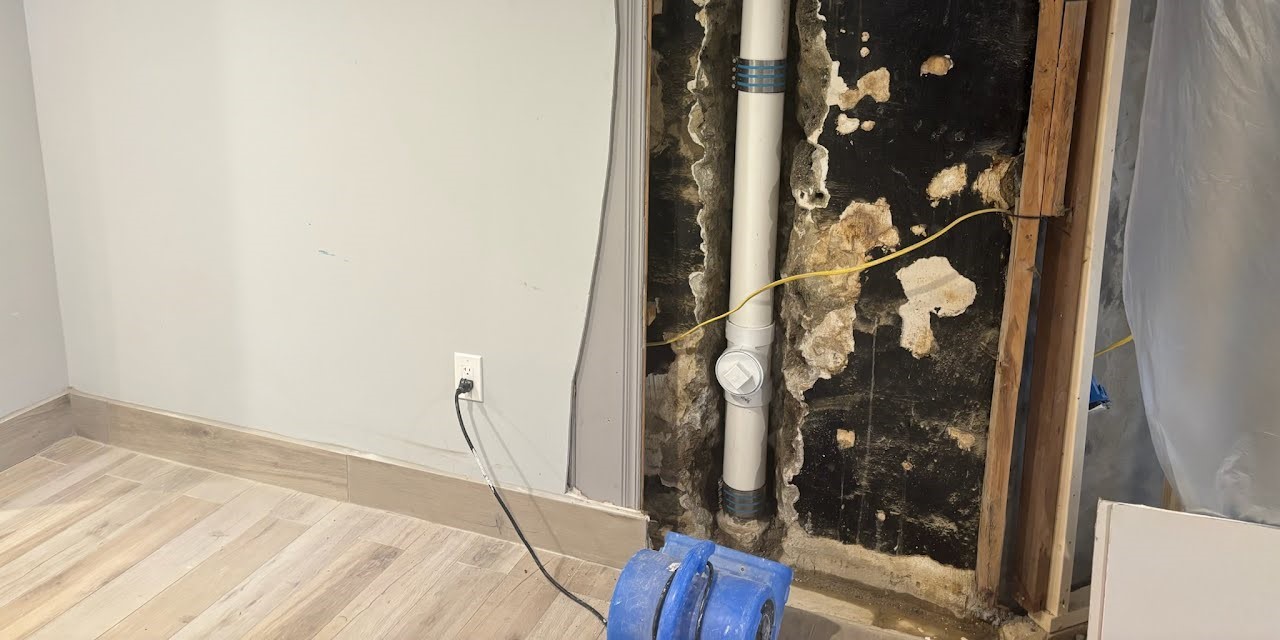
Once the initial leak has caused water damage to the ceiling, it is time to start cleaning. To ensure your safety, don’t forget to put on protective clothing and safety gear, such as a face mask and rubber gloves. The best way to get rid of all traces of moisture and mold growing on the surface of the ceiling is through a combination of industrial cleaners, water, and a broom. For maximum effectiveness, make sure that you pay attention to those small spaces around the edges of the ceiling – these are common places where mold may still be hiding! Cleaning properly will help reduce any further damage from occurring due to mold growth.
5. Repair and Insulate Any Leaks
Protecting roof leaks is an incremental process that can make a huge difference in the long run. Start by sealing any cracks or gaps in the roof with a joint compound. If there are larger gaps, you can apply spray foam insulation to fill them up and form a protective layer. Alternatively, roof paint applied on top of the joint compound will help prevent future leaks; it’s important to use high-quality roof paints for maximum effectiveness. Taking the time to inspect your roof and close off any potential openings is a smart investment that will keep your roof dry and secure in the years ahead.
6. Check for Structural Damage
Before inspecting the structure of your ceiling, wear protective gear like waterproof gloves, wear a dust mask, and safety goggles. This is important to protect yourself from inhaling any substances such as mold or dust that may be present in the ceiling. Once you establish there are no leaks, you can then inspect the structure of your ceiling. Look for cracks and warping on wood or metal supports and beams.
If you find there is structural damage, it is best to contact a professional builder or contractor to carry out any repairs. Doing repairs yourself could put you at risk of further damage by not being carried out correctly and could end up costing you more down the line. Contract pricing for ceiling repairs often depends on the type and size of repair needed, so get an estimate before getting into any kind of agreement with them.
7. Install a New Ceiling
Once the ceiling has been checked for structural damage and the issue has been sealed or repaired, you can start to install a new ceiling. Depending on the type of material your ceiling is made from, the process could take a few hours or a couple of days. Consider getting a professional to install the new ceiling, as it can be a difficult and time-consuming job.
8. Treat for Mold and Mildew
Once the ceiling has been replaced, you should treat the area for mold and mildew caused by water damage to the drywall. The best way to do this is by using a mildewcide – a chemical solution that eradicates mold and mildew spores. Make sure to follow the instructions for use carefully, as the wrong concentration of the solution could cause more damage than good.
9. Finishing the Ceiling
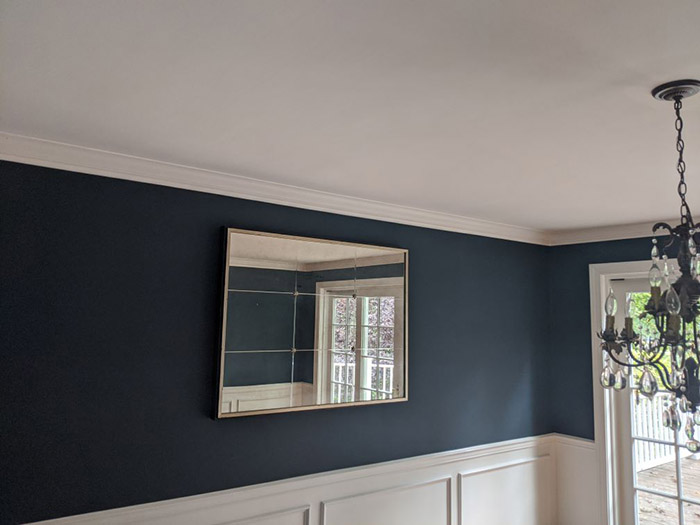
Finishing the ceiling once you’ve checked for mold and mildew is a crucial step in any renovation. Depending on the material of your ceiling, priming, and painting will require different levels of effort. For example, plasterboard ceilings often need a coat of primer and multiple layers of topcoat, whereas vinyl or acoustic ceilings may just require one coat; either way, always refer to your ceiling manufacturer’s instructions to determine the best priming and painting process. Once that’s done, all that’s left is to select a high-quality paint finish to complete the job!
10. Seal Around the Edges
Sealing the square or rectangular shape of your ceiling where it meets the wall is an important preventive measure when it comes to preserving your home. A specialist sealant or caulk should be used to create a proper seal, and extra care must be taken to ensure the material is applied evenly. This will help to prevent water from entering the area and potentially causing damage, allowing you to enjoy your ceiling paint for years to come!
11. Clean Up
After completing the whole ceiling, you will want to make sure to take time to clean up afterward. Be sure to gather every tool, material, and debris that was used in the process and put them away or in the appropriate containers. If you had any safety gear such as masks and protective clothing while working on the repair of the entire ceiling, these should also be removed and disposed of according to instructions. Taking a few extra moments after finishing your work can significantly improve the health and safety of you and those around you!
12. Monitor the Area for the Re-Appearance of Mold
Finally, to ensure the area is truly safe from water damage, you should keep an eye out for any re-appearance of mold. Make sure to check the ceiling and surrounding area regularly as mold can quickly take hold if any water has seeped through.
Water damage to a ceiling can be a stressful and disruptive issue, but knowing how to repair it can save you considerable time and money. This guide has shown you all the steps involved in fixing a water-damaged ceiling, from identifying the source to performing the repairs and treating for mold and mildew. By following these steps and keeping an eye out for any new water damage, you can help ensure the security and safety of your home and family.
Need Help with Ceiling Repairs?
Patch and Paint Pros offers expert ceiling drywall repair in Conshohocken and the surrounding Montgomery, Delaware and Chester County areas. Whether it’s from water damage or impact, we’ll make it look like it never happened.
📞 Call Now or 📩 Request a Free Estimate

