
Are you looking for a way to add a splash of color and life to your home without spending too much money? Residential painting is an affordable, easy DIY project that can help bring new life into any space. Painting house radiators is one great way to start customizing the look and feel of your home with minimal effort. Whether you’re just starting as an amateur painter or are already experienced in the art, these tips will help make sure your radiator painting job looks professional and lasts for years!
Painting house radiators isn’t necessarily difficult, but some special considerations need to be taken before beginning the project. The type of paint used needs to be appropriate for high-temperature areas like radiators, so it’s important to do research ahead of time. The surface also needs to be thoroughly prepared if you want the paint job to last more than a few months. With proper preparation and quality materials, however, anyone can create beautiful results on their own!
Follow this guide carefully and you’ll soon have a brightly colored radiator that will become an eye-catching centerpiece in any room. Not only will painting your radiator save you money compared to replacing it entirely – it will give you immense satisfaction knowing that you’ve made a stunning addition to your home all by yourself!
Preparation
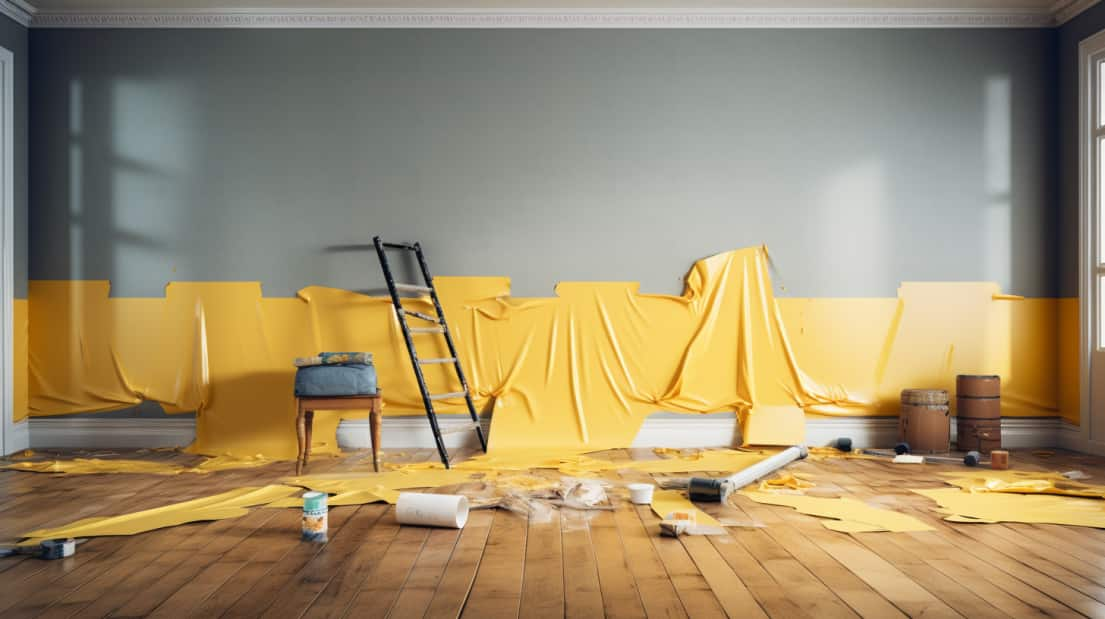
When preparing to paint a house radiator, it’s essential to take several steps before beginning the process. The first step is to ensure that the surrounding area is adequately protected by laying down drop cloths or tarps. This precaution will prevent any paint chips or dust from causing damage to your furniture or floors during the painting process, thus avoiding the possibility of paint going bad.
Next, use a wire brush to remove any dirt or rust from the surface of the radiator. You’ll also want to give it a good cleaning with some mild detergent and warm water – this will help create a smooth base for applying paint later on. Once everything has been cleaned off, you’re ready to begin priming the radiator! Using quality primer helps prepare the metal surface so that your new coat of paint adheres better and lasts longer.
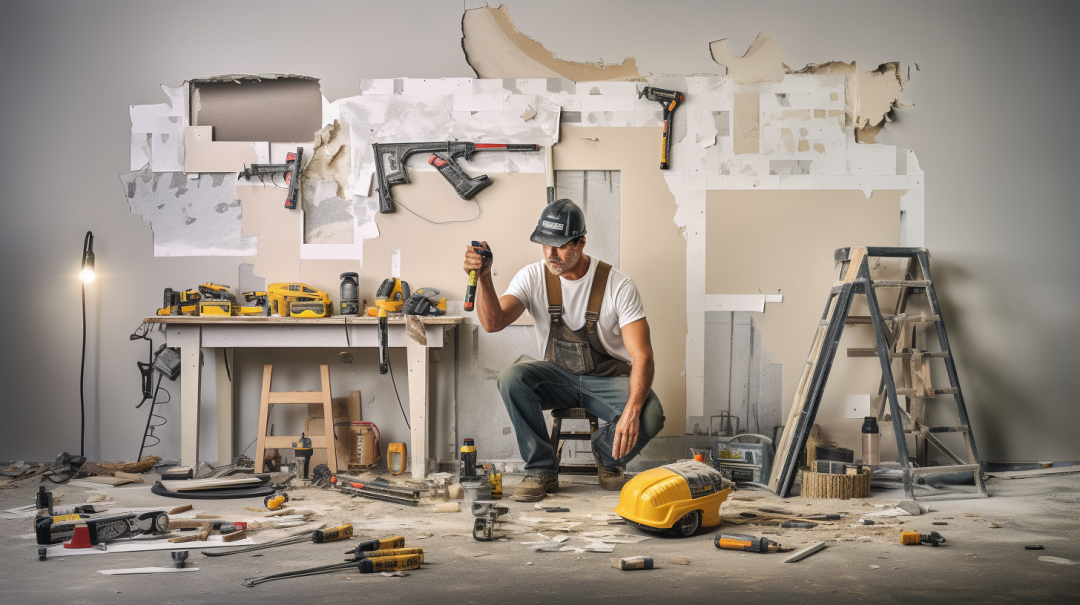
With all these preliminary steps taken care of, you’re now ready to move on to gathering up your tools and supplies needed for getting started on residential painting.
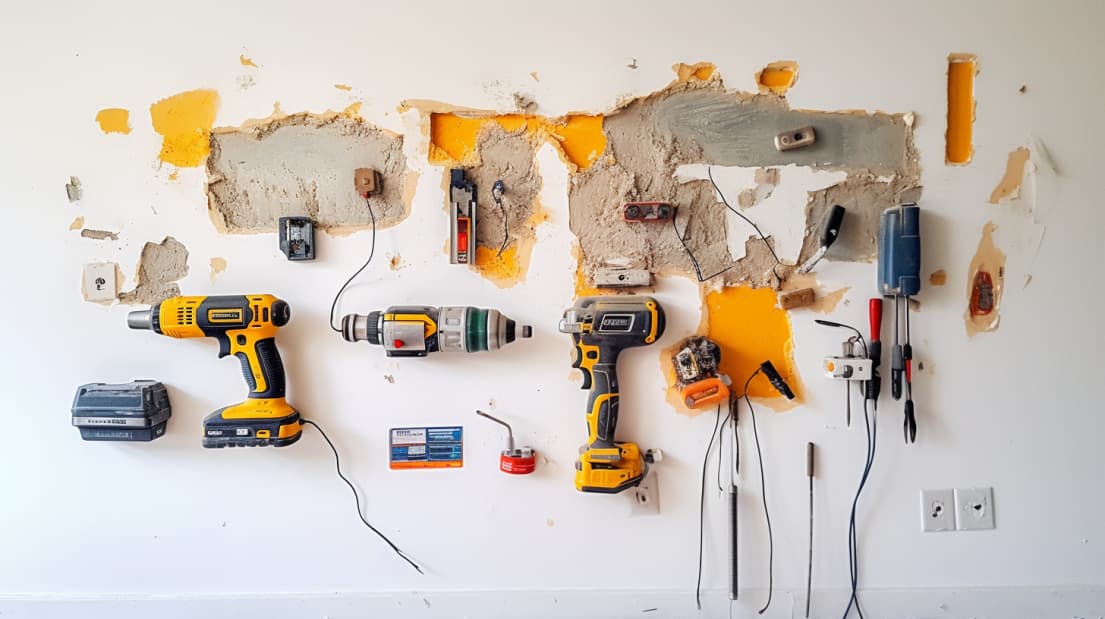
Tools & Supplies
Now that you have taken the necessary steps to prepare for painting your house radiator, it’s time to gather the tools and supplies needed. A quality paintbrush is a must – choose one that has soft bristles and is designed for use with metal surfaces. You’ll also need some type of paint – oil-based paints are best for radiators as they provide better protection from rusting or chipping over time. If you’re unsure which type of paint to buy, consult with a professional who can advise on the best option for your particular situation.
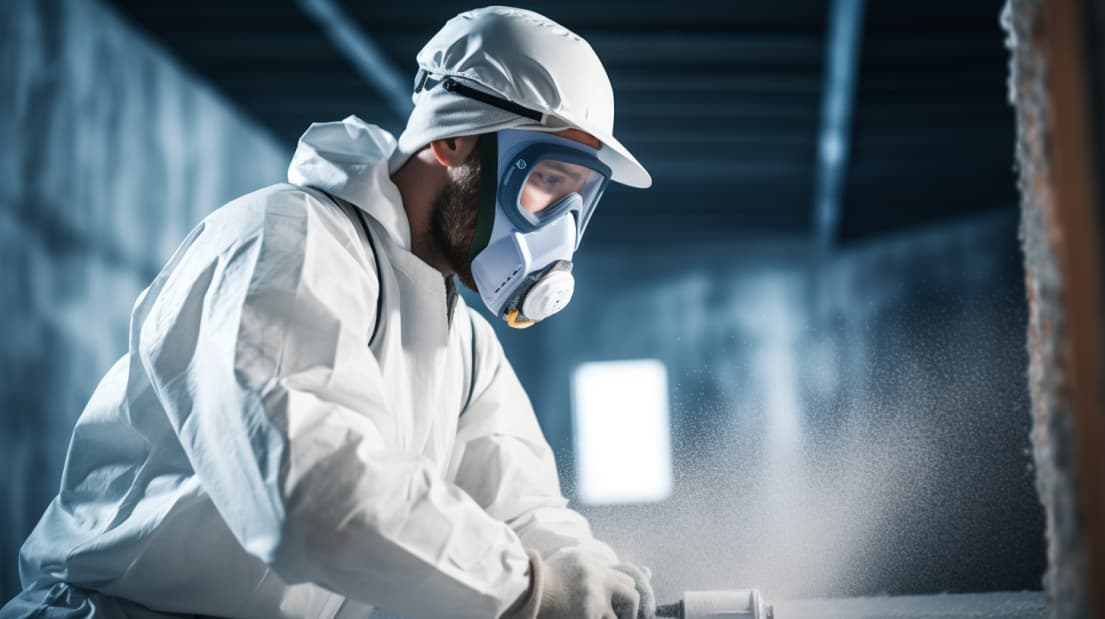
Once you’ve got everything together, make sure to double-check that all parts of the radiator are properly covered before starting any work. This will help ensure that no areas get accidentally skipped during painting or miss out on getting their fair share of protective coating! Finally, remember to always wear safety goggles while working with paints and solvents – even if you think it’s unnecessary, these precautions can go a long way in preventing accidents or eye irritation later down the line.
Pre-Painting Radiator Checks
Before you begin the painting process, it’s important to check that your radiator is in good condition and ready for paint. Start by running warm water over the entire surface – if any areas feel rough or uneven, they will need to be sanded down first. Next, use a sugar soap solution to thoroughly cleanse all surfaces of dirt, dust, and debris. This should help ensure an even finish when applying the paint later on. Finally, once everything has dried off properly, lightly sand the surface with fine-grit sandpaper to create a smooth texture before beginning any actual painting work.
Now that you have taken these essential steps toward prepping your house radiator for painting, it’s time to get creative! By investing some effort into testing out different colors and techniques beforehand, you can easily achieve professional results without having to spend too much money or energy on hiring professionals. Whether you’re looking for something subtle like matte black or eye-catching such as bold yellow hues – with enough practice and patience, anyone can become a pro at residential painting!
Once you’ve settled on the perfect color scheme for your home radiators, it’s time to start sanding down their surfaces for optimal adhesion of the paint layers.
Sanding The Radiator Surface
Sanding is an important part of the pre-painting process that can make or break a professional finish. With the right grit sandpaper, you can easily remove any imperfections on your house radiator and prepare it for primer application. When selecting which type of sandpaper to use, there are three options: fine grit sandpaper (120-220), medium grit sandpaper (320-400), or coarse grit carbide sandpaper (600). Depending on how much surface area needs to be covered, choose the appropriate grade for optimal results.
Once all surfaces have been properly prepared with the correct grade of abrasive paper, begin carefully running your hand over each section of the radiator. This will help identify areas where more attention may be required – if there’s still roughness present in certain spots after using a particular grade of sandpaper, try switching up to one with a finer grain until everything feels smooth and even throughout. Additionally, don’t forget to wipe away any dust particles along the way!
Having gone through this thorough preparation process, your radiator should now be perfectly primed and ready for paint application. Now that everything has been taken care of, it’s time to move on to the next step in achieving a flawless painting job – priming the radiator!
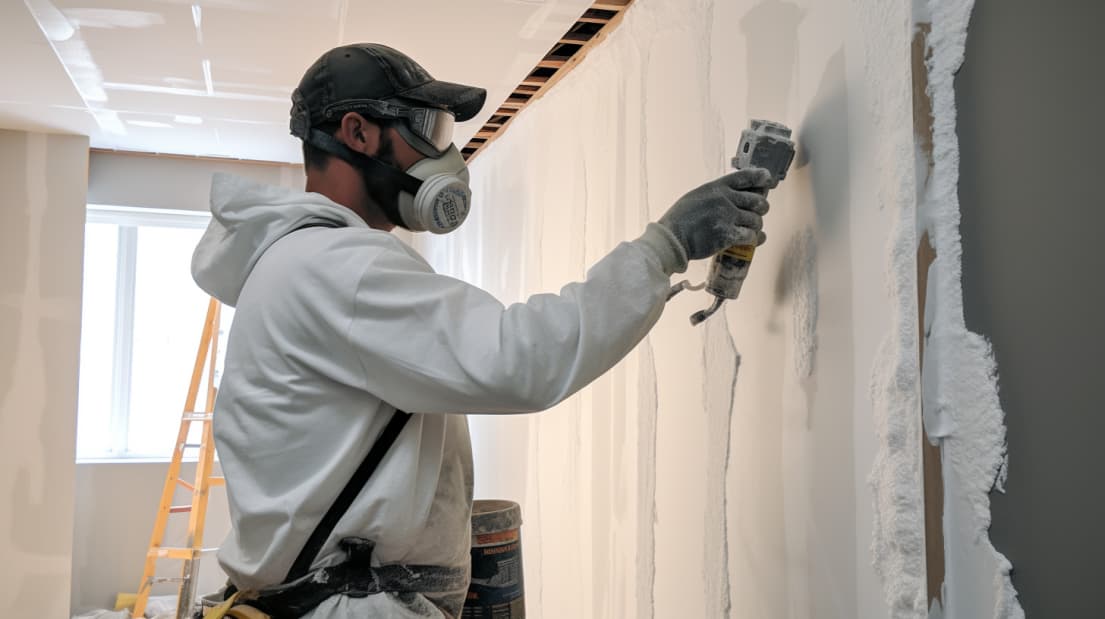
Priming The Radiator
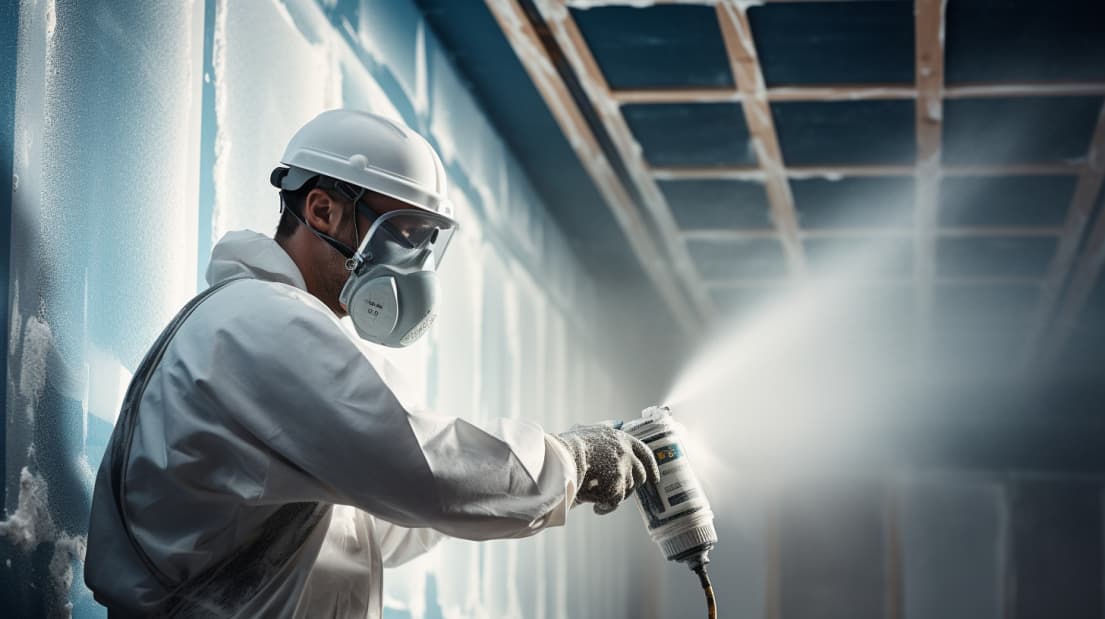
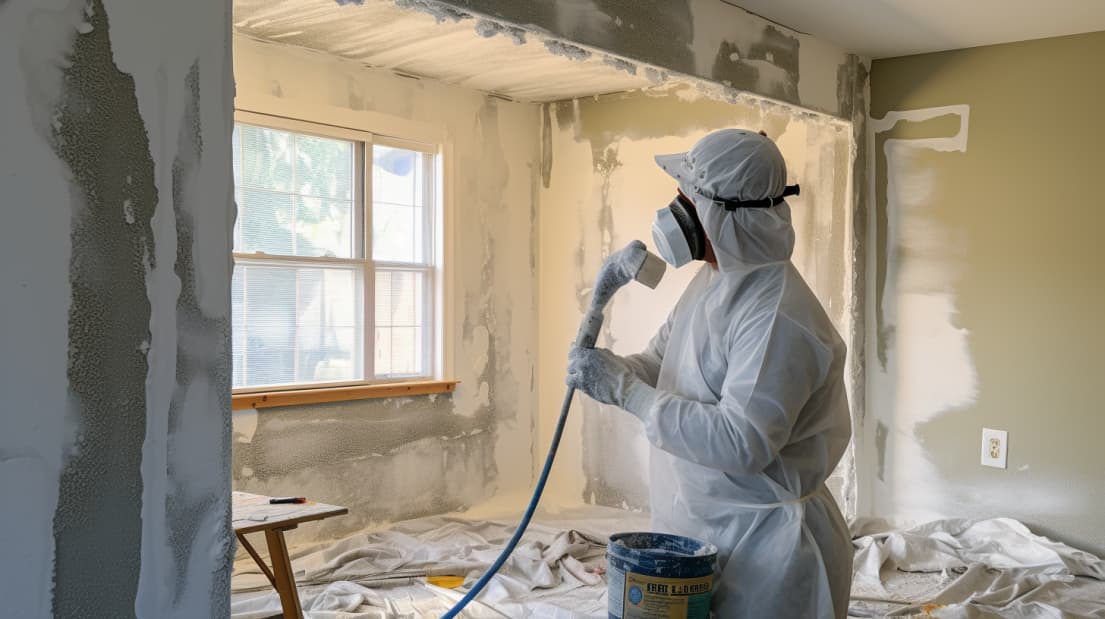
Now that the surface of your house radiator has been properly sanded and prepped, it’s time to prime it. Priming is an integral step in the painting process as it helps ensure even color coverage and a professional-looking finish. Using a quality oil-based aerosol primer designed specifically for metal surfaces is often recommended when working with radiators. When using this type of spray paint, make sure to start at least 8 inches away from the radiator and keep steady pressure on the can while spraying. This will help create an even layer of primer that won’t drip or run down its surface. Additionally, be sure not to forget about any control valves or other exposed parts which may need priming too!
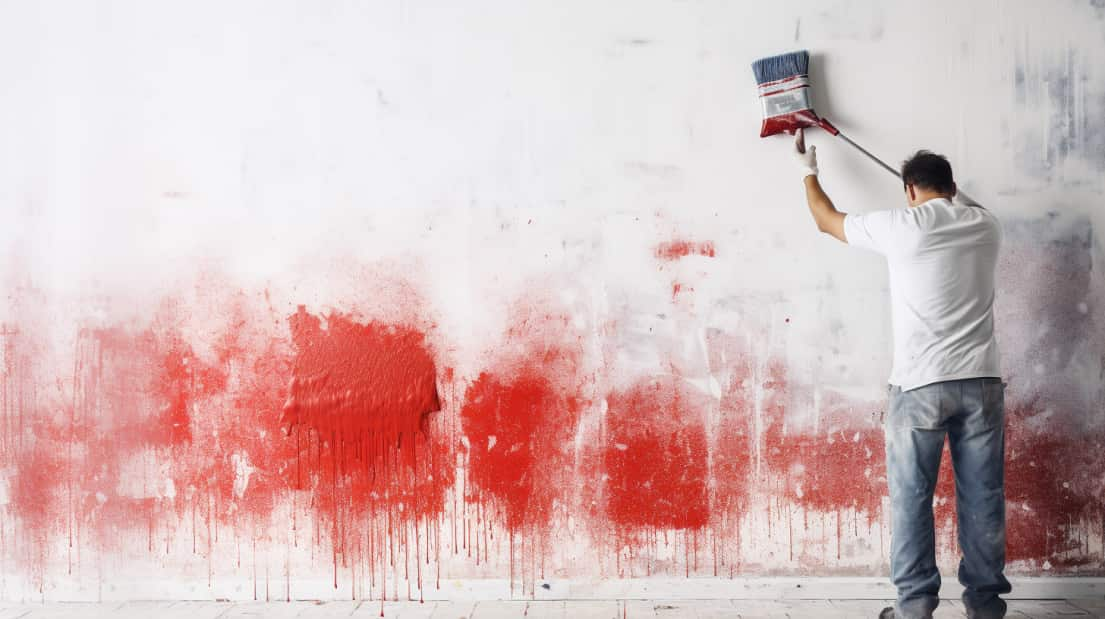
When it comes to applying the actual latex paint coatings, there are several important things to consider first; choosing the right shade, ensuring proper ventilation, and taking into account how long drying times may take. To get started, select a color that coordinates well with both your room’s current décor as well as any existing furniture pieces nearby – if you’re unsure what colors would work best together then consult a local interior designer for additional advice! Afterward, open windows or use fans to circulate air throughout so fumes don’t build up in one area – this is especially important if you plan on completing multiple coats of paint over time. Finally, check labels for instructions regarding drying times between each application before continuing to the next phase of painting.
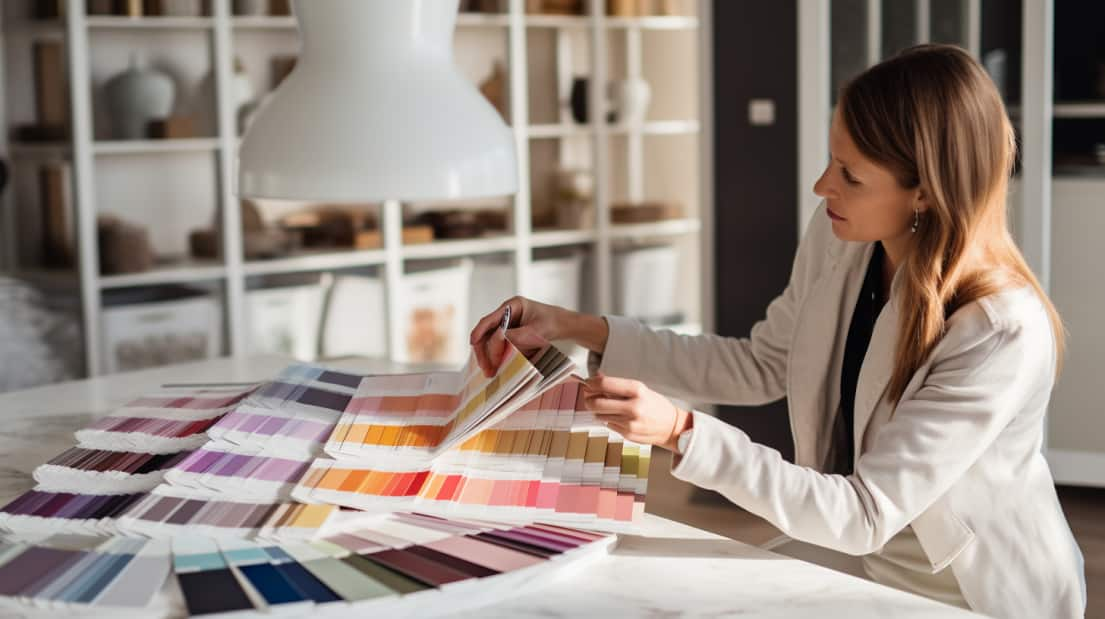
Choosing The Right Paint Color And Finish
When it comes to choosing the right paint color and finish for your radiator, there is no one-size-fits-all solution. Just like selecting a new outfit or picking out décor items for your home, you need to take into account the current colors in the room as well as any furniture pieces nearby when making this decision. To ensure even coverage and an overall professional look, try using spray paint that has been specially designed for metal surfaces such as radiators. This type of product can provide multiple layers of protection while also ensuring vibrant colors throughout – just be sure to check labels before purchasing and follow all directions closely while painting!
Though opting for do-it-yourself (DIY) painting may seem like an easy way to save money on projects such as these, it’s important to consider how much time and effort will go into completing them successfully. Additionally, depending on where you live, regulations regarding proper ventilation methods may differ – so make sure to research local laws before starting anything else. Finally, if you’re still unsure about tackling this project solo then investing in help from a professional painter could end up being worth its weight in gold; they’ll have years of experience dealing with similar issues and will know exactly what steps need to be taken moving forward.
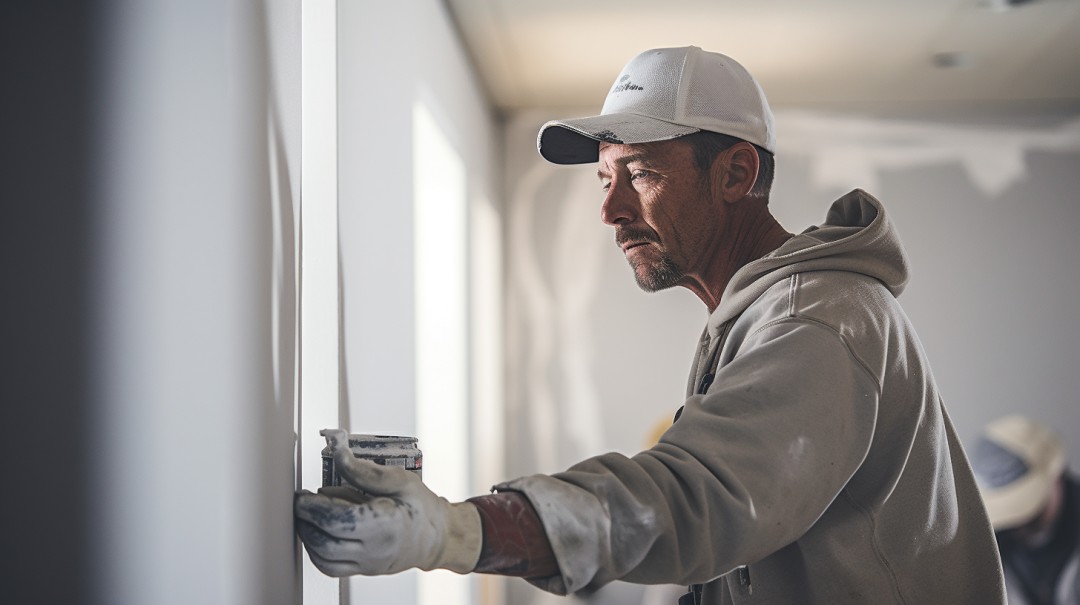
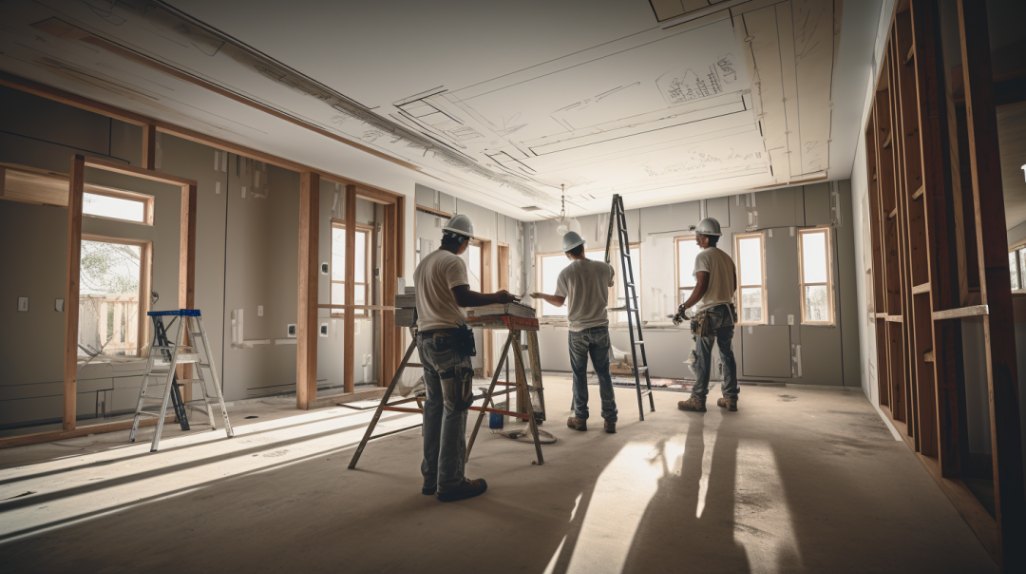
DIY vs Hiring A Pro
When it comes to painting house radiators, there are two different routes you can take: DIY or hiring a professional painter. The first option is the most cost-effective and allows for more creative freedom when choosing paint colors, finishes, and designs. However, if your radiator is made of aluminum then using spray paint may not be enough to protect it from corrosion – so make sure to buy quality brands that have been specifically designed for metal surfaces instead of cheap alternatives.
On the other hand, having a professional handle this kind of job can save you time and energy in the long run since they’ll already know what products will work best with your particular radiator setup. Plus, by investing in quality service from an experienced painter you won’t need to worry about potentially damaging your home with bad results – as long as you do some research beforehand on who’s available nearby.
Overall, both DIY and hiring a pro come with their own set of benefits; it just depends on how much money and effort you’re willing to put into the project. So whether it’s simply applying a fresh coat of paint or finding the right type of sealant for an aluminum radiator, taking one route over another could end up making all the difference in achieving beautiful results that last!
Final Thoughts
In conclusion, painting your radiator can be a daunting task. But if you invest the time and energy into doing it right, it’ll pay off in spades down the road. If you’re up for the challenge, make sure to do your research and gather all of the necessary tools and supplies before getting started. It’s also important to inspect your radiator before beginning any work on it and sanding its surface is essential to create an optimal bond between the primer and paint layers. Choosing the right color and finish will take some trial and error but once you hit the nail on the head, that final layer of paint should turn heads for years to come! So don’t let residential painting intimidate you—with some careful planning and diligent effort, you’ll have everything wrapped up with a bowtie in no time at all!