DIY projects are a great way to save money and get the job done yourself. Ceiling repair, however, is one of those jobs that should be left to an expert! Without the right tools and know-how, you could end up making a costly mistake.
Fortunately, there are plenty of tips out there for those who want to tackle their own ceiling repairs safely and efficiently. In this article, we’ll look at the do’s and don’ts of DIY ceiling repair according to expert ceiling repair contractors. We’ll explore which materials to use, how much it might cost, and other helpful advice. So if you’re ready to take on your next big project, read on for some essential knowledge about DIY ceiling repair.
Assessing The Damage
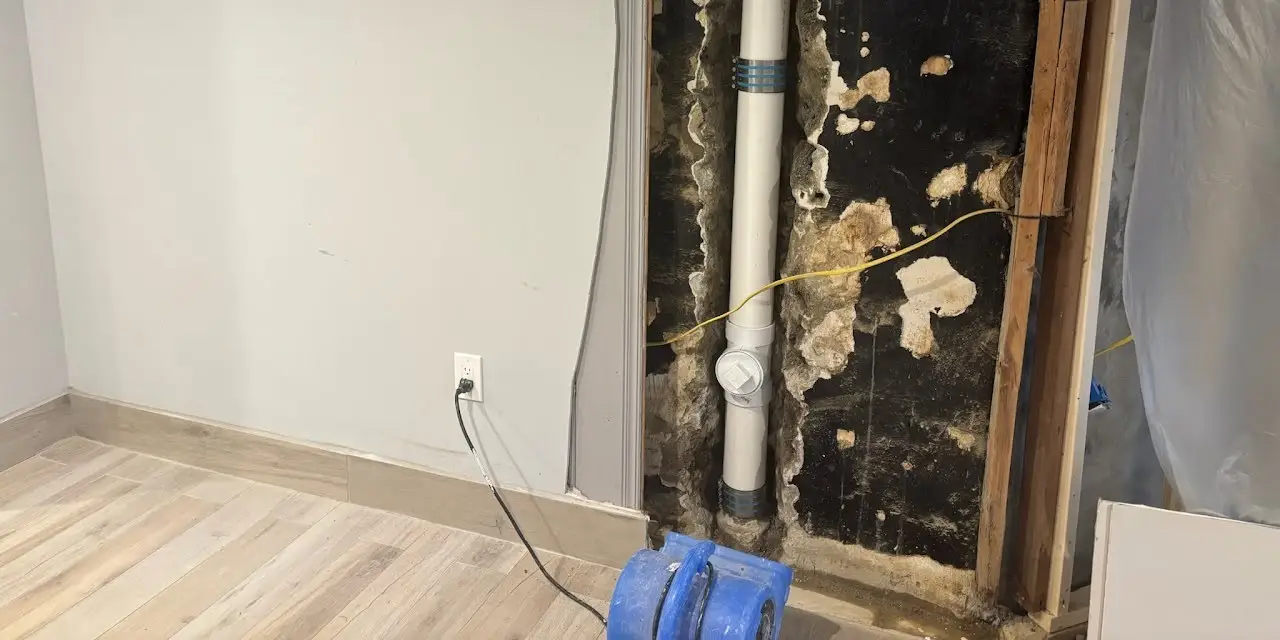
If you’re dealing with larger holes or structural damage, it’s important to address the underlying structural issues before beginning any cosmetic repairs. This may involve reinforcing roof trusses or addressing issues with the framing.
When repairing a drywall ceiling, it’s important to create a smooth surface for the patching compound to adhere to. If the ceiling damage is minimal, a skim coat of joint compound may be enough to smooth out any rough spots. For larger holes, a patch kit or drywall patch may be necessary.
Remember, the key to a successful ceiling repair is taking the time to properly assess the damage and selecting the right tools and materials for the job. Don’t rush the process, as this could lead to a subpar repair job that will require further repairs in the future.
Choosing The Right Materials
Now that you have assessed the damage, it’s time to choose the right materials for your ceiling repair. Whether you are repairing a small area or an entire ceiling, selecting the correct material is essential to ensuring a successful repair job.
Here’s what you need to know:
- Start with the basics – Before anything else, make sure the existing drywall or plaster isn’t damaged beyond repair and that any loose pieces are secured in place.
- Gather your supplies – You will want to purchase enough joint compound, mesh tape, nails, and screws (for re-securing boards), sandpaper, and other tools necessary for patching and/or replacing larger sections of drywall or plaster.
- Buy quality materials – Make sure they meet local building codes and don’t be afraid to invest in more expensive but higher quality products like mold-resistant joint compound if needed.
- Consider texture – If matching an existing texture on textured ceilings is important to you, make sure all of your supplies match the current style before beginning your project.
- Think about color – Take into account how the paint will look on top of different types of surfaces when making selections for drywall patches etc.
Keep these tips in mind as you shop around for the best materials for your DIY ceiling repair job. With the careful selection now complete, next up is understanding proper installation techniques so that once everything has been patched up correctly, no one can tell there was ever any work done!
Understanding Proper Installation Techniques
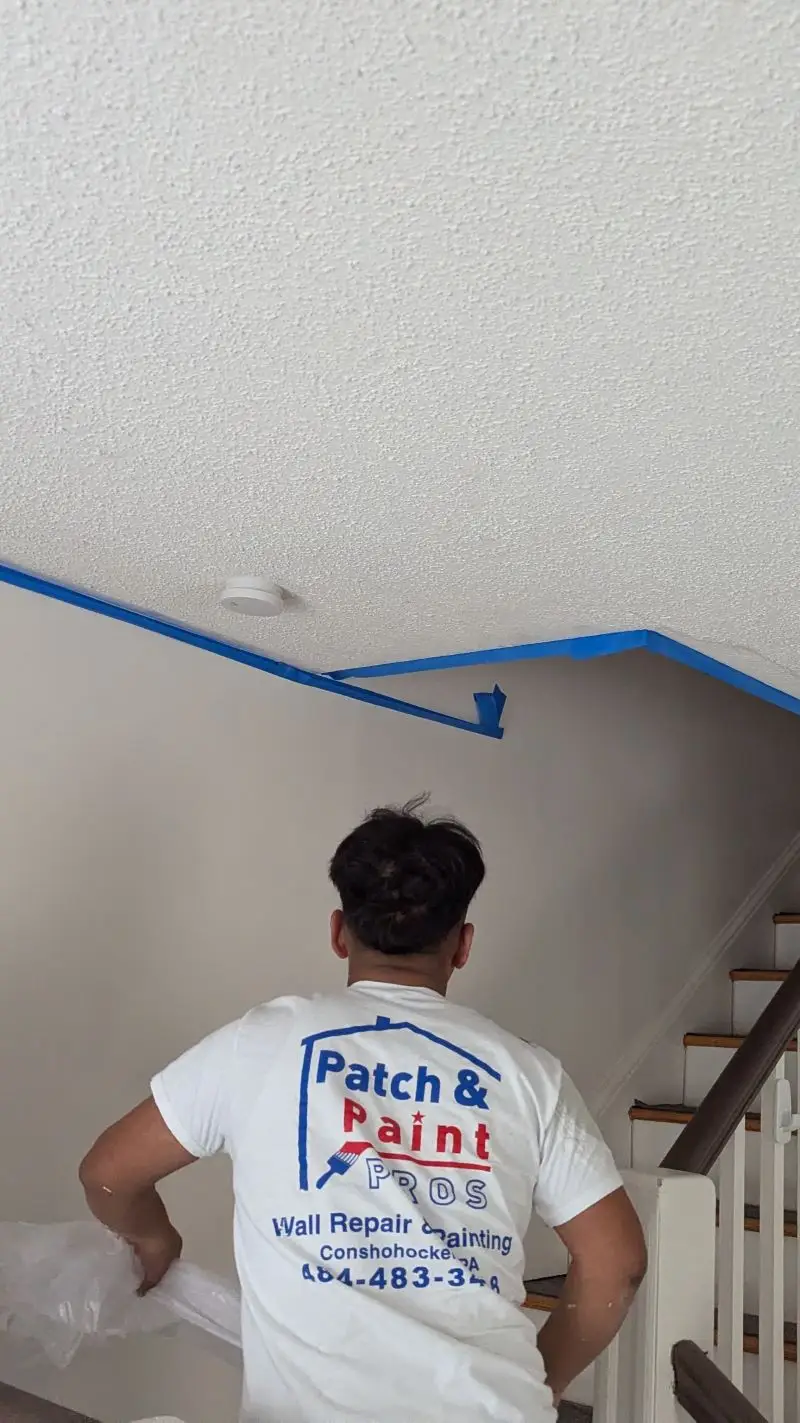
Types of ceiling damage can range from minor scratches and dents to larger holes and cracks. It’s important to start any repair project with proper preparation, including laying down drop cloths and gathering all necessary tools.
For small drywall repair jobs, you may only need to replace small drywall pieces or use drywall joint compound to fill in minor damages. However, for larger cracks or holes, more extensive repairs may be necessary.
Regardless of the type of damage, always make sure to follow proper safety protocols and use the appropriate equipment when repairing your ceiling. With the right materials and techniques, you can achieve a smooth surface and a professional-looking finish without breaking the bank.
With these tips in mind, you’ll be ready to tackle even more complicated projects with ease – now let’s move on to estimating costs associated with this type of endeavor.
Estimating Costs
Doing your own ceiling repair can be a great way to save money, but it’s important to do your research first. Make sure you know what materials and tools you’ll need, and factor in the cost of labor when calculating the overall cost.
Assessing the overall cost is key; don’t forget to include everything from supplies to labor to make sure you’re not in for any unexpected expenses.
Research Materials And Tools
When it comes to estimating costs for DIY ceiling repair, doing your research is key. Make sure you understand what materials and tools are necessary before starting any project.
Find out if you need specialized items that can only be found online or at a local hardware store. Knowing the exact costs of each item will help ensure an accurate budget. It’s also important to factor in labor costs – even though it may be a DIY job, there could still be some extra hands needed to complete the work safely and effectively.
Ultimately, understanding exactly what you need ahead of time is essential for keeping on top of expenses from start to finish.
Calculating Labor Costs
Once you have an estimate of the materials needed for your ceiling repair project, it’s time to consider labor costs. Depending on the size and complexity of the job, extra hands may be required to help complete it safely and efficiently.
When calculating labor costs, make sure to factor in both hourly rates and any additional fees that might apply. To get a better idea of what kind of budget is necessary, research different companies or contractors who specialize in this type of work before making a final decision. That way, you’ll know exactly how much money needs to be set aside for labor expenses – no surprises!
Assessing Overall Cost
Once you have an idea of the materials and labor costs, it’s time to assess your overall budget for the project. This means taking into account any other expenses that may come up along the way, such as rental fees or permits.
Additionally, don’t forget to factor in taxes and additional fees depending on where you live. By doing this research ahead of time, you can get a better sense of how much money needs to be set aside for the job – so nothing catches you off-guard down the line!
Hiring A Professional Vs. Doing It Yourself
When it comes to repairing a ceiling, there are two options: you can either hire a professional or do the work yourself. Hiring a professional certainly has its advantages; they’ll have the experience and expertise to get it done right in a shorter amount of time than if you were doing it alone. Here’s why hiring a pro is worth considering:
- They will have all the tools needed for the job, saving you from having to purchase them yourself.
- Professionals understand how ceilings are built and can provide long-term solutions that may not be possible with DIY methods.
- Their work is backed by warranties, so any issues down the line won’t fall back on your shoulders.
- The quality of their workmanship usually exceeds what most people could achieve themselves, resulting in better-looking ceilings in the end.
On the other hand, attempting repairs yourself also has its benefits – namely cost savings since you don’t need to pay someone else’s wages nor buy additional materials like tools and supplies that would otherwise be provided by a contractor.
Before taking this route though, make sure you know exactly what needs to be done and evaluate whether or not you possess adequate skills and knowledge required for completing such tasks successfully without putting yourself at risk of injury or making costly mistakes along the way.
Final Thoughts
When it comes to ceiling repair, there are some definite do’s and don’ts. Doing your own repairs can save you money in the long run, but only if done correctly. So before getting out the ladder and tools, consider all of your options carefully; a roofing professional may be able to ‘patch up’ any issues quickly and efficiently.
If you decide DIY is for you, make sure you understand all of the techniques involved first—it’ll pay dividends in terms of time saved and results achieved. As they say, an ounce of prevention is worth a pound of cure!


