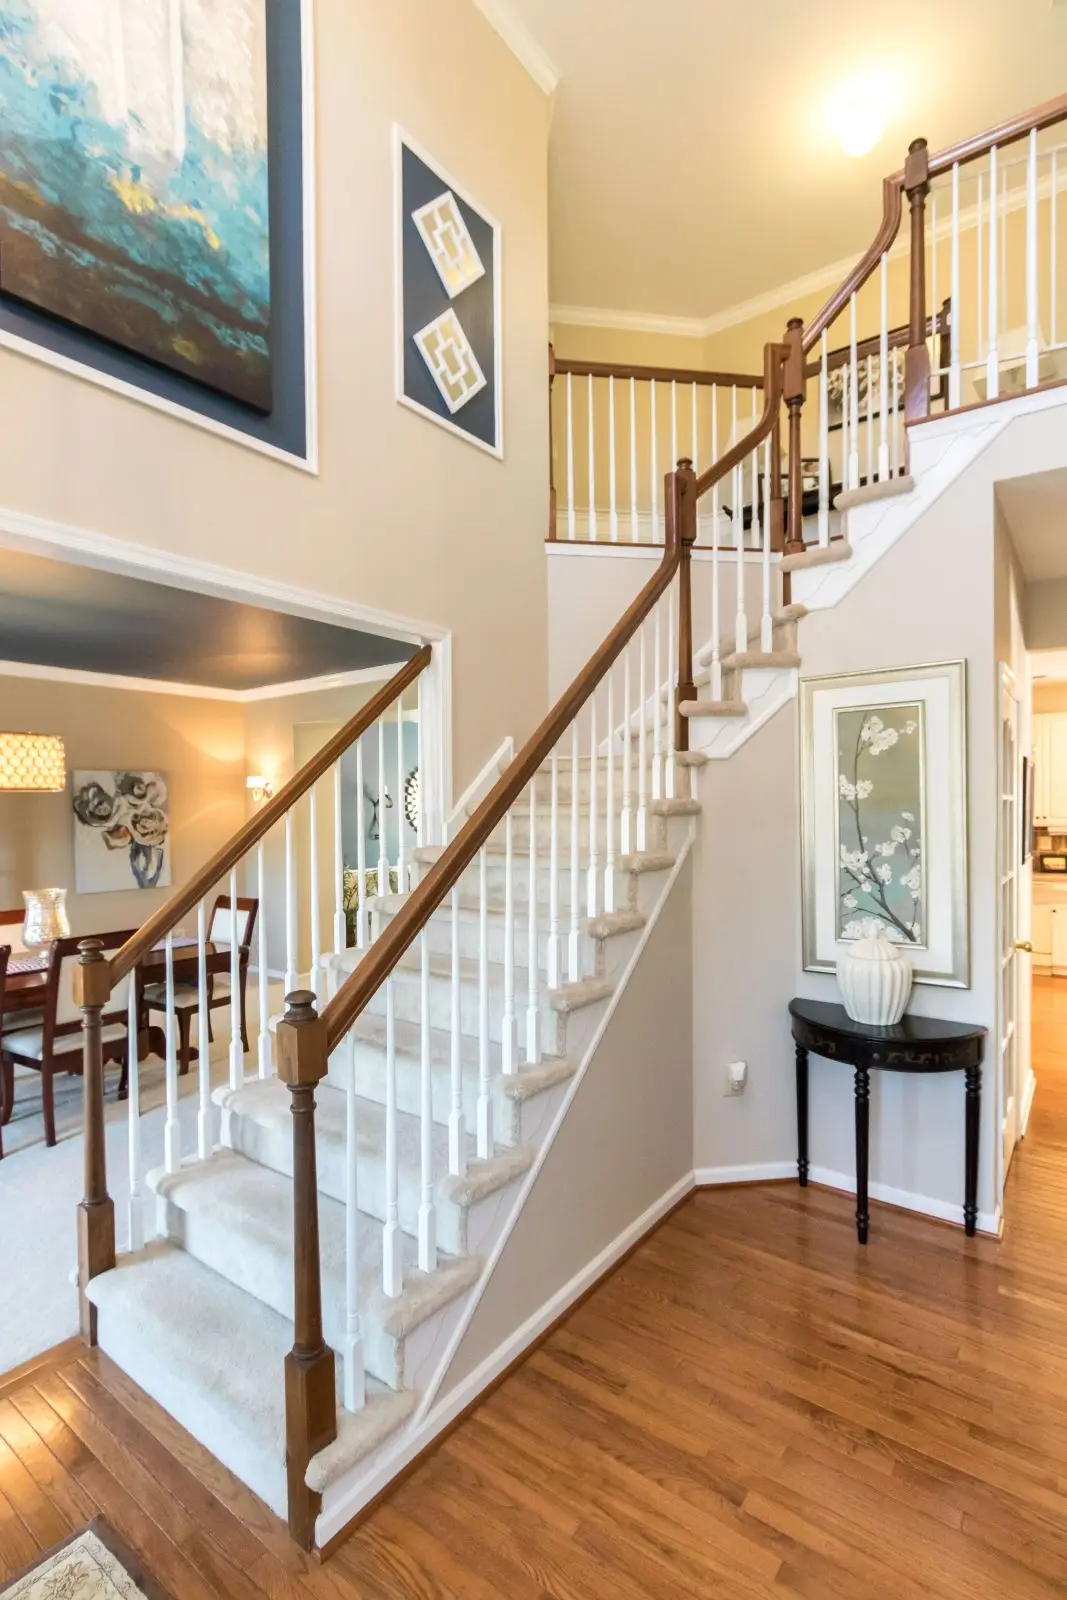
Interior residential painting can be a great way to add personality and style to your home without breaking the bank. With just a fresh coat of paint, you can instantly transform a room and give it that special touch you’ve been looking for.
From bold colors to more subtle hues, the right paint job can take your space from dull to delightful in a matter of hours. In this article, we’ll share some tips and tricks on how to make the most of this affordable decorating tool. Whether you plan to do it yourself or hire professional painting services, our advice will help you achieve the look you desire.
Selecting The Right Paint Color
It’s amazing how a simple change of paint color can completely transform your home. Have you ever walked into someone else’s house and felt an immediate connection with the space?
Chances are, it wasn’t just the furniture or decorations that made you feel at ease – it was probably the wall colors too! Selecting the right paint color for your interior residential painting project can be tricky – there are so many to choose from.
You want something that suits your style but also makes you feel comfortable in your own personal space. Fortunately, taking some time to consider factors like light exposure and room size will help narrow down your choices and ensure you pick one that truly speaks to who you are as an individual.
Preparing The Room For Painting
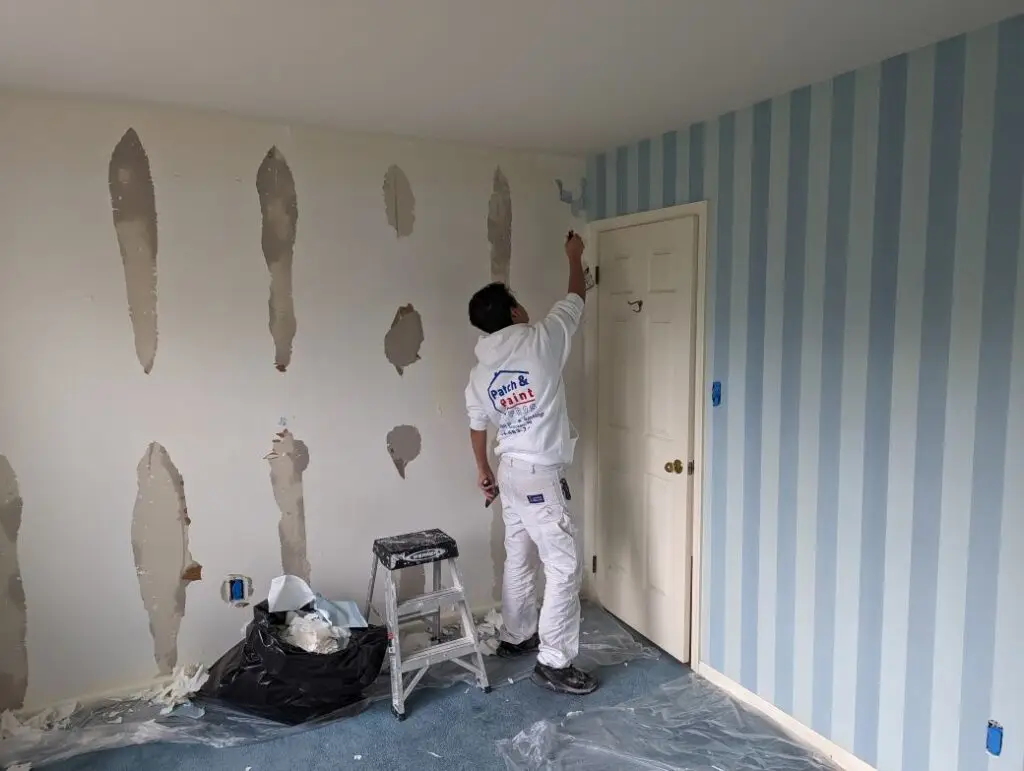
When considering a painting project, like for a child’s bedroom, it’s crucial to prepare the walls properly by cleaning any dirt or dust and applying primer. This step will help the paint adhere better and last longer. With the walls prepped, the fun part begins – selecting colors and paint ideas that reflect your personal style and add personality to the room.
Cleaning Walls
Getting ready to paint your walls can be an exciting but daunting task – and it all starts with cleaning them. After all, you want the paint job to look as good as possible!
A thorough clean is necessary for any successful painting project- this includes wiping down surfaces with a sponge or cloth dampened in a mixture of warm water and mild detergent. Once that’s done, you’ll need to remove the wallpaper before priming the surface so everything looks smooth.
With these steps taken care of, you’re well on your way to achieving beautiful results from your interior residential painting project.
Priming Surfaces
Once the walls have been wiped down and the wallpaper has been removed, it’s time to prime them. Priming creates a barrier between the wall and the paint that helps with adhesion while also providing an even surface for better coverage.
It’s important to use a primer specifically designed for your type of wall – whether that be wood, drywall, or masonry. With the right kind of primer and a few coats applied with a brush or roller, you’ll be ready to start painting in no time!
Choosing Colors
Now that the walls are prepped and primed, it’s time to choose colors! Start by deciding what kind of mood you want to create with your paint job. Do you want something bright and cheerful or calming and neutral? Once you have a general idea, look at color swatches for inspiration.
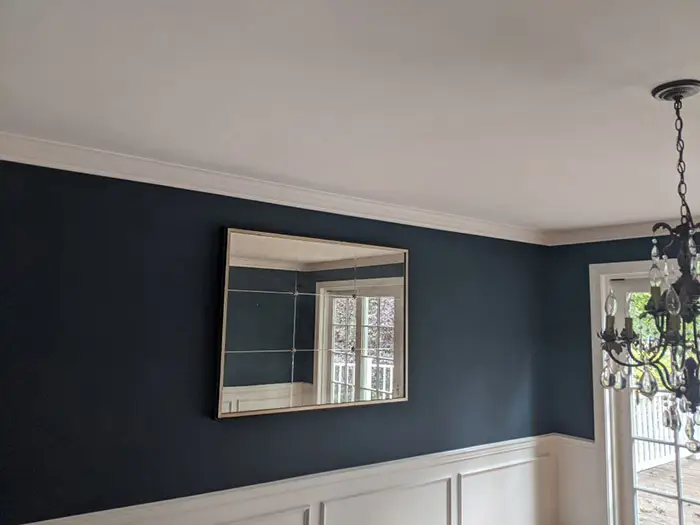
Consider how lighting will affect the hue in different parts of the room as well. When making your final choice, pick two shades – one for your feature wall, and another coordinating shade for the other walls.
Applying The Paint
Once you’ve chosen the perfect paint color for your interior residential painting project, it’s time to get down to business. Before you start applying the paint though, there are a few steps that need to be taken:
- Prepare the surfaces
- Remove all furniture and artwork from the room
- Vacuum and then dust off walls, trim, and ceiling
- Wipe down walls with a damp cloth or sponge
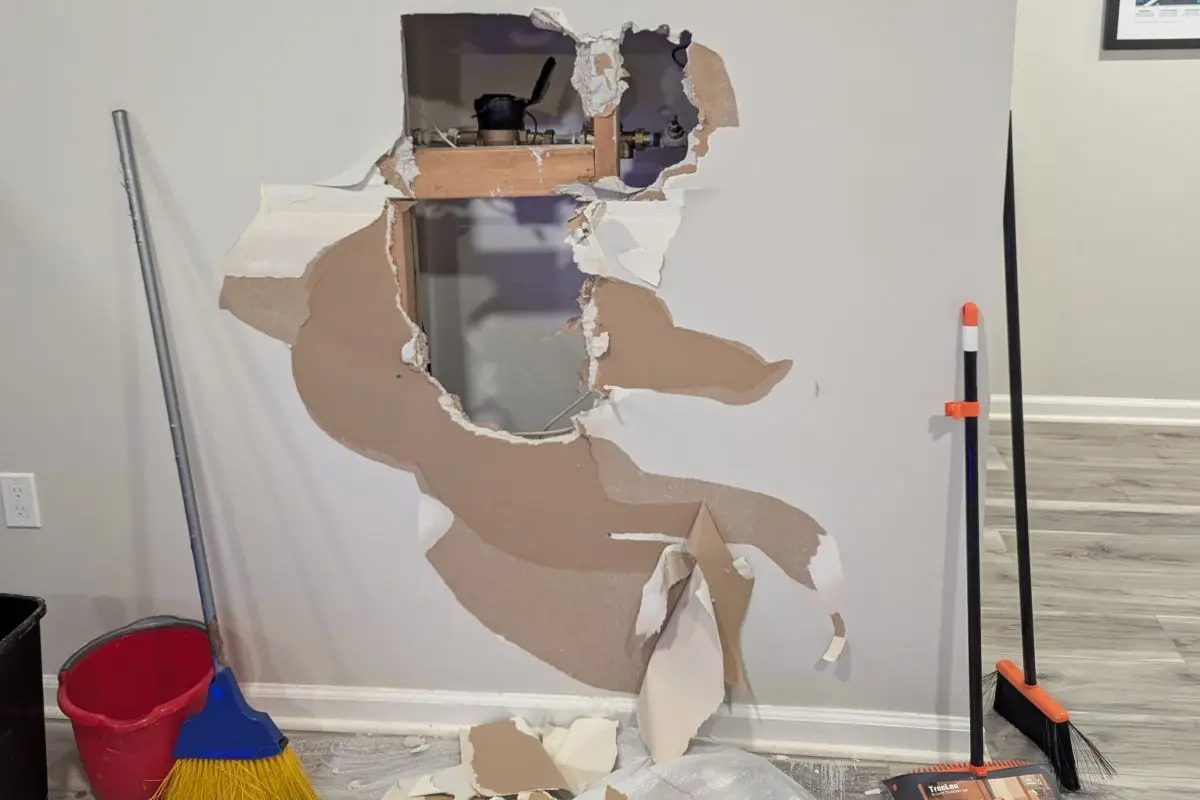
- Fill in any dings, holes, or cracks before painting
- Use spackle or wood putty as needed
- Sand rough edges smooth when finished filling in areas
Now that your surfaces are ready for painting, make sure you have everything you’ll need on hand—paint brushes, rollers, trays, and drop cloths. When purchasing supplies, always buy enough to cover the entire job; otherwise, you could end up having different shades of paint if more than one can is required.
Moving onto finishing touches requires just as much attention to detail as the prep work and actual application of paint do.
Finishing Touches
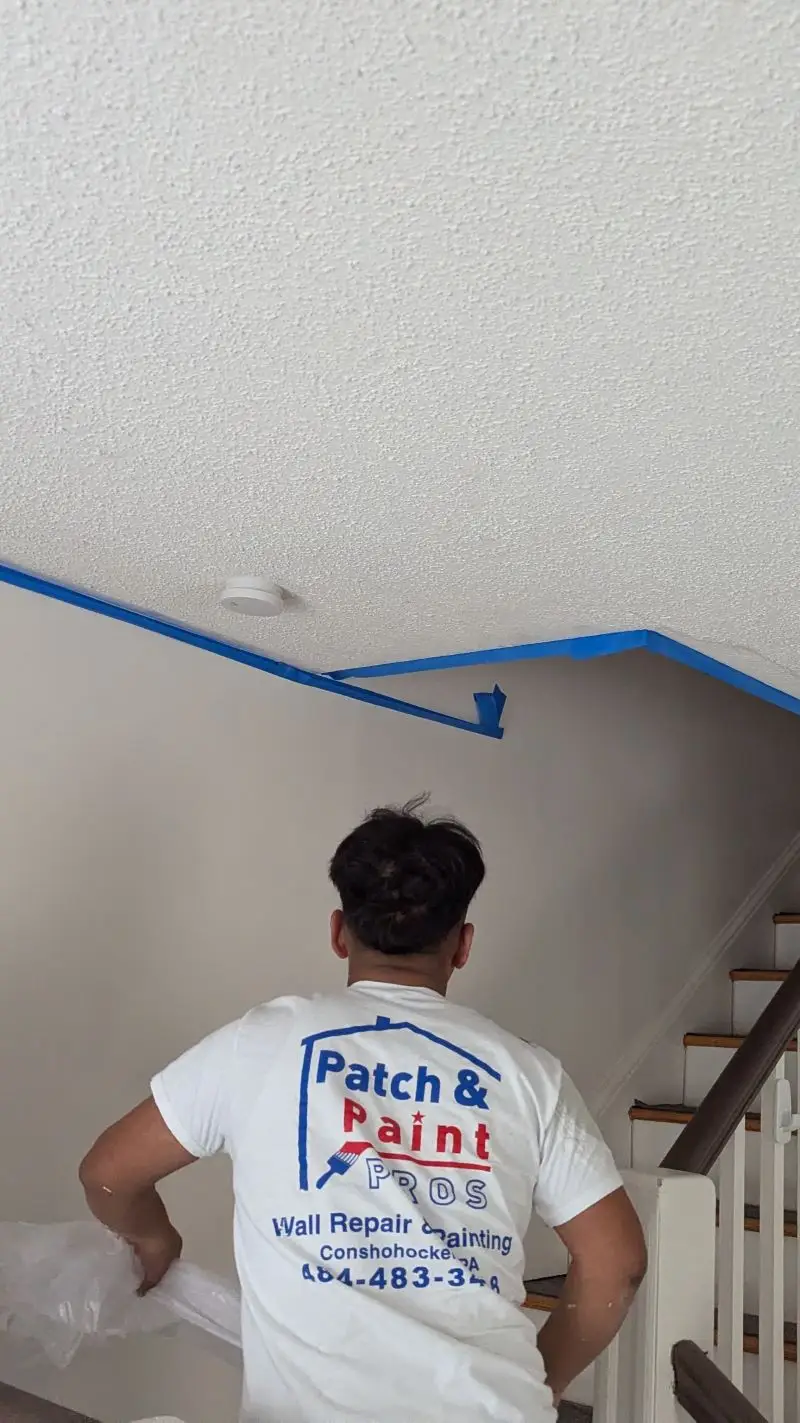
Applying the paint correctly is essential to make sure it will look it’s best and last for years. It’s a good idea to practice on some scrap wood or cardboard first, but when you’re ready to start painting, begin by covering all floors and furniture with drop cloths and use painter’s tape around windows, door frames, and anything else that could be damaged by overspray.
Once everything is prepped, roll out the primer and then apply two coats of your desired color. Allow each coat of paint to dry completely before applying the next one.
Now that you’ve finished applying the paint, there are still a few finishing touches left in order to achieve a professional-looking finish. Start by sanding any areas where brush strokes may have dried unevenly or if there are any drips from your roller work. Then fill in any small gaps with caulk, as well as add trim if needed.
With these final touches complete, you’ll be able to enjoy your new interior residential painting job for many years! By working with a professional painter who can help guide you through the project step-by-step, you can ensure an even better outcome than doing it alone.
Working With A Professional Painter
When it comes to interior residential painting, working with a professional painter is one of the best ways to ensure your home looks great. Professional painters are experienced in selecting colors and techniques that will create the look you desire while also protecting your walls from damage due to moisture or other elements.
They can provide helpful advice when it comes to selecting paint colors and finishes, so you don’t have to worry about making the wrong choice. Plus, they can handle all of the prep work for you like sanding down surfaces or patching holes before any painting takes place.
Having a professional painter help you add personality to your home through interior residential painting provides peace of mind knowing that everything was done properly and safely. You’ll end up with beautiful results that last longer than if you had tried tackling this project on your own without the benefit of expertise from an experienced painter.
Final Thoughts
Painting your home interior can be an overwhelming project. But with the right preparation, knowledge, and tools it doesn’t have to be! Working with a professional painter or tackling the job yourself will help you create a unique look that adds personality to your home.
It’s also one of the most satisfying DIY projects you’ll find; from selecting the perfect paint color all the way through to putting on those finishing touches – you’ll love what you’ve accomplished! With just a bit of effort, you could be enjoying your newly painted space in no time at all.

