Painting high ceilings and hard-to-reach areas can be difficult, but it doesn’t have to be. With the right tools and techniques, anyone can achieve a professional finish without having to hire an expert.
In this article, we’ll provide some helpful tips for painting these tricky spots so you don’t have to worry about extra costs or time-consuming projects. Whether you’re tackling these areas yourself or enlisting help from friends and family, following our guidelines will ensure that your walls look great with minimal effort.
We’ll discuss the best way to set up ladders and scaffolding as well as the different types of brushes and rollers available for use in tight spaces. So if you’ve been putting off those touch-ups because they seem too daunting, take heart – with these simple steps, you can transform any room into something beautiful!
Setting Up Ladders And Scaffolding
Reaching the highest of heights can be a daunting task when it comes to painting. But with proper preparation and planning, even Mount Everest can be scaled!
Setting up ladders and scaffolding is essential for reaching those hard-to-reach areas; think of it as an expedition into uncharted territory.
Safety should always come first — don’t take any risks that you aren’t comfortable taking. Make sure your ladder or scaffold is stable and secure before attempting to climb or use it. Take extra precaution if you’re working on sloped surfaces too — double-check all safety measures are in place for both yourself and anyone else helping out.
With these tips in mind, you’ll be well on your way to success – no matter how high your ceiling may seem! Moving forward, choosing the right brushes and rollers will ensure optimal results from your painting job.
Choosing The Right Brushes And Rollers
When painting high ceilings and hard-to-reach areas, it’s important to choose the right brushes and rollers for a job well done. Longer handles are great for reaching higher spots without having to use ladders or stools; however, don’t forget about picking up an extension pole too! It’ll give you extra reach and make the task of painting much easier.
Different types of paint require different tools as well. Latex paints can often be applied with synthetic bristle brushes while oil-based paints usually need natural bristles. Rollers come in many sizes so pick one that will cover the surface area quickly and easily.
Here is a list of key points to keep in mind when selecting your brush and roller:
- Choose longer handles if you want to avoid using ladders/stools
- Buy an extension pole to increase your reach on high surfaces
- Different types of paint call for different tools – know which ones work best for each type
Now that you’ve chosen the necessary equipment, it’s time to move on to preparing the room for a successful coat of paint.
Preparing The Room For Painting
Painting high ceilings and hard-to-reach areas can be a daunting task. However, with the right preparation and tools, it doesn’t have to be an uphill battle – it just takes some elbow grease!
Like any painting job, you’ll need to set up your workspace before getting started. Preparing the room for painting is like setting sail on a voyage: you want to make sure all of the necessary elements are in place so that your journey will go smoothly.
Before starting, first, remove anything from the walls or ceiling that could get in the way of your paintbrush. This includes items such as furniture, pictures, curtains, outlet covers, and light switch plates. Cover them with plastic sheeting if they cannot be removed entirely.
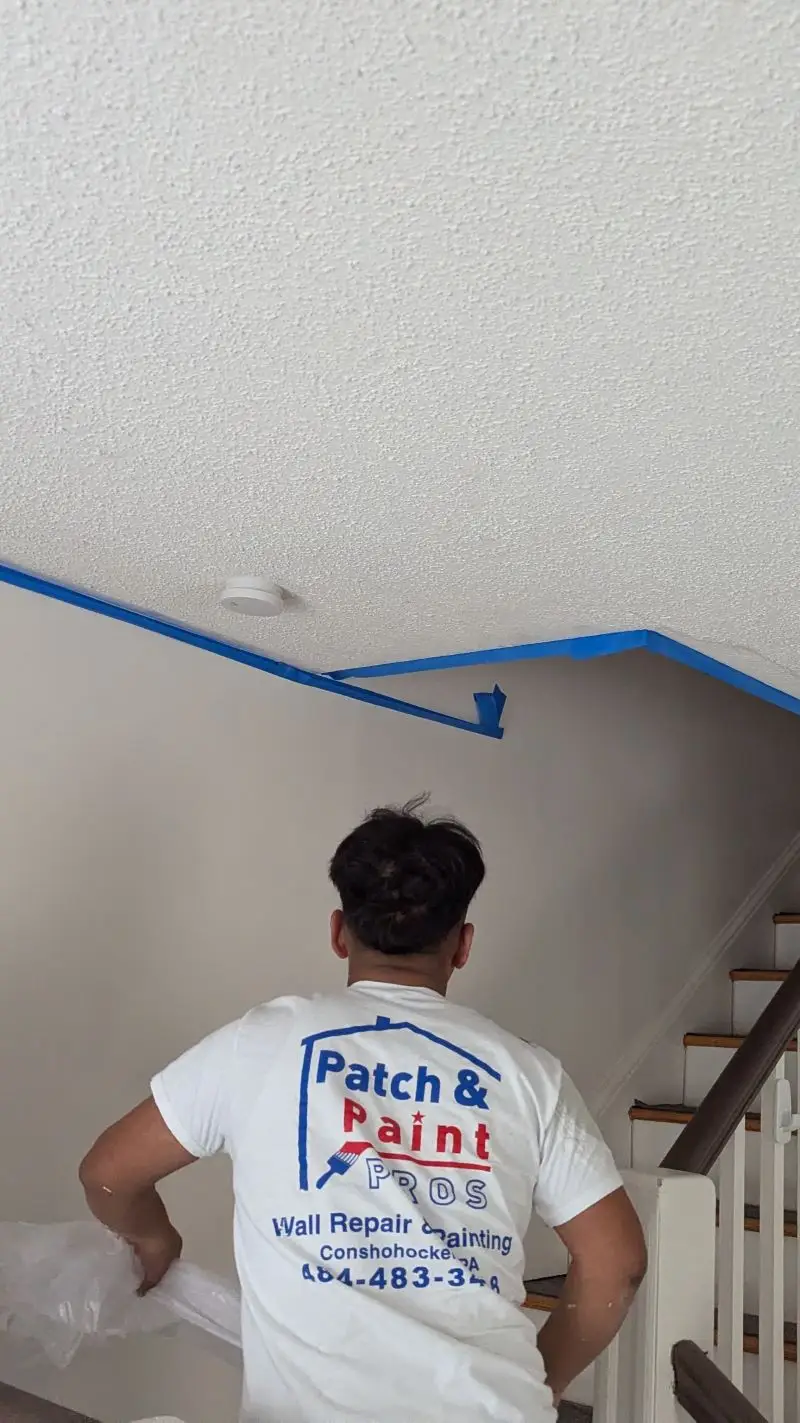
Then use painter’s tape along baseboards and trim pieces to ensure crisp lines when you’re finished with each wall. And don’t forget about drop cloths – these come in handy both during and after painting. To help protect surfaces around windows and doors, apply masking paper over them; this will also keep dust at bay while working in those tight spaces!
Applying The Paint
Before you begin painting, make sure you have all the necessary supplies and safety gear ready to go. If you want to avoid smudging, start by painting one wall at a time and work from the top down.
If you don’t have an extension ladder or scaffolding, you can use a paint roller with an extension pole to reach high ceilings without having to climb on furniture or balance on a ladder. To ensure a smooth and even finish, keep a wet edge while painting, so each brush stroke blends seamlessly with the previous one.
For those tricky corners and moldings, use angled brushes and rollers for greater precision and control over where your paint goes. You can also tape off any exposed surfaces near those tight corners beforehand to avoid accidental paint splatters.
If you want a professional-looking result, consider hiring a professional painter, who will have the expertise and experience to achieve the best results. With the right preparation and careful application of paint colors, you’ll soon have a beautifully painted room!
Cleaning Up Afterward
Painting high ceilings and hard-to-reach areas can be a daunting task, like trying to thread a needle while wearing oven mitts. After you’ve carefully applied the paint, it’s time to tidy up:
- To start, clean any tools or utensils you used during your painting project with soap and water right away.
- Wipe down walls and floors in order to remove any splatters of paint that may have occurred due to sloppy brushwork or accidental spills.
- Gather all drop cloths and tarps together for proper disposal – some municipalities require special instructions when disposing of these items so check local regulations before tossing them out!
- Finally, inspect your work area one last time for any missed spots; now is the perfect opportunity to make sure everything looks just as you envisioned it would from the beginning.
Once everything has been double-checked and cleaned up, you can stand back proudly and admire your handiwork – Congratulations on completing your painting project!
Final Thoughts
Painting high ceilings and hard-to-reach areas can be daunting, but it doesn’t have to feel like an impossible task. Preparing the area properly before beginning, using the right tools for each job, and taking care to clean up afterward will help ensure a successful project that looks professional.
It may seem intimidating at first, but with careful attention to detail and some patience anyone can do it – just remember: Rome wasn’t built in a day!


