Plaster wall repair can be a daunting task for any homeowner. It’s important to understand the basics of plastering before beginning a project, as it requires some knowledge and skill in order to achieve a smooth finish.
In this article, we’ll provide tips and techniques on how to successfully patch or repair your plaster walls so you get the best possible results. Whether you’re tackling repairs on an old home with lath-and-plaster walls or updating recently built drywall, understanding the right procedures is key.
We’ll cover everything from preparing surfaces and selecting materials to mix and applying finishes that will give you years of enjoyment. Read on to learn more about repairing plaster walls for a professional look!
Preparing The Surface
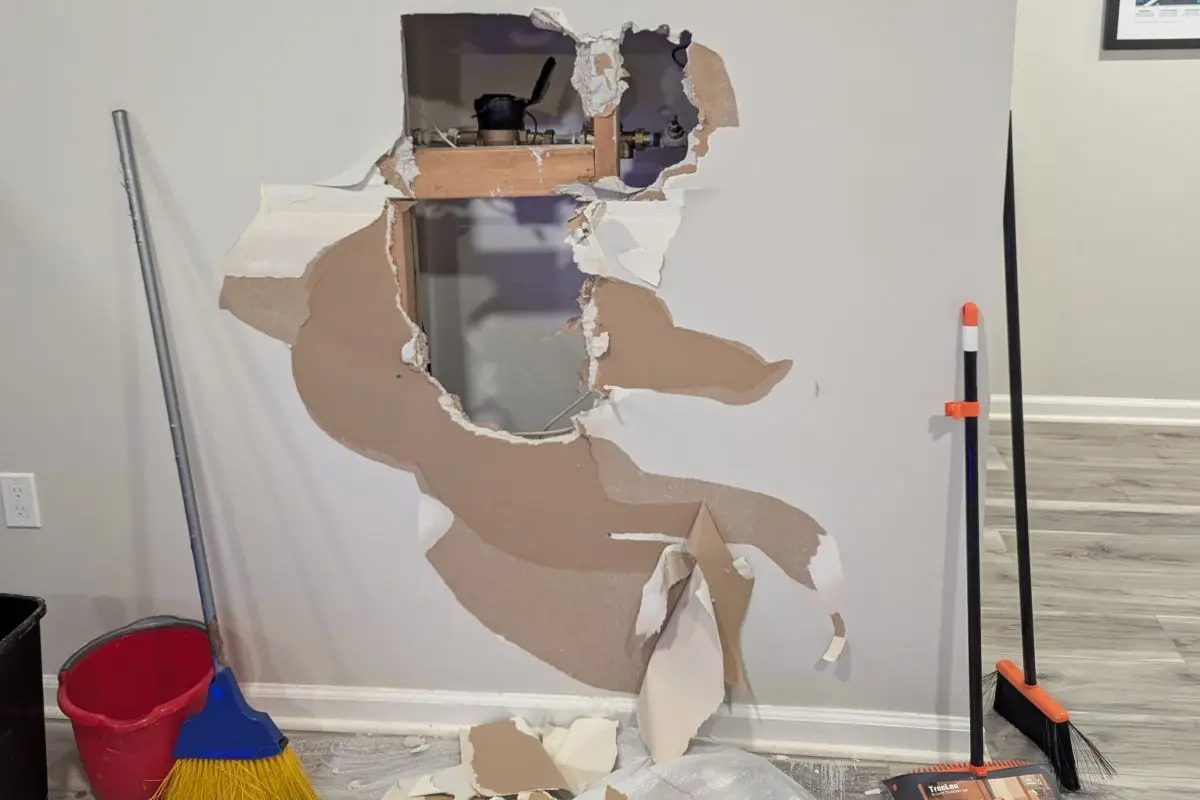
Repairing loose plaster on walls is a common task that can be challenging to execute. Most older homes have plaster walls supported by a wood lath. To repair these walls, you’ll need to know how to apply a brown coat of plaster, followed by a smooth coat, to create a finished surface.
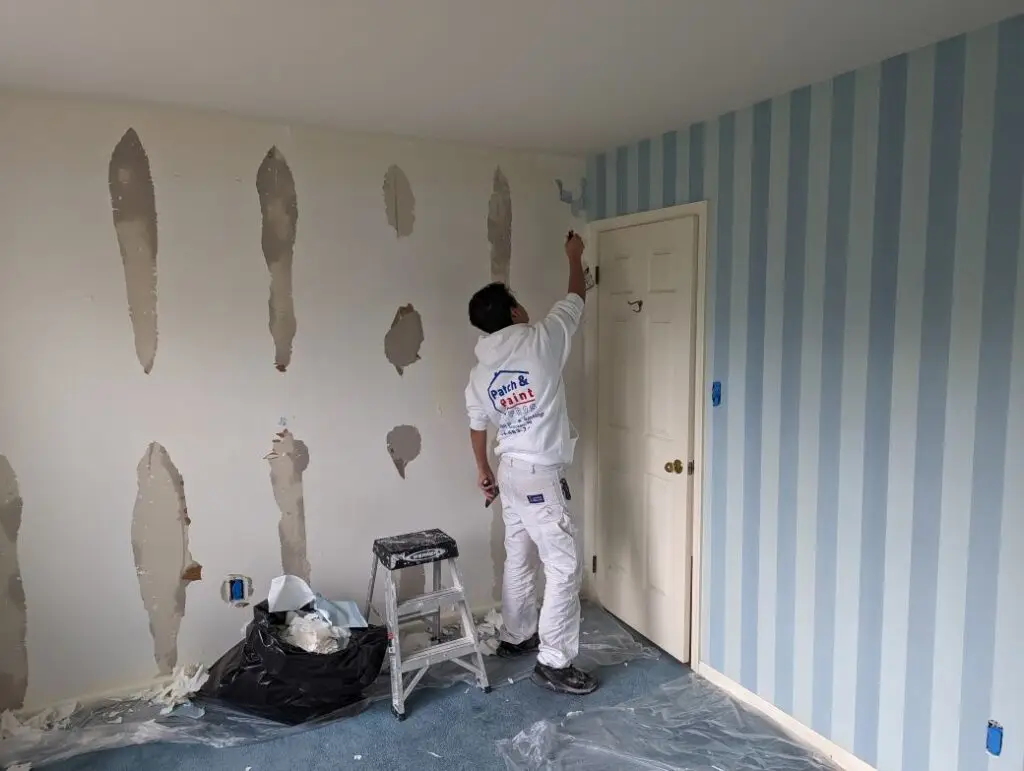
First, you’ll need to remove any loose plaster and ensure the wood lath is stable. Next, wet the area to be repaired, and then apply a coat of wet plaster. Once the wet plaster has set, apply a second coat, called a brown coat, using a trowel. After the brown coat has dried, use a drywall joint to fill in any gaps or uneven areas. Finally, apply a smooth coat of plaster to finish the job.
By following these steps, you can achieve a smooth and even surface that looks great and lasts for years to come.
Choosing The Right Materials
After you have prepared the surface, it’s time to gather the right tools and materials for your plaster wall repair job. If you are using plaster of Paris, which is a fast-setting material and easy to work with, you’ll need a few handy tools such as a bucket or basin for mixing the plaster, a putty knife or trowel for spreading it on the wall, and sandpaper for smoothing out the surface.
It’s essential to be cautious when mixing water with plaster. An unstable mixture will not adhere correctly to your wall, while excessive water will make it difficult to spread evenly, resulting in cracks in your finished surface.
For added strength and reinforcement, you may want to use metal mesh tape around corners or other areas where extra support is needed. Make sure to apply this tape before applying the plaster, so that everything adheres securely.
When purchasing your supplies, ensure to read the labels carefully as different types of plaster have varying consistency levels that can affect how easy they are to work with and the finish they produce.
To make the job easier, consider using a paint scraper to remove any loose plaster, and a paintbrush to apply a coat of wet plaster. By following these steps, you’ll be able to fix any issues with your wall surface and make it look as good as new!
Mixing The Plaster
Mixing the plaster is an important step in achieving a smooth finish. To begin, you’ll need to gather all of your supplies: pre-mixed joint compound or premade patching material and water. It’s best to mix the plaster with a drill and paint mixer attachment as this will create a more even mixture than using just a trowel or stirring stick.
Here are some tips for mixing the plaster correctly:
- Use warm water when mixing – this helps promote adhesion and flexibility between layers
- For thin coats use cool water
- For thick coats use hot water
- Work quickly – setting time may vary depending on batch size and temperature
- Add small amounts of water at first
- Gradually add more until desired consistency is achieved
When it comes to applying the plaster, there are several methods that can be used to ensure even coverage and reduce air bubbles. Be sure to read up on these techniques before starting so that you have everything needed for success.
Additionally, make sure to wear gloves while handling any wet materials as they can cause skin irritation if exposed too long.
Applying The Plaster
Let’s start by talking about mixing the plaster – what ingredients do we need, and how should we go about combining them? Then we can move on to applying the plaster – what tools do we need and what techniques should we use?
Mixing The Plaster
Mixing the plaster for a wall repair job isn’t as difficult as it seems. All you need is the right materials, and then you can get started. Start by measuring out your water and plaster mix in separate containers so that there’s no confusion when it comes time to combine them together.
When combining the two ingredients, use an electric mixer at a low speed to avoid over-mixing and creating air bubbles. Mix slowly until all of the powder has dissolved into the liquid – this should take around 5 minutes or so depending on how much plaster you’re using. It’s important to not leave any lumps behind in order to ensure a smooth finish!
Applying The Plaster
Once the plaster is mixed, it’s time to apply it. Before you start, make sure the area where you’ll be applying the plaster is clean and dry. Then use a trowel or putty knife to spread a thin layer of plaster onto the wall, making sure to get into all of the corners and crevices.
After that, take your time as you smooth out any bumps or imperfections before letting it dry for around 24 hours. Once dried, sand down any excess material until it’s nice and even – this should give you a perfect finish!
Finishing Touches
According to a recent survey, more than 50% of homeowners feel that the finishing touches on plaster wall repair are just as important as the initial patching process. Finishing touches may include sanding down irregularities and filling in any gaps left by the patchwork with spackling compound or joint cement.
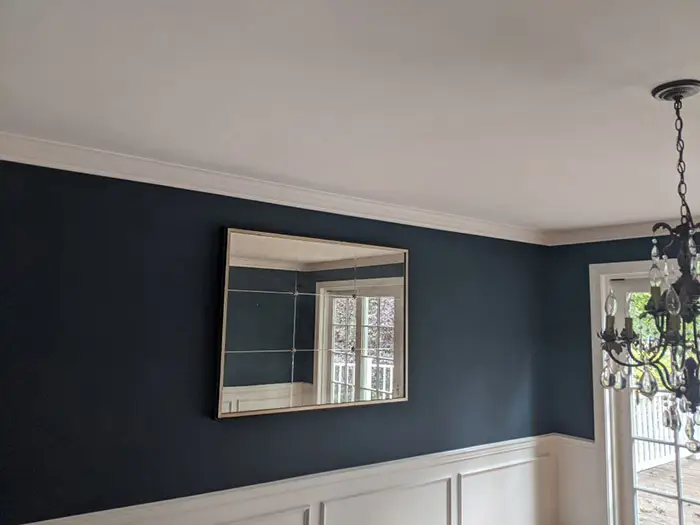
Once these steps have been taken, it’s time to apply a coat of primer and then paint over the area using either latex or oil-based paint depending on your preference. In order for the final product to look professional, make sure you use even strokes when painting and take extra care around corners and other hard-to-reach areas.
To ensure a smooth finish upon drying, consider lightly sanding between coats with very fine grit sandpaper before adding additional layers of paint. This will minimize brush marks while still providing an even layer of coverage throughout the entire surface area.
Final Thoughts
To achieve a smooth finish, it’s important to take your time and work in small sections. With all the necessary materials on hand and following these tips, you can easily repair plaster walls yourself.
It may seem daunting at first, but with patience and practice, you will be amazed at what you can accomplish! After completing repairs, stand back and marvel at your handy work — it’s sure to bring a sense of pride and accomplishment. You did it! Now that you know how to fix up those dated plaster walls, go ahead and make them look brand new again.


