As a local repair and painting company in Conshohocken, PA, Patch and Paint Pros helps a lot of clients with plaster wall repairs. Plaster, like concrete wall repair, is an important task that should not be taken lightly. It’s a complex process, and it’s essential to do the job right if you want your walls to look as good as new.
Give us a call at 484-483-3468 if you need help on plaster ceiling or wall repairs in nearby Montgomery, Cheseter or Delaware counties.
This article will provide a step-by-step guide for how to go about repairing concrete walls correctly. We’ll discuss everything from surface preparation to materials selection, so even novice DIYers can tackle this project with ease. Read on for all the tips and tricks from wall repair experts that you need to know when it comes to restoring cracked or damaged concrete walls.
Assessing The Damage
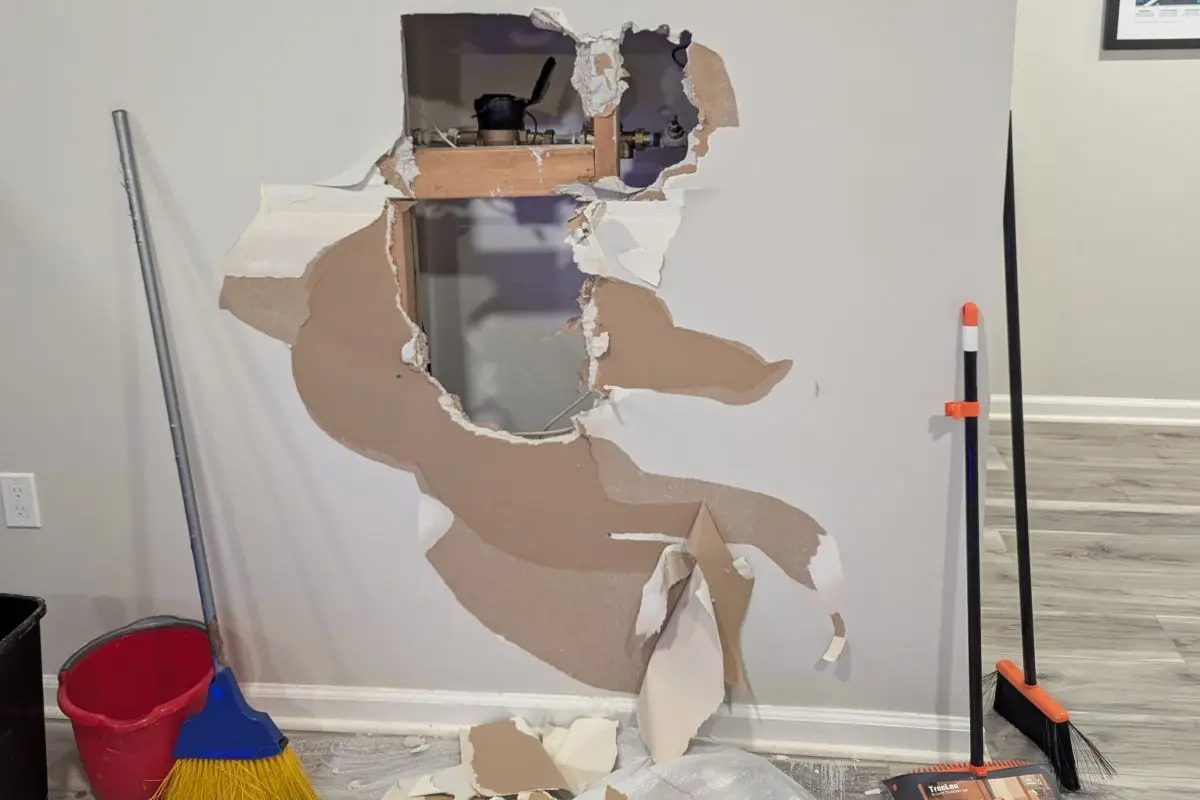
Assessing the damage in concrete can be a challenging task, especially if it’s a vertical surface or concrete steps. Hairline cracks, loose concrete, air pockets, or even missing pieces of concrete can all contribute to the overall damage. It’s important to take the time to inspect the damage carefully to ensure you don’t miss anything.
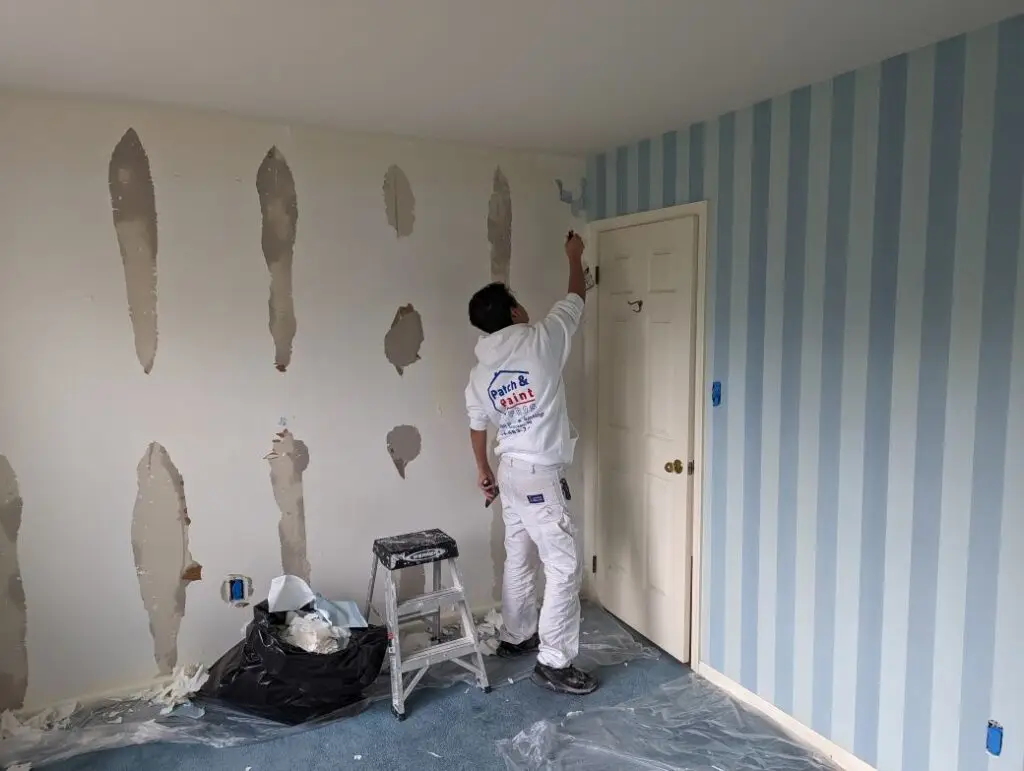
To begin concrete repairs, it’s crucial to prepare the surface properly. First, remove any loose debris or pieces of concrete that are no longer firmly attached to the surface. Next, use a paint scraper or wire brush to remove any loose paint, dirt, or debris from the surface. Finally, use a paintbrush to apply a concrete bonding agent to the surface.
The concrete bonding agent helps the new concrete adhere to the old concrete more effectively, which is especially important for larger repairs. After applying the bonding agent, fill in any cracks or holes with a concrete repair mix. Be sure to follow the manufacturer’s instructions carefully to ensure the proper consistency and application.
When it comes to concrete damage, it’s important to consider whether repair or replacement is the best option. While replacement may seem like the easiest solution, repairs can often be just as effective and more cost-efficient. However, repairing concrete requires careful consideration of the extent of the damage, proper preparation of the surface, and using suitable materials and tools to achieve a long-lasting fix. So, it’s crucial to take the time needed to assess the damage and determine the most appropriate solution to ensure the best outcome.
Preparing The Surface
The first step to any successful concrete wall repair job is properly preparing the surface. After all, a house truly is only as strong as its foundation. To ensure that your repair lasts for years and withstands whatever nature throws at it, you must be sure to clean and level the surface before beginning work on the actual patching and repairing process.
Using an industrial brush or wire-brush attachment with a power drill can help remove dirt, debris, and loose material from crevices in the wall. Once these particles have been cleared away, use an angle grinder to slightly roughen up any smooth spots of existing concrete so that new concrete will stick better when applied later.
With this task complete, you are almost ready for the next stage: selecting materials for your project. The right tools make all the difference in achieving a finished product that stands out against the rest.
Selecting Materials
It’s important to choose the right materials when repairing a concrete wall. The first step is to determine what kind of repair you need and select the appropriate product based on your requirements.
Here are some essential items that you should consider for successful repairs:
- Strength – Choose products that match the strength of existing walls or can be used in combination with other components for added reinforcement.
- Durability – Make sure you pick a material that won’t crack, chip, or fade over time due to wear and tear from weather, chemicals, pests, etc.
- Cost-Effectiveness – Get an accurate estimate of how much material will be needed for repairs, as well as any labor costs associated with the installation before making a decision about which product to use.
- Safety – Select products that meet local codes and regulations so they don’t pose a risk to occupants or pedestrians nearby.
Once all these factors have been taken into account, it’s time to move on to applying the repair material – starting with preparation and cleaning of the area around the damaged section of a concrete wall.
Applying The Repair Material
Selecting the right materials for a concrete wall repair is an important step, but it’s also just one part of the process. Before diving into applying your selected material, there may be some hesitation or doubts about whether you are up to the task. Don’t worry!
With the right preparation and attention to detail, anyone can complete this job with success.
To begin, make sure that all surfaces have been properly cleaned and prepared before applying any sealant. This includes removing dirt, dust, oils, and other debris from the surface using either a brush broom or a power washer.
Once everything is clean, apply a commercial-grade bonding agent to help ensure that the adhesion between the patching material and existing concrete will last over time. Finally, once all of these steps have been completed successfully, it’s time to start filling in cracks and chips with a patching compound or mortar mix.
Be sure to use a trowel or putty knife when spreading out your chosen product onto the damaged area; this will enable you to create a smooth finish when finished. Once you’ve applied your chosen material for repairing your concrete wall, it’s time to finish off the job.
Using sandpaper or another abrasive tool like steel wool can help buff away any rough edges and give your patchwork project even more of a polished look—all without having to break out any additional tools!
Finishing The Job
Once the repair is complete, it’s time to finish up. Begin by cleaning off any excess cement or grout that has spilled onto surrounding areas with a damp cloth. Take care not to get any water on the newly repaired area, as this could cause further damage and weaken the bond of the patch. Next, use a trowel or other tool to smooth over the surface of the repair until it matches the texture and shape of the existing wall.
If necessary, apply several thin coats of concrete sealer in order to protect against water seepage and weathering. After allowing each coat to dry completely before applying another one, your concrete wall should be good as new!
Final Thoughts
The job of repairing a concrete wall is not an easy one, but with the right tools and materials, it’s possible to get the job done. The steps outlined in this step-by-step guide should help you assess the damage, prepare your surface, select appropriate materials, and apply repair material. Once I’ve finished applying the repair material, I’m sure my concrete wall will look brand new!
With a little bit of hard work and dedication, anyone can make their damaged concrete walls look good as new. All that’s left to do now is add the finishing touches and enjoy the results of my labors – just like Michelangelo when he painted his masterpiece on the Sistine Chapel ceiling!


